Interior Painting Preparation
Interior Painting Preparation is a dreaded phrase for the do-it-yourselfer. All the pre-work and details in this step of the painting process are time-consuming and tedious. It can make it feel like you will NEVER get to the actual painting.
And the truth is, you will probably spend as much time in preparation as you will painting the walls.
The upside is that interior painting preparation may be the most important part – the key – to the whole project. One of the biggest interior painting mistakes DIY painters make is failure to properly prepare your surfaces.
A few hours spent up front, preparing to paint, will save you many hours fretting and fixing on the back end.
This interior painting preparation list is intended to be as detailed and exhaustive as possible, but I cannot possibly account for every particular of every job. They are all unique, so when you’ve followed these steps spend a few minutes assessing your space to see if anything seems to have been missed before you move into painting.
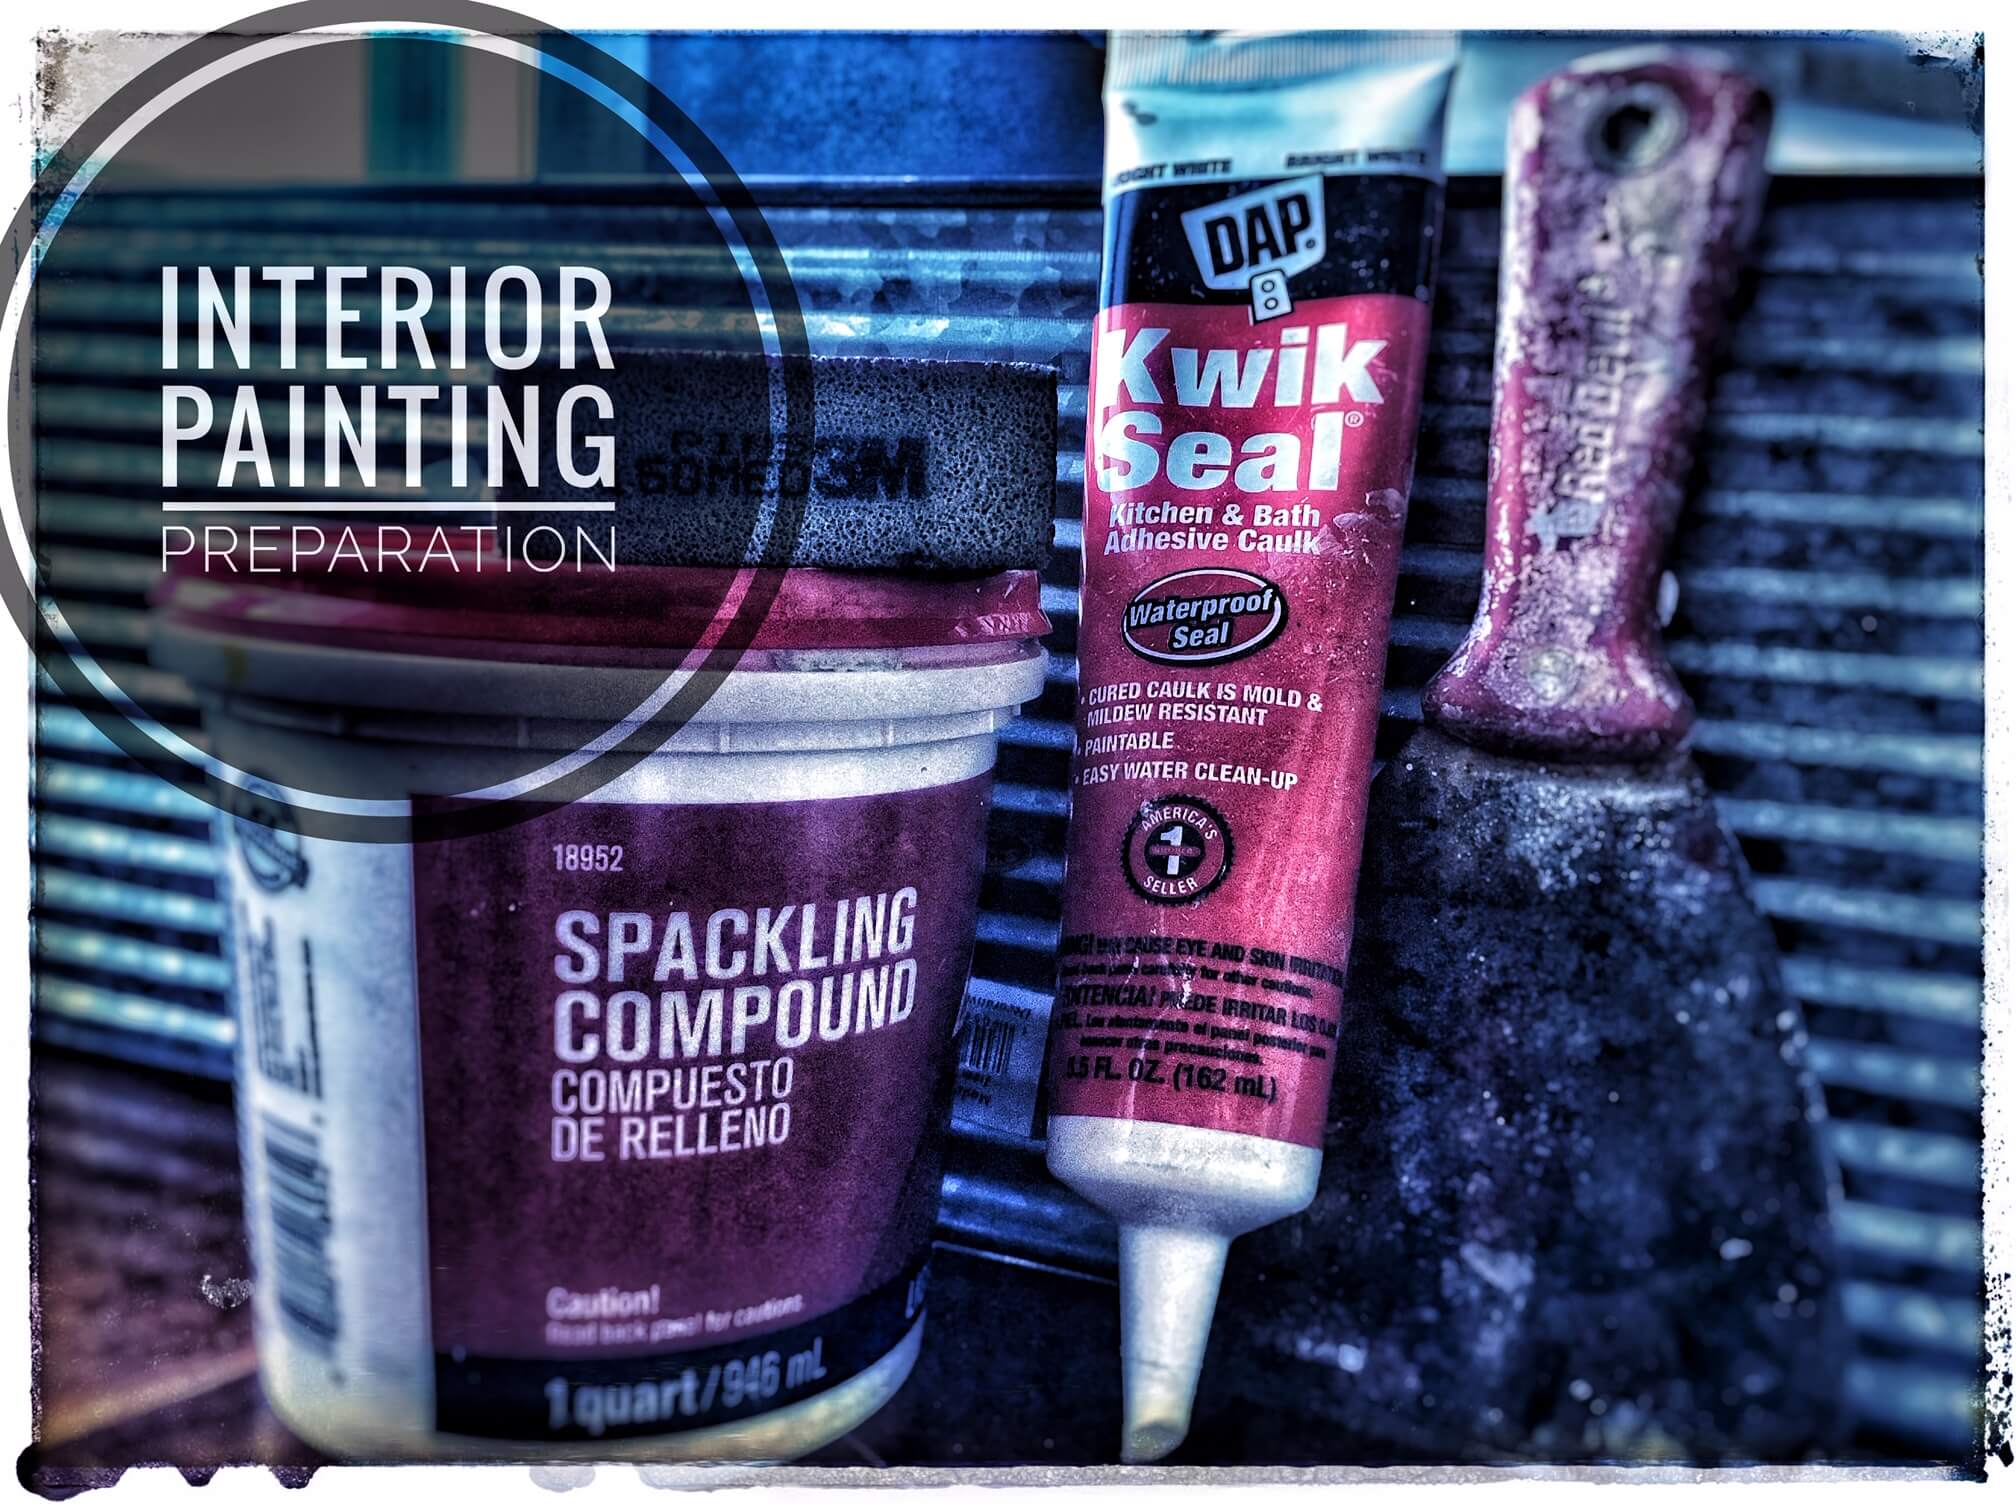
Supply List
- Roll of Painter’s Plastic
- Delicate Painter’s Tape
- Step-Ladder (or appropriate-sized ladder for reaching all points of the space)
- Water-Based Primer
- Lightweight Spackling Compound
- Broad Spackling (Putty) Knife
- 5-in-1 Painter’s Tool (useful for everything from cleaning brushes and rollers to removing old caulk)
- Medium-Grit or All Purpose Sanding Sponge
- White All-Purpose Paintable Caulk
Interior Painting Preparation Step-by-Step
Step 1 : Clear The Room
The first lesson in interior painting preparation I learned as a painter was this: an empty room is a simple room. This is one of my top interior painting tips. The fewer obstacles there are in your space, the easier it is to move around, and the fewer “accidents” that are likely to occur.
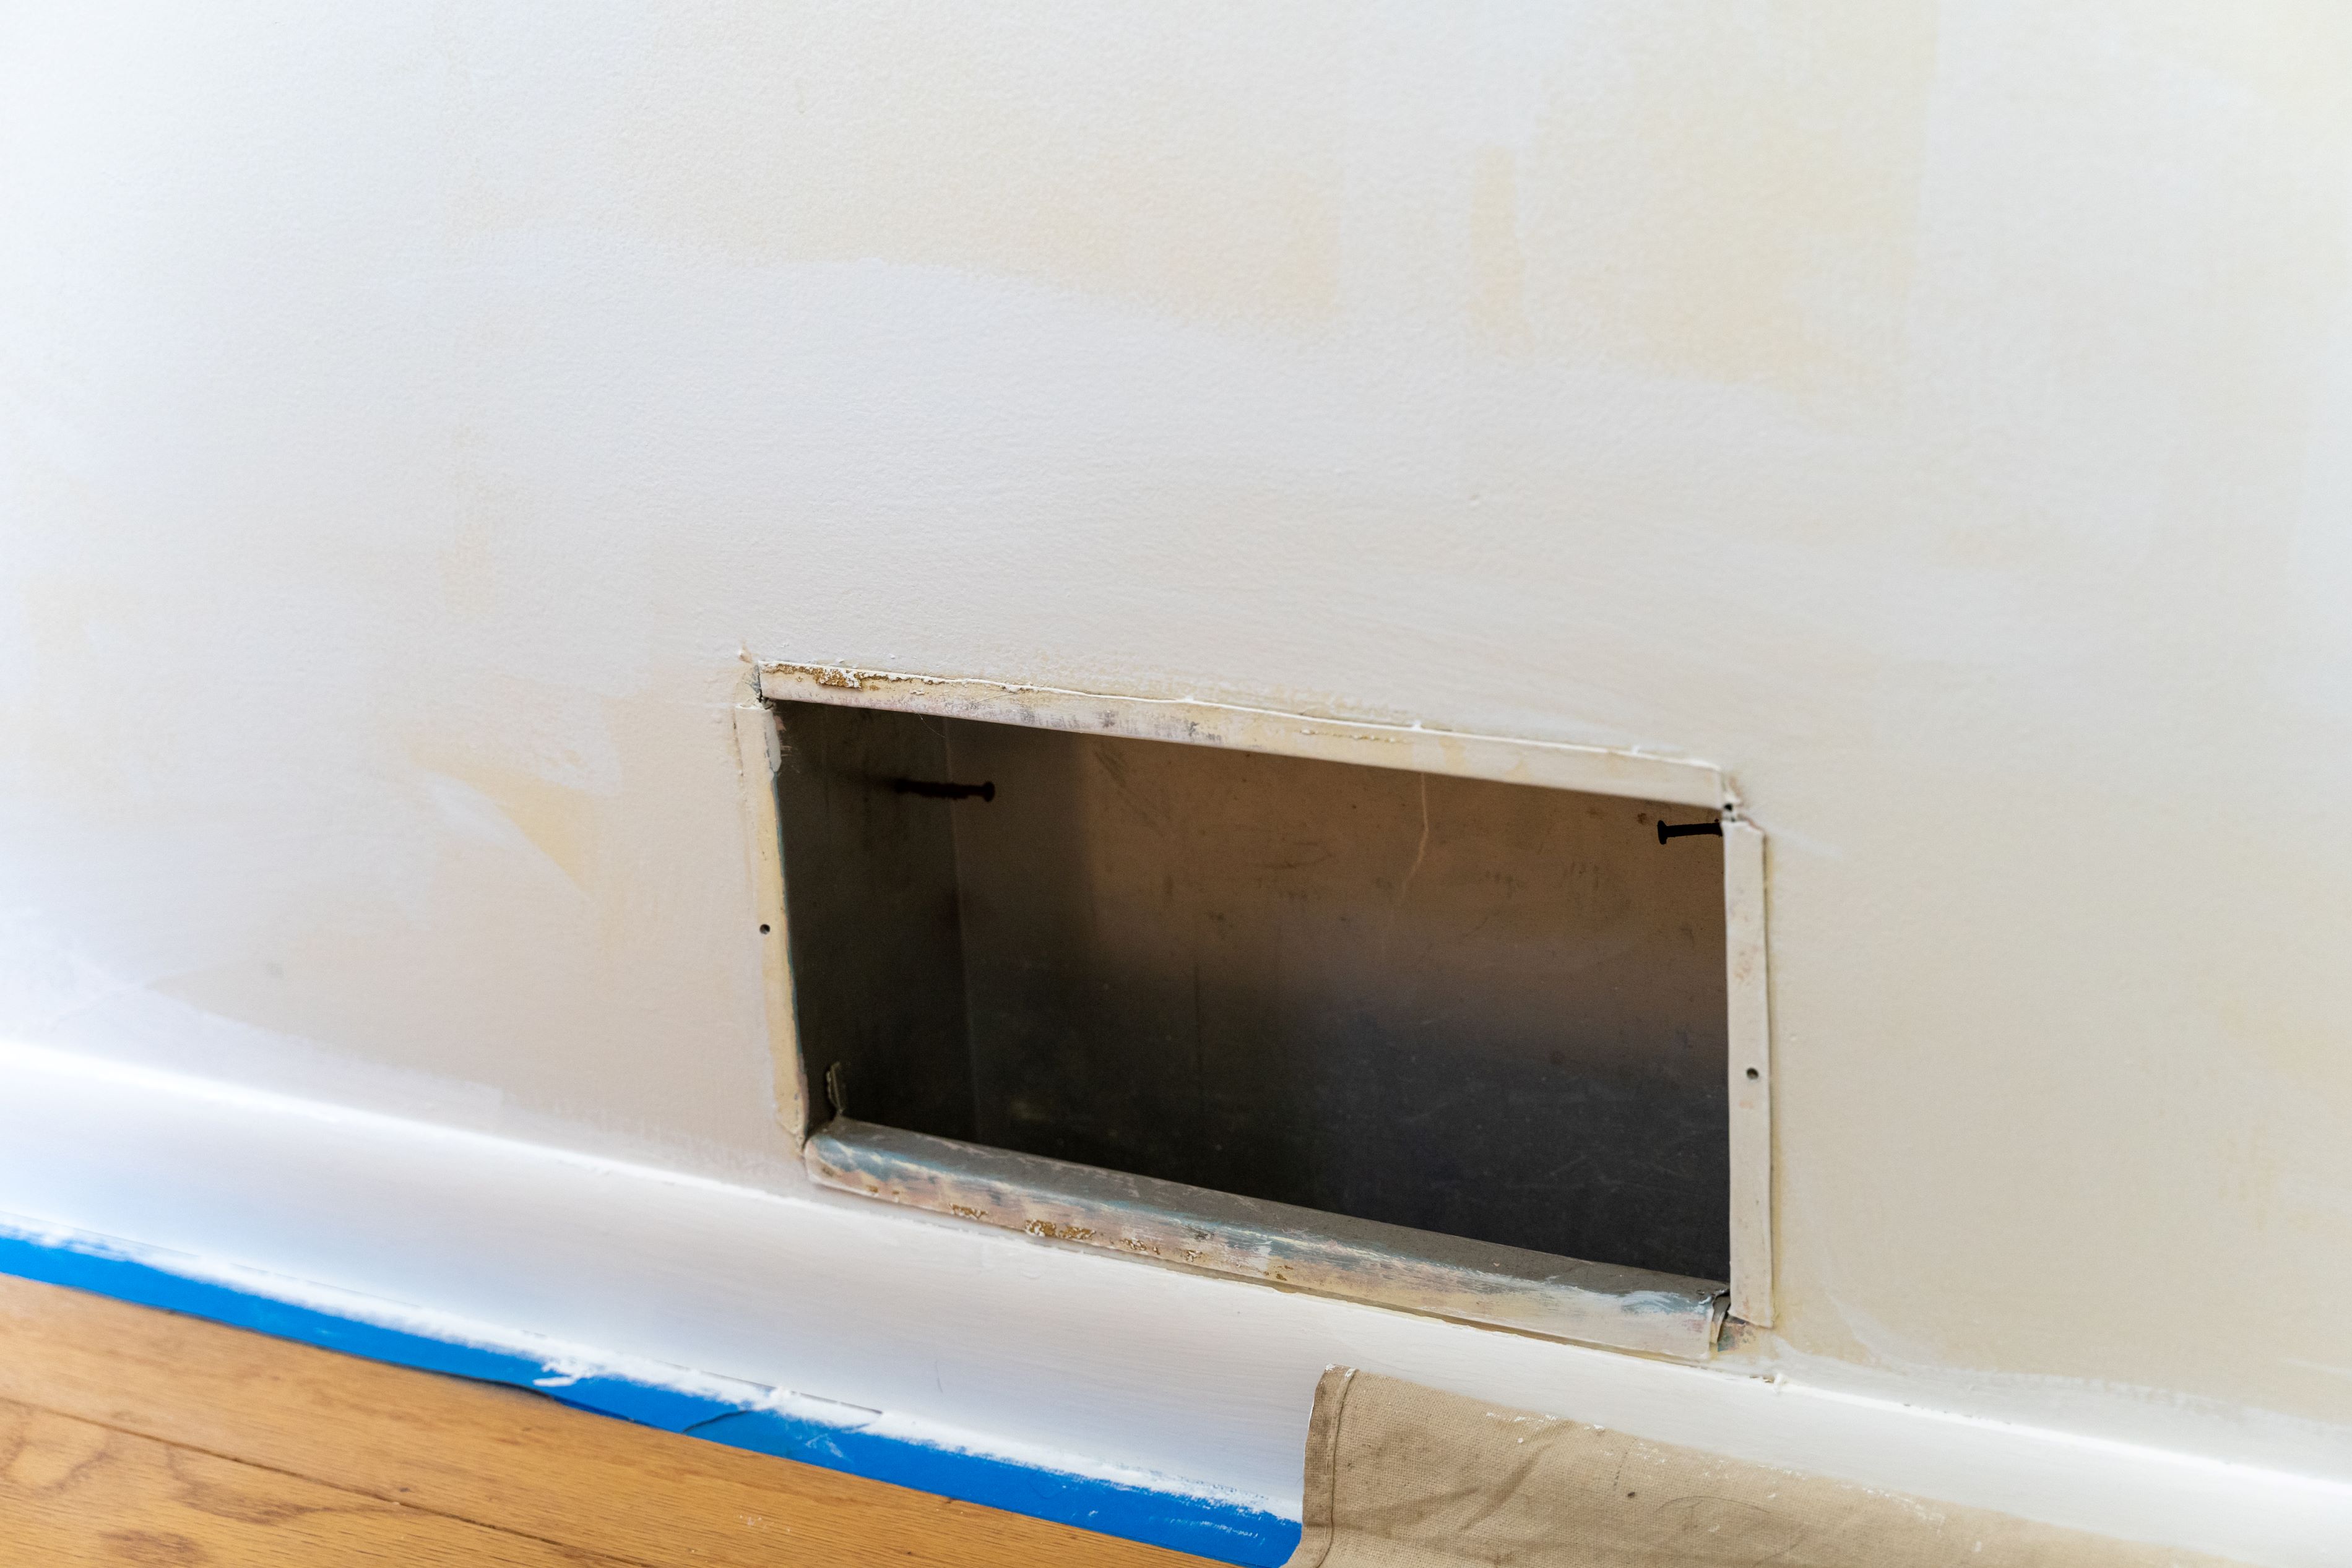
Clear the walls of everything that can be removed. This includes art, wall hangings, window treatments, light switches and outlet covers, mirrors, register covers. If it can reasonably be taken down or moved, you should do so.
Take care to label outlet covers and light switches and to keep all mounting hardware together so that everything can find its proper home again.
One way I’ve found to do this is to separately bag (a simple Ziplock or sandwich baggie will do) each light fixture or piece of hanging hardware and attach a label or write in marker on the outside.
If the hardware goes with larger items (such as curtain rods) tape the bagged pieces to the larger items to keep everything together.
Remove all décor, furnishings, fabrics, throw rugs, etc… from the room’s interior. If it can be taken from the room entirely, that is best. If not, move this material to the center of the room and cover it in painter’s plastic or plastic sheeting.
Lay a dropcloth over top of the sheeting or weight the edges with heavier objects to keep the sheeting from slipping or blowing off.
Step 2 : Clean The Room
Once the room is cleared of obstacles, give the room a thorough cleaning.
Vacuum or sweep the floors, clear the dust and cobwebs from the corners of the walls with a broom, wipe down the woodwork and baseboards with clean rags dipped in a mild solution of dish soap and water.
Note: Do not use cloth (such as bedsheets or blankets) to cover flooring or furnishings. Spilled or splattered paint may soak right through this material onto the surface below.
Step 3 : Wipe Down the Surfaces to be Painted
All walls – even those that look clean to the naked eye – accumulate dust and hair and oily residue (and smoke and moisture and many other things).
Fill a bucket with a mild mixture of warm water and dish-soap. Using clean rags or a sponge-head mop, give the walls a thorough wash, working in sections to ensure you’ve cleaned the entire surface. Change the wash water if it begins to look dark or dirty.
Look for areas that may need some additional attention, such as where pets or human traffic may have soiled or left oily residue on the wall and ensure those areas get proper cleaning.
Finally, give the walls a quick final washing with plain water to remove any soap residue. The walls should dry for a full day before attempting to apply paint.
Note: If there are any areas of your walls that show signs of mold or mildew, ensure:
- The source of moisture is found and removed. Failure to remove the moisture source will cause this to reappear and may also pose health risks.
- Ensure sufficient ventilation in the room – open windows and run fans.
- Make a 1 cup bleach / 1 gallon water solution. Place this solution in a spray bottle and dampen the mildewed area (and surrounding area).
- Allow this to remain on the wall and dry.
- Once dry, dust any loose mildew or mold off with a dry towel.
- This area will need to be sealed with a stain blocking primer or sealer before painting.
Step 4 : Patch the Walls
One vital piece of interior painting preparation is to ensure all of your walls are in their best possible shape before painting. A smooth surface is critical to the quality of your finished results.
Every wall has its share of imperfections. Nail and screw holes, nicks, dents, tiny hairline cracks.
Note: I will cover only minor repairs here. If your walls or surfaces have more serious damage – large cracks, holes, major dents, etc… - I urge you to contact a professional unless you are confident in your own ability to handle the repair. These repairs are outside my area of expertise.
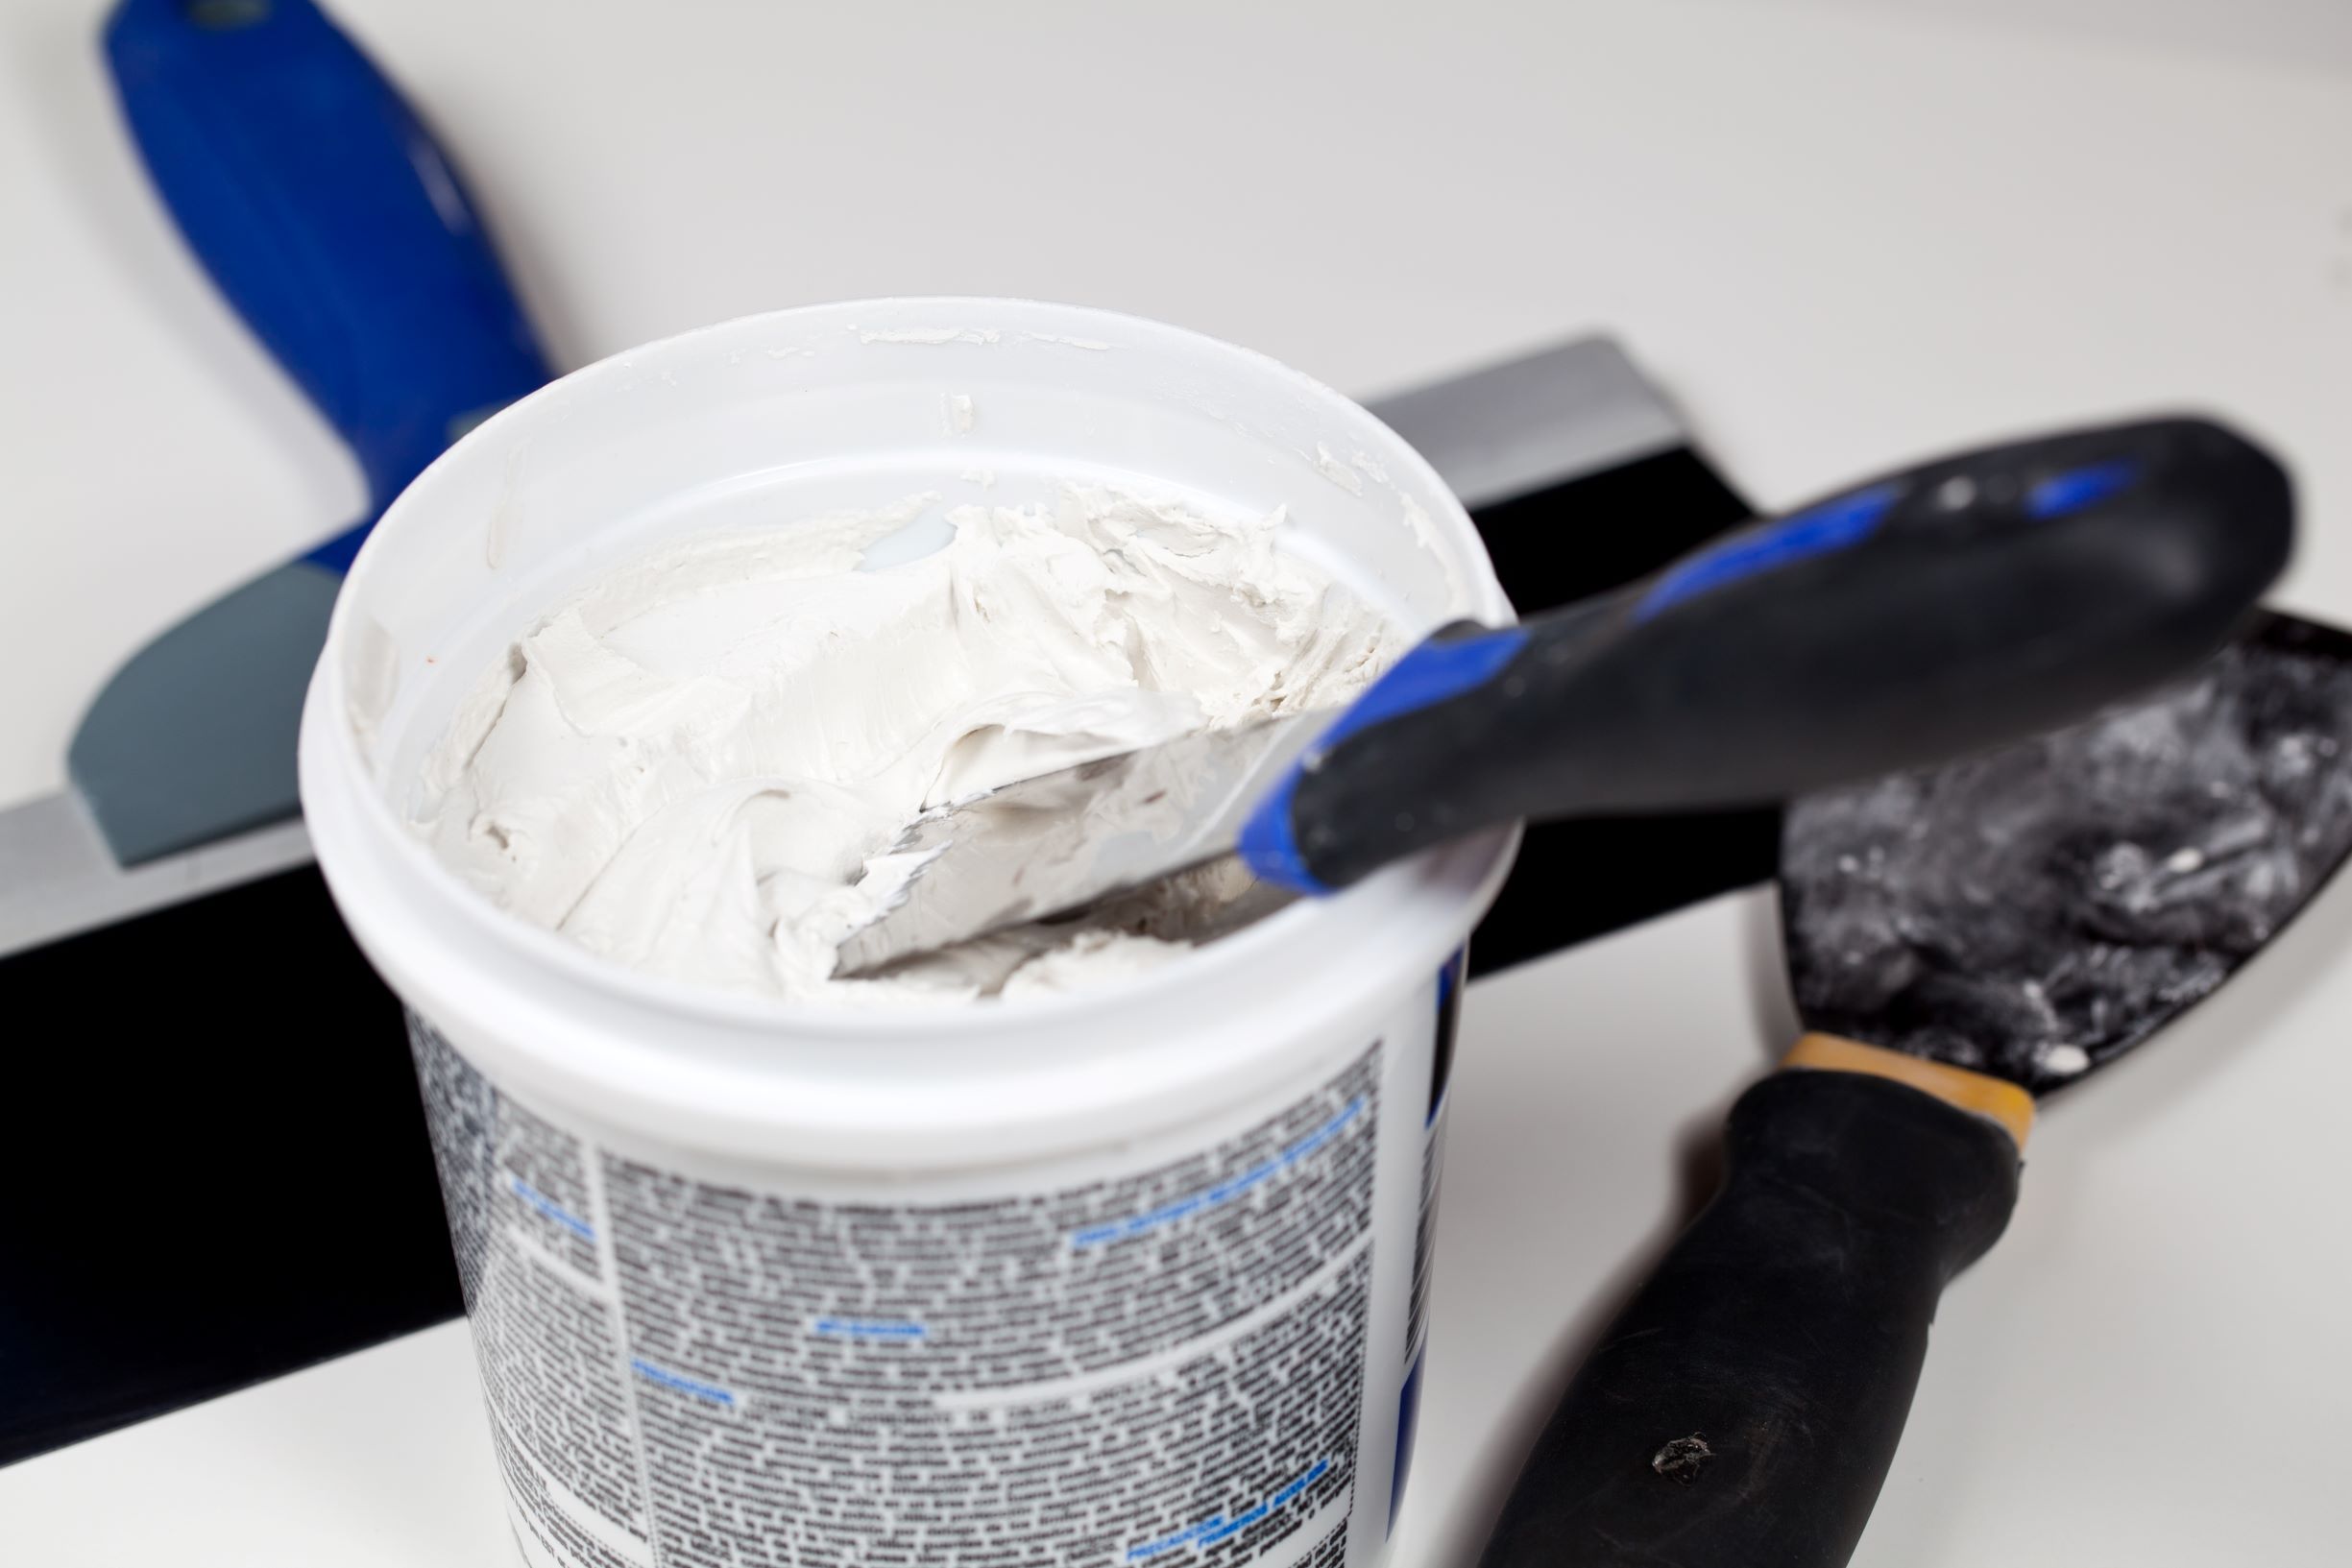
Patch nail and screw holes and small hairline cracks with lightweight spackle. Press the spackle into the hole or crack with a spackle knife (also called a putty knife), taking care not to overfill the hole. Swipe the blade of the knife across the surface of the wall to press the material into the holes while leaving the wall surface flat.
It is advisable to apply several thin coats rather than a single thick coat. Allow the repairs several hours to dry (per spackling manufacturer’s directions) and sand the repairs flush with the wall using a sanding sponge.
A sanding sponge is a medium-grade sandpaper attached to a sponge sanding block and it will help keep you from making gouges or sanding unevenly.
Spackle can shrink while it dries, so it’s advisable to look your repairs over a final time after drying to ensure all holes and cracks are filled and sanded flush.
Step 5 : Caulking
Caulking is one of those interior painting preparation steps that is often neglected, yet it is important to the finished look of your space.
Fill any gaps between your wall and the trim, baseboards, cabinetry, countertops, or tub/shower with a bead of white all-purpose paintable caulk. I’ve never been a keen hand with a caulk gun, so I find the squeeze tube of caulk to be easier to maneuver and apply evenly. But choose what you are most comfortable with.
Wipe away any excess caulk with a damp rag while the caulk is still wet.
Allow manufacturer’s recommended time for caulk to cure. You can leave caulk white to match white trim or paint to match wall color and blend with its surroundings.
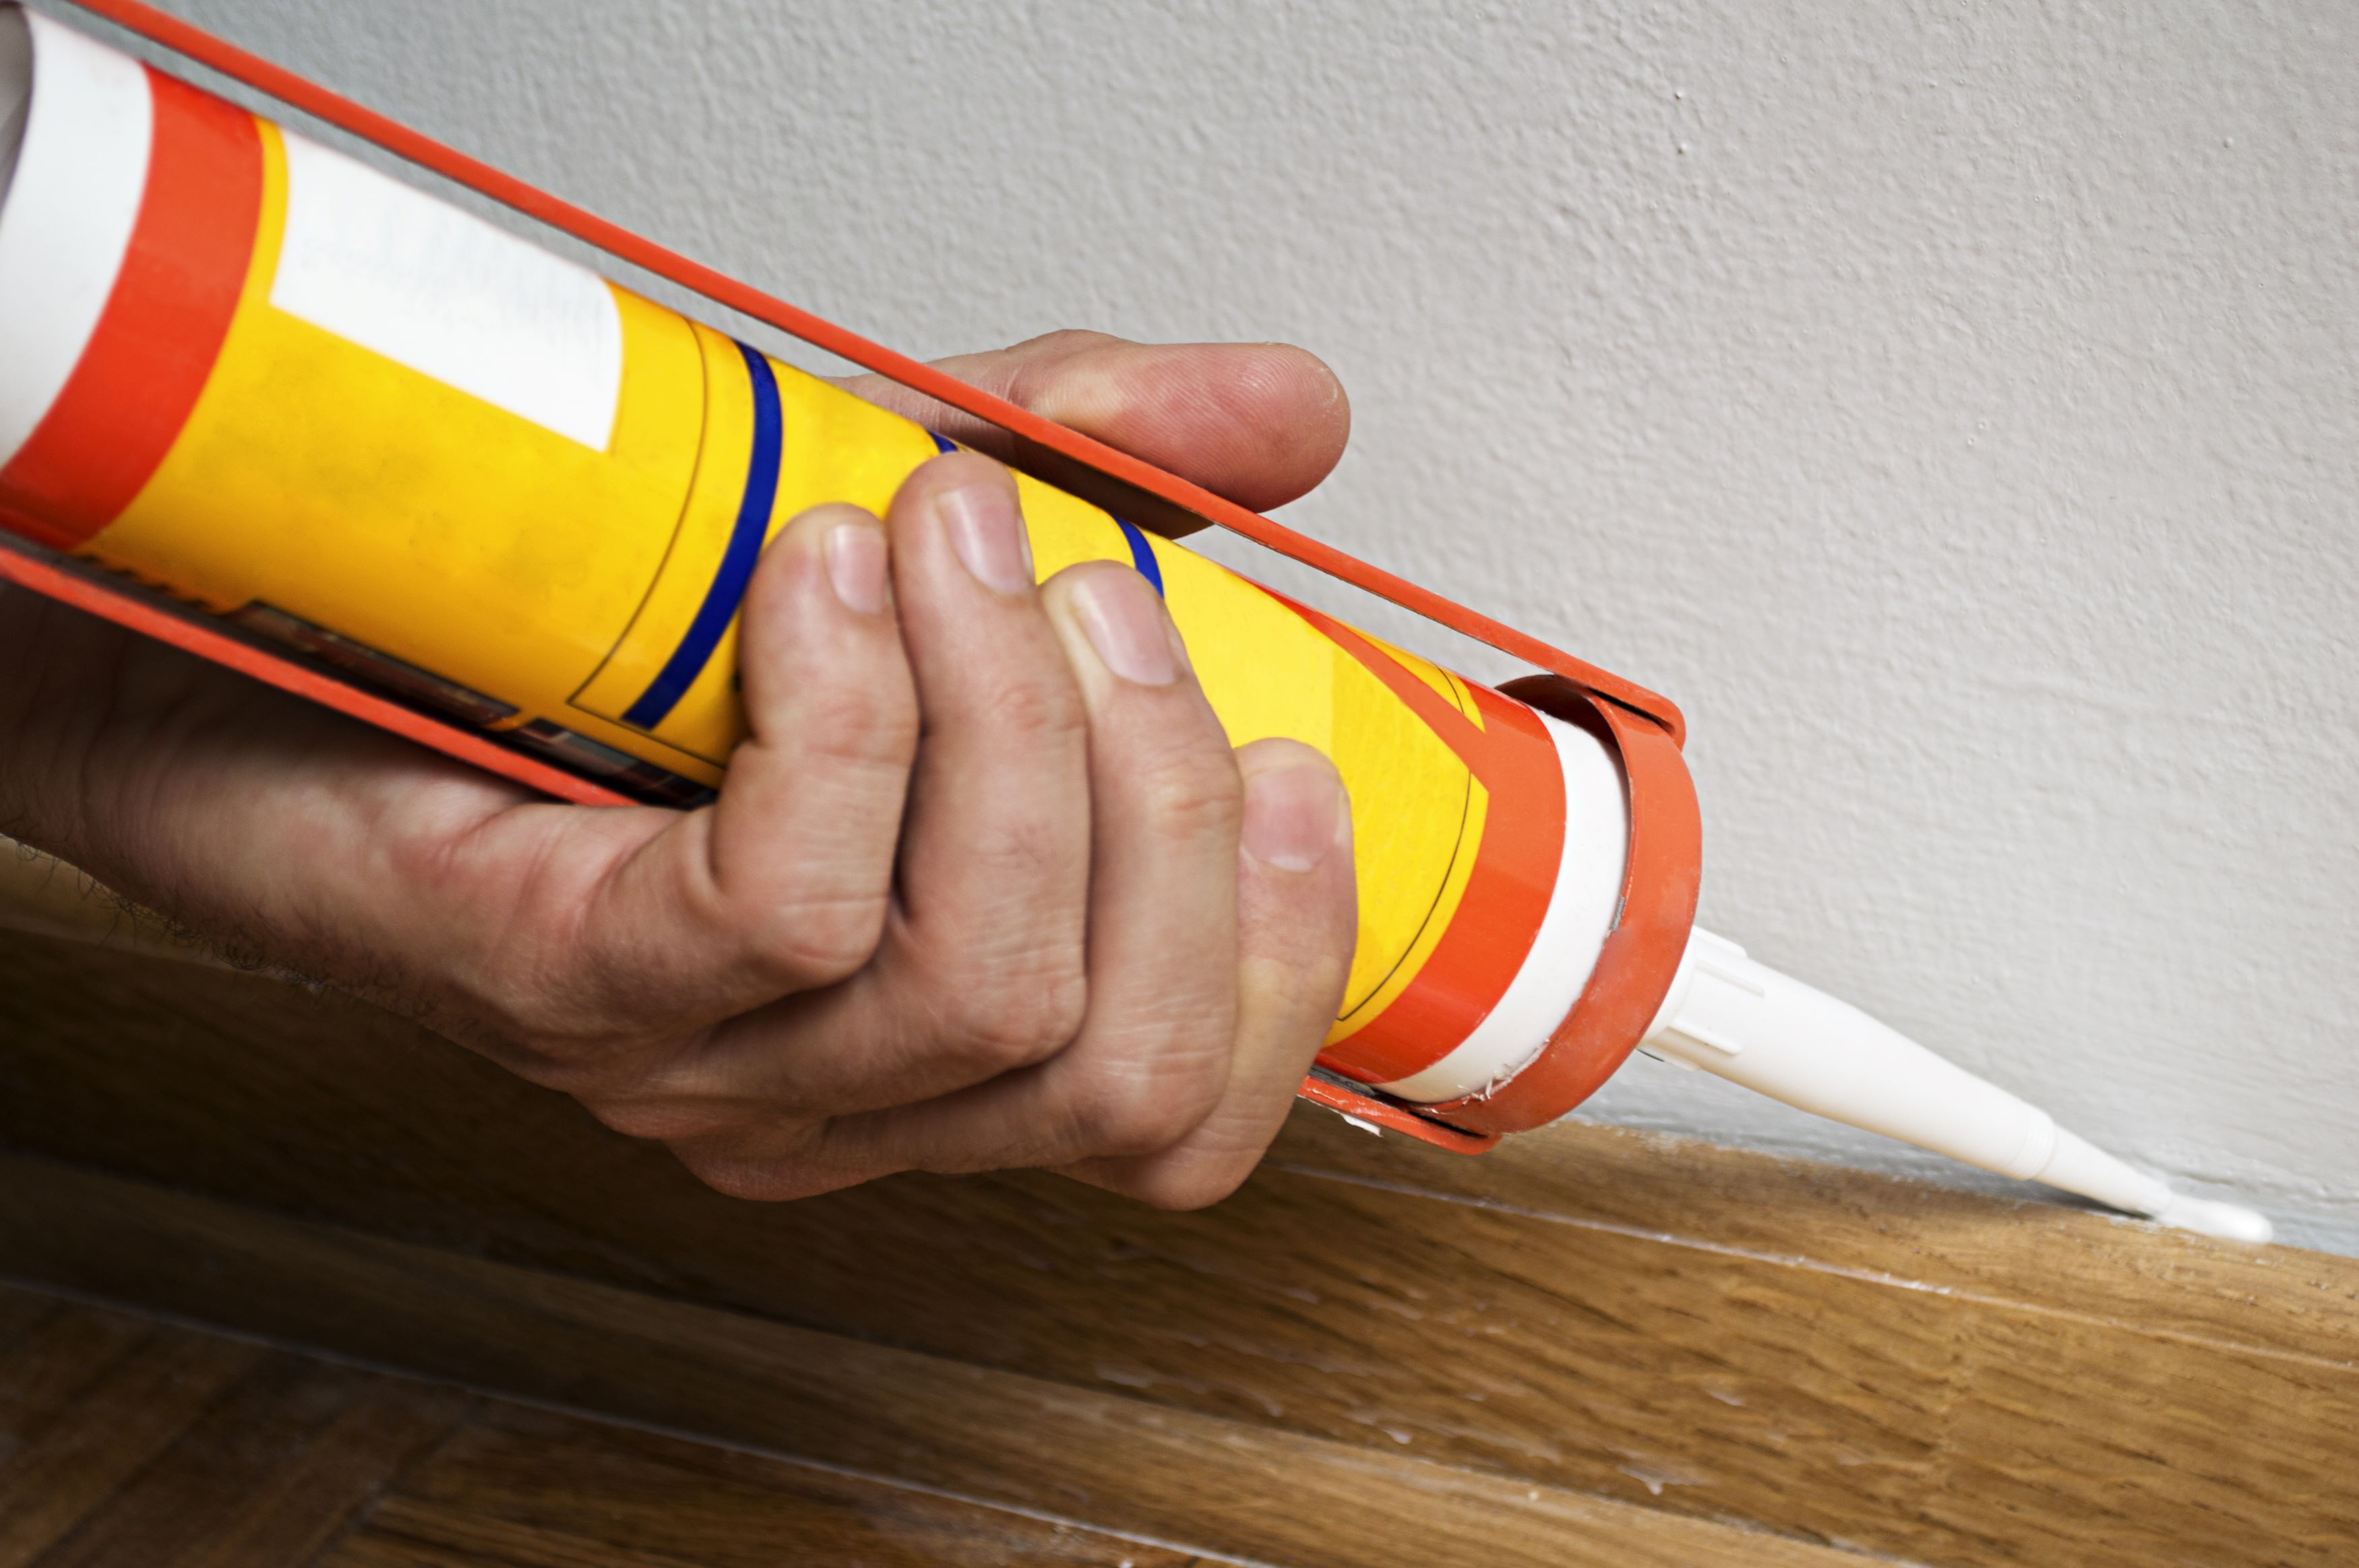
Note: If working in a bathroom or kitchen where moisture is more frequent there are paintable “kitchen and bath” caulks that provide some added moisture protection.
Step 6 : Taping Off
Another critical (and frequently onerous) step in interior painting preparation is to tape off adjoining surfaces. Painter’s tape is used to “mask” adjoining walls, woodwork, cabinets, countertops, and anything else that isn’t intended to be painted.
For starters, do NOT use masking tape, duct tape, or any other type of tape for this task. You must use low-tack Painter’s Tape to avoid leaving sticky residues or risk pulling paint off of the taped surfaces. Painter’s Tape is available in multiple widths at home improvement and hardware stores.
The most common width I use is 1.5” tape, as this gives a sufficient area of protection on the adjoining surface.
You may have heard folks say they don’t use painter’s tape. Many professional interior painters “freehand” with a paintbrush along the edging surfaces. I frequently do this as it saves time in taping.
I do not, however, suggest it for the do-it-yourself painter. Freehanding requires a steady hand as well as experience and practice with a paintbrush. It is unlikely that you will be satisfied with the results or the effort required to fix it.
Run the painter’s tape right up to the edge of the surface to be painted. The edge of the tape that meets the painting edge should be pressed down firmly and a finger run along its entire length to ensure it is fully adhered.
Any tape along the painting edge that is not firmly pressed into place will likely “bleed” paint beneath its edge and onto the surface you are not intending to paint. This is also why it is critical that all those adjoining surfaces are clean to give the tape a surface to adhere to.
Be sure to keep the tape as straight as possible along the edge of your painted surface. If your taped edge moves from side to side your finished paint edge will do the same!
Step 7 : Priming
The final step of interior painting preparation is priming. Priming interior surfaces serves several purposes, including bonding with your initial surface and providing a solid base for your interior paint.
If your walls are already covered with a water-based interior paint in good condition, priming the entire surface is probably unnecessary.
Priming is a necessary step of interior painting preparation if you are painting any of the following:
- New, unprimed drywall (see How To Paint Drywall)
- Any glossy surface (including glossy finish paints, metallics, etc…)
- Unpainted Wood
- Anytime you will be covering dark paint colors with a lighter paint
- Popcorn Ceilings (see the Paint A Ceiling page for specific instructions)
- After Removing Wallpaper (see the How To Remove Wallpaper Page for specific instructions)
- A surface previously covered in oil-based paint
- Not sure if the previous surface is oil-based or water-based? Rub a small spot on the wall with a cotton ball soaked in ammonia. If the paint rubs off, the paint is latex (water-based), meaning there’s probably no need for priming. If it does not, it is oil-based and needs to be primed.
A good rule of thumb is: if in doubt, prime it!
Finally, even if your surfaces are already covered with a low-gloss water-base paint and do not require priming, you should “spot prime” any areas where spackling repairs were made to the drywall. If these areas are not primed they will appear a different sheen than the walls even after painting. Priming patched areas is a MUST.
Whew! That concludes this interior painting preparation guide. It’s a long and tedious one, I’ll admit, but take heart that the most unrewarding part of the job is done. The rest of your project is about transforming your interior space with paint and color!

"I did not know how to paint or even what to paint, but I knew I had to begin." Margaret Atwood, Cat's Eye
Join my monthly email newsletter, "Dip & Swipe", for professional tips, how-to articles, color and decorating ideas, projects, and much more!
Recent Articles
-
Repurpose Old Windows
Dec 10, 21 06:32 PM
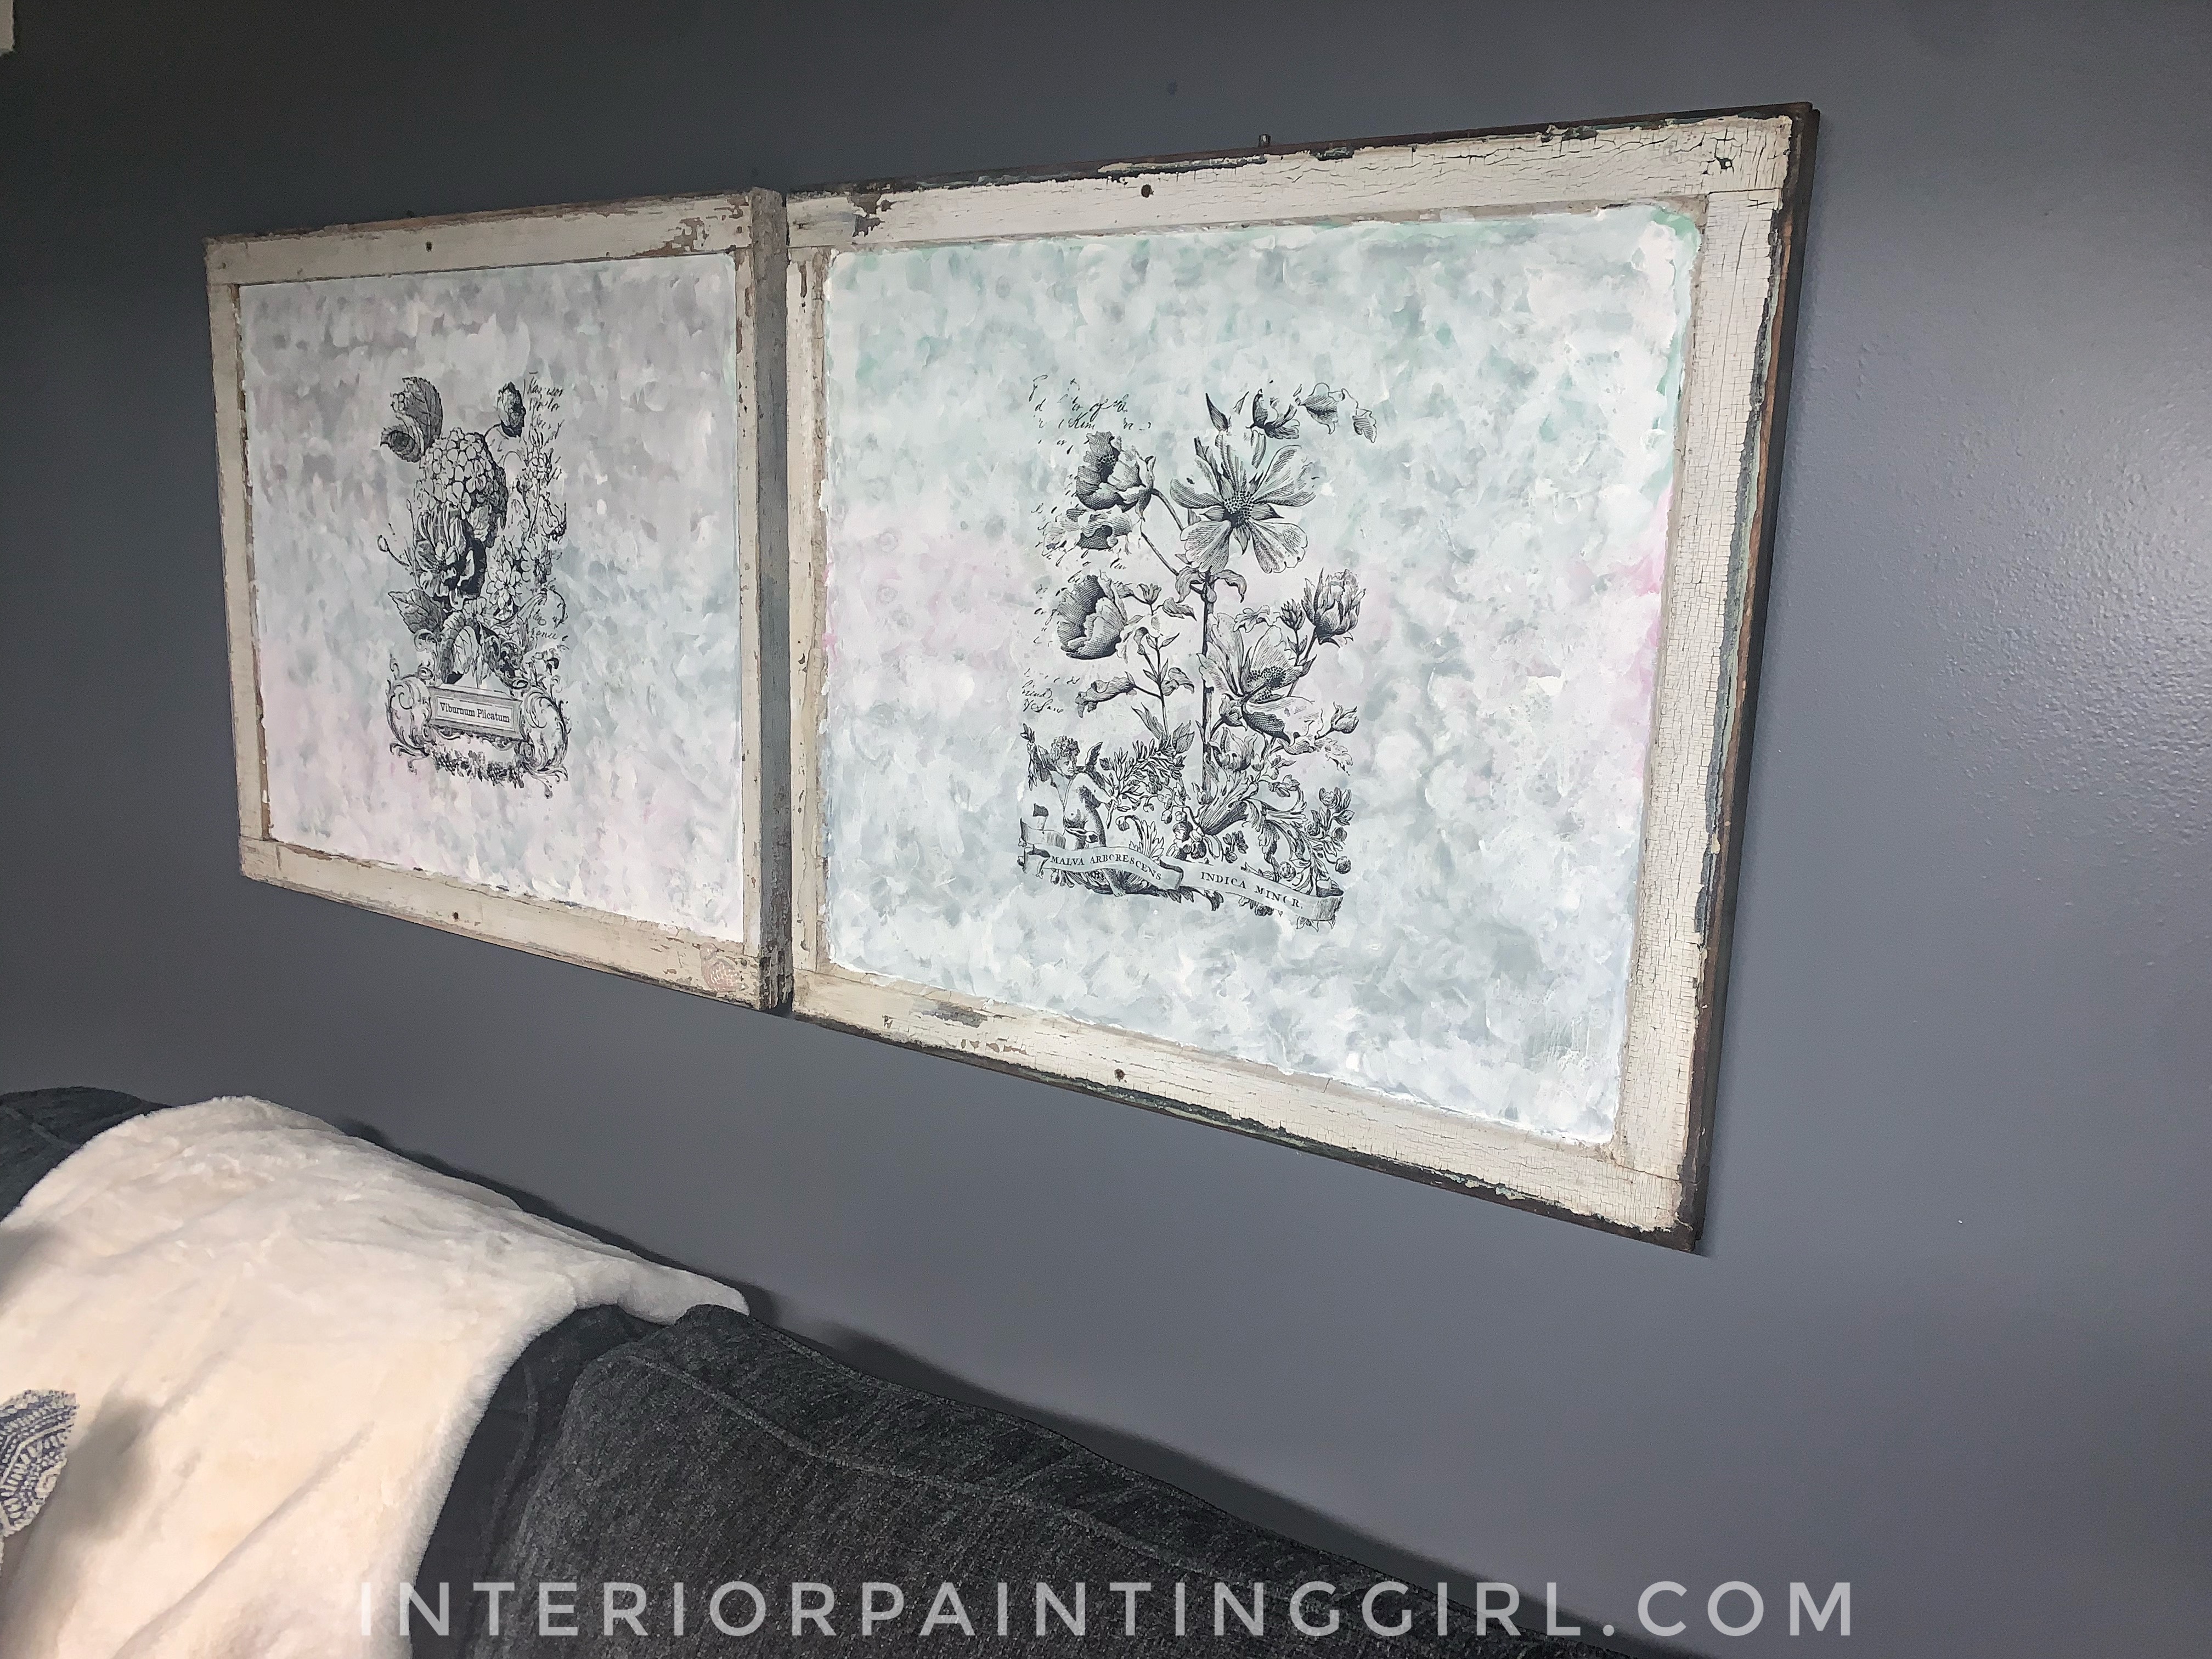 Learn how to repurpose old windows by upcycling them into shabby chic decor.
 -
Upcycling a Toolbox
Dec 08, 21 10:22 PM
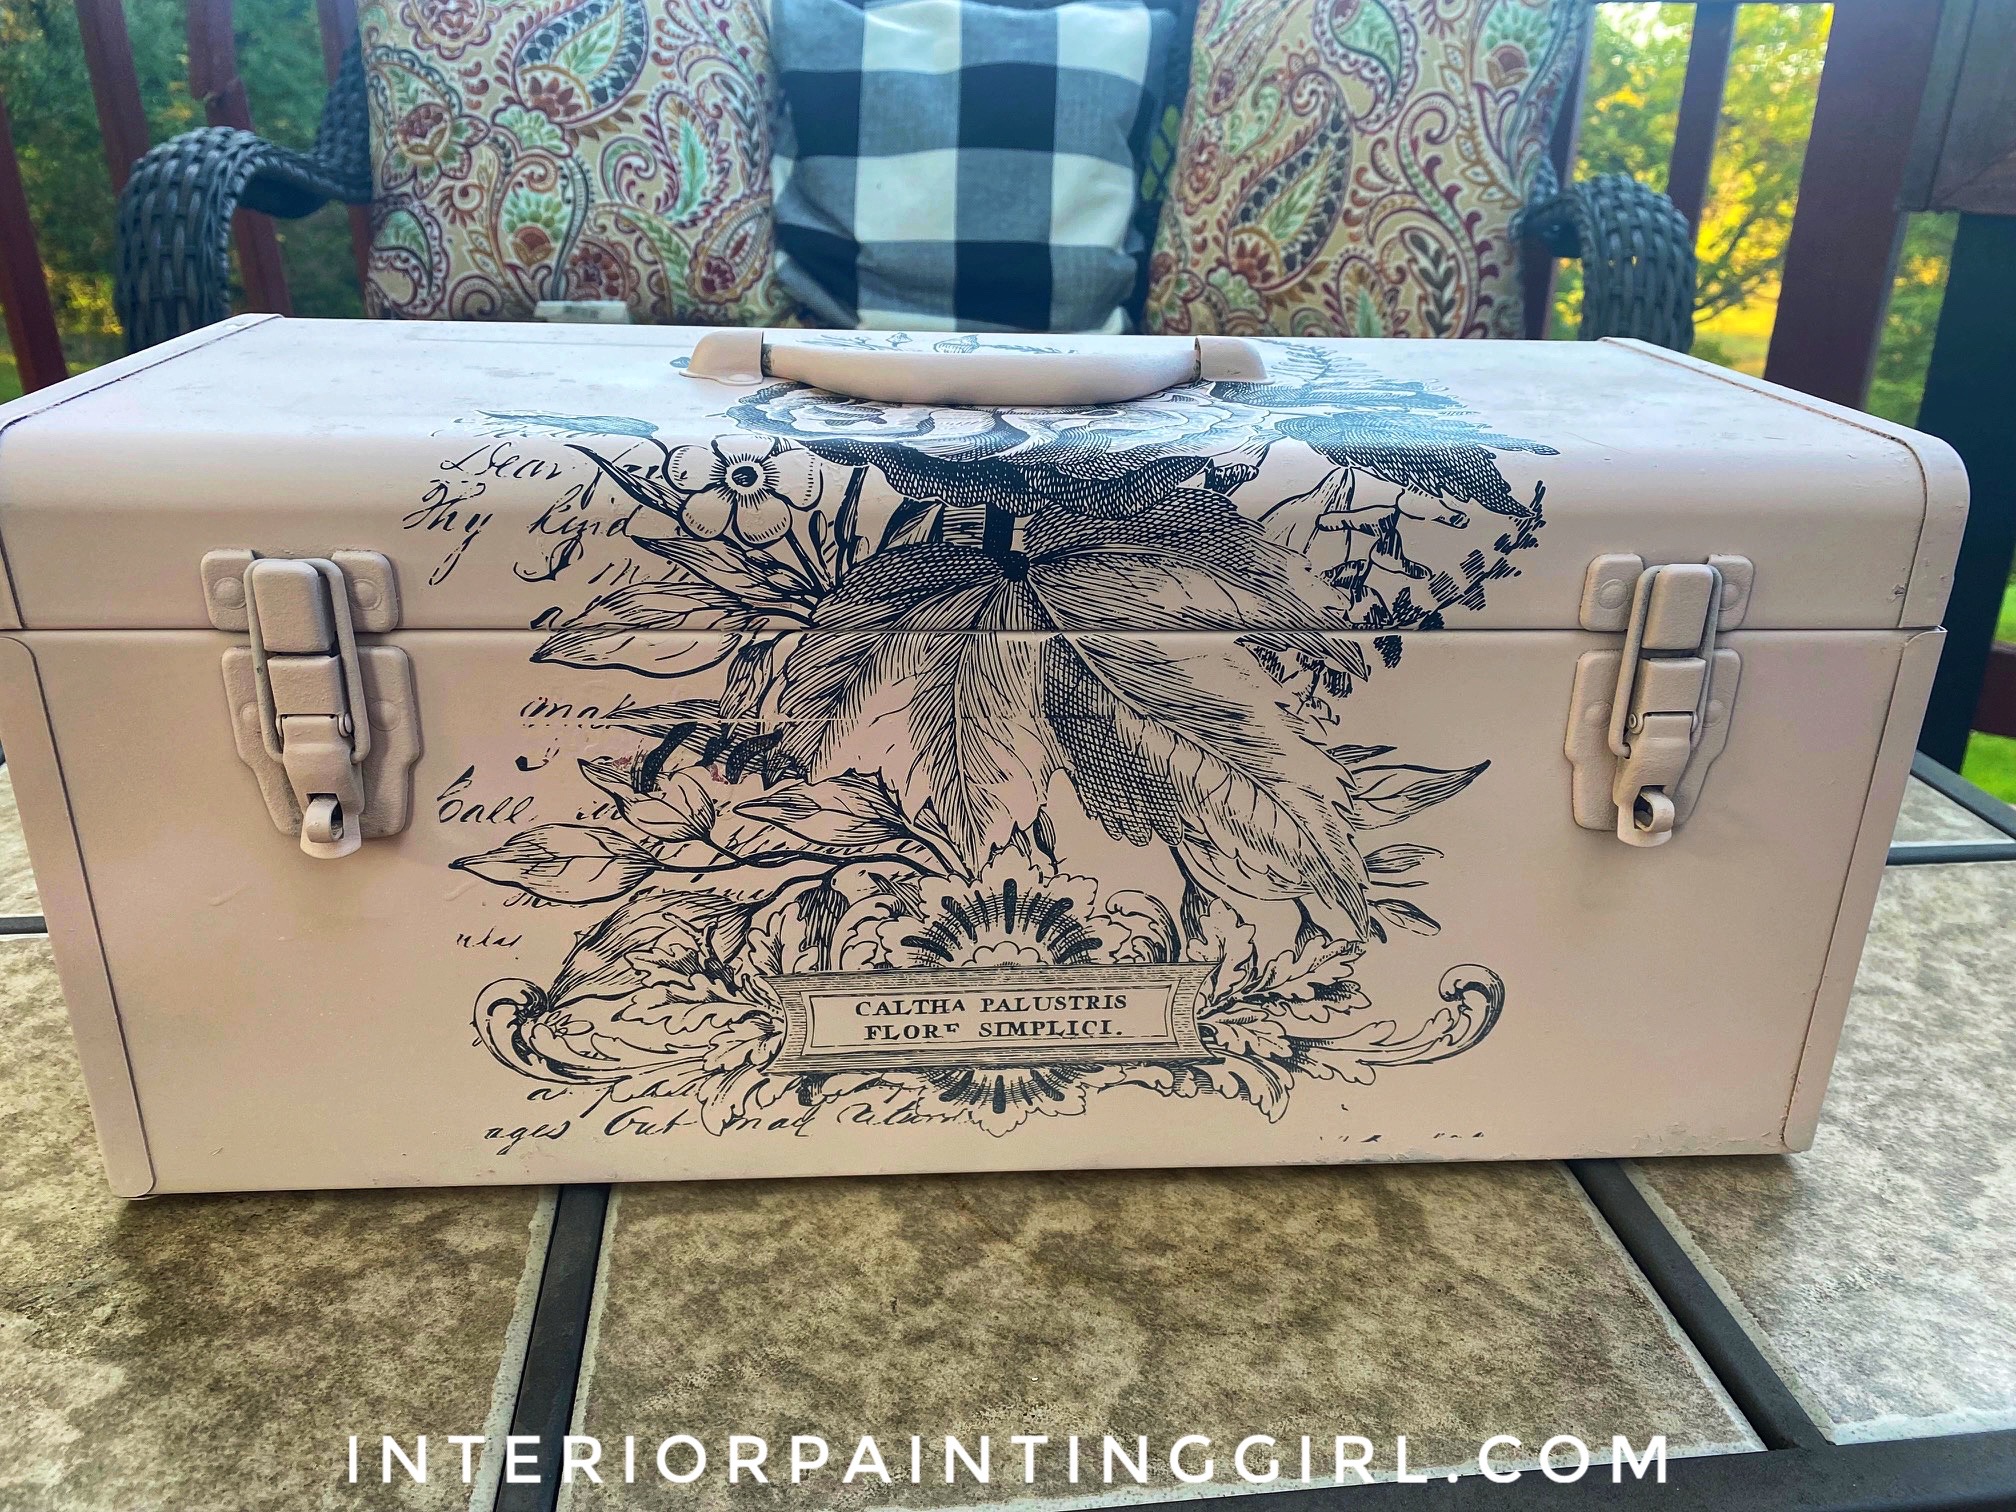 In this craft painting project, I upcycle an old toolbox with fresh paint and an appliqué.
 -
Craft Painting Projects
Dec 08, 21 08:13 PM
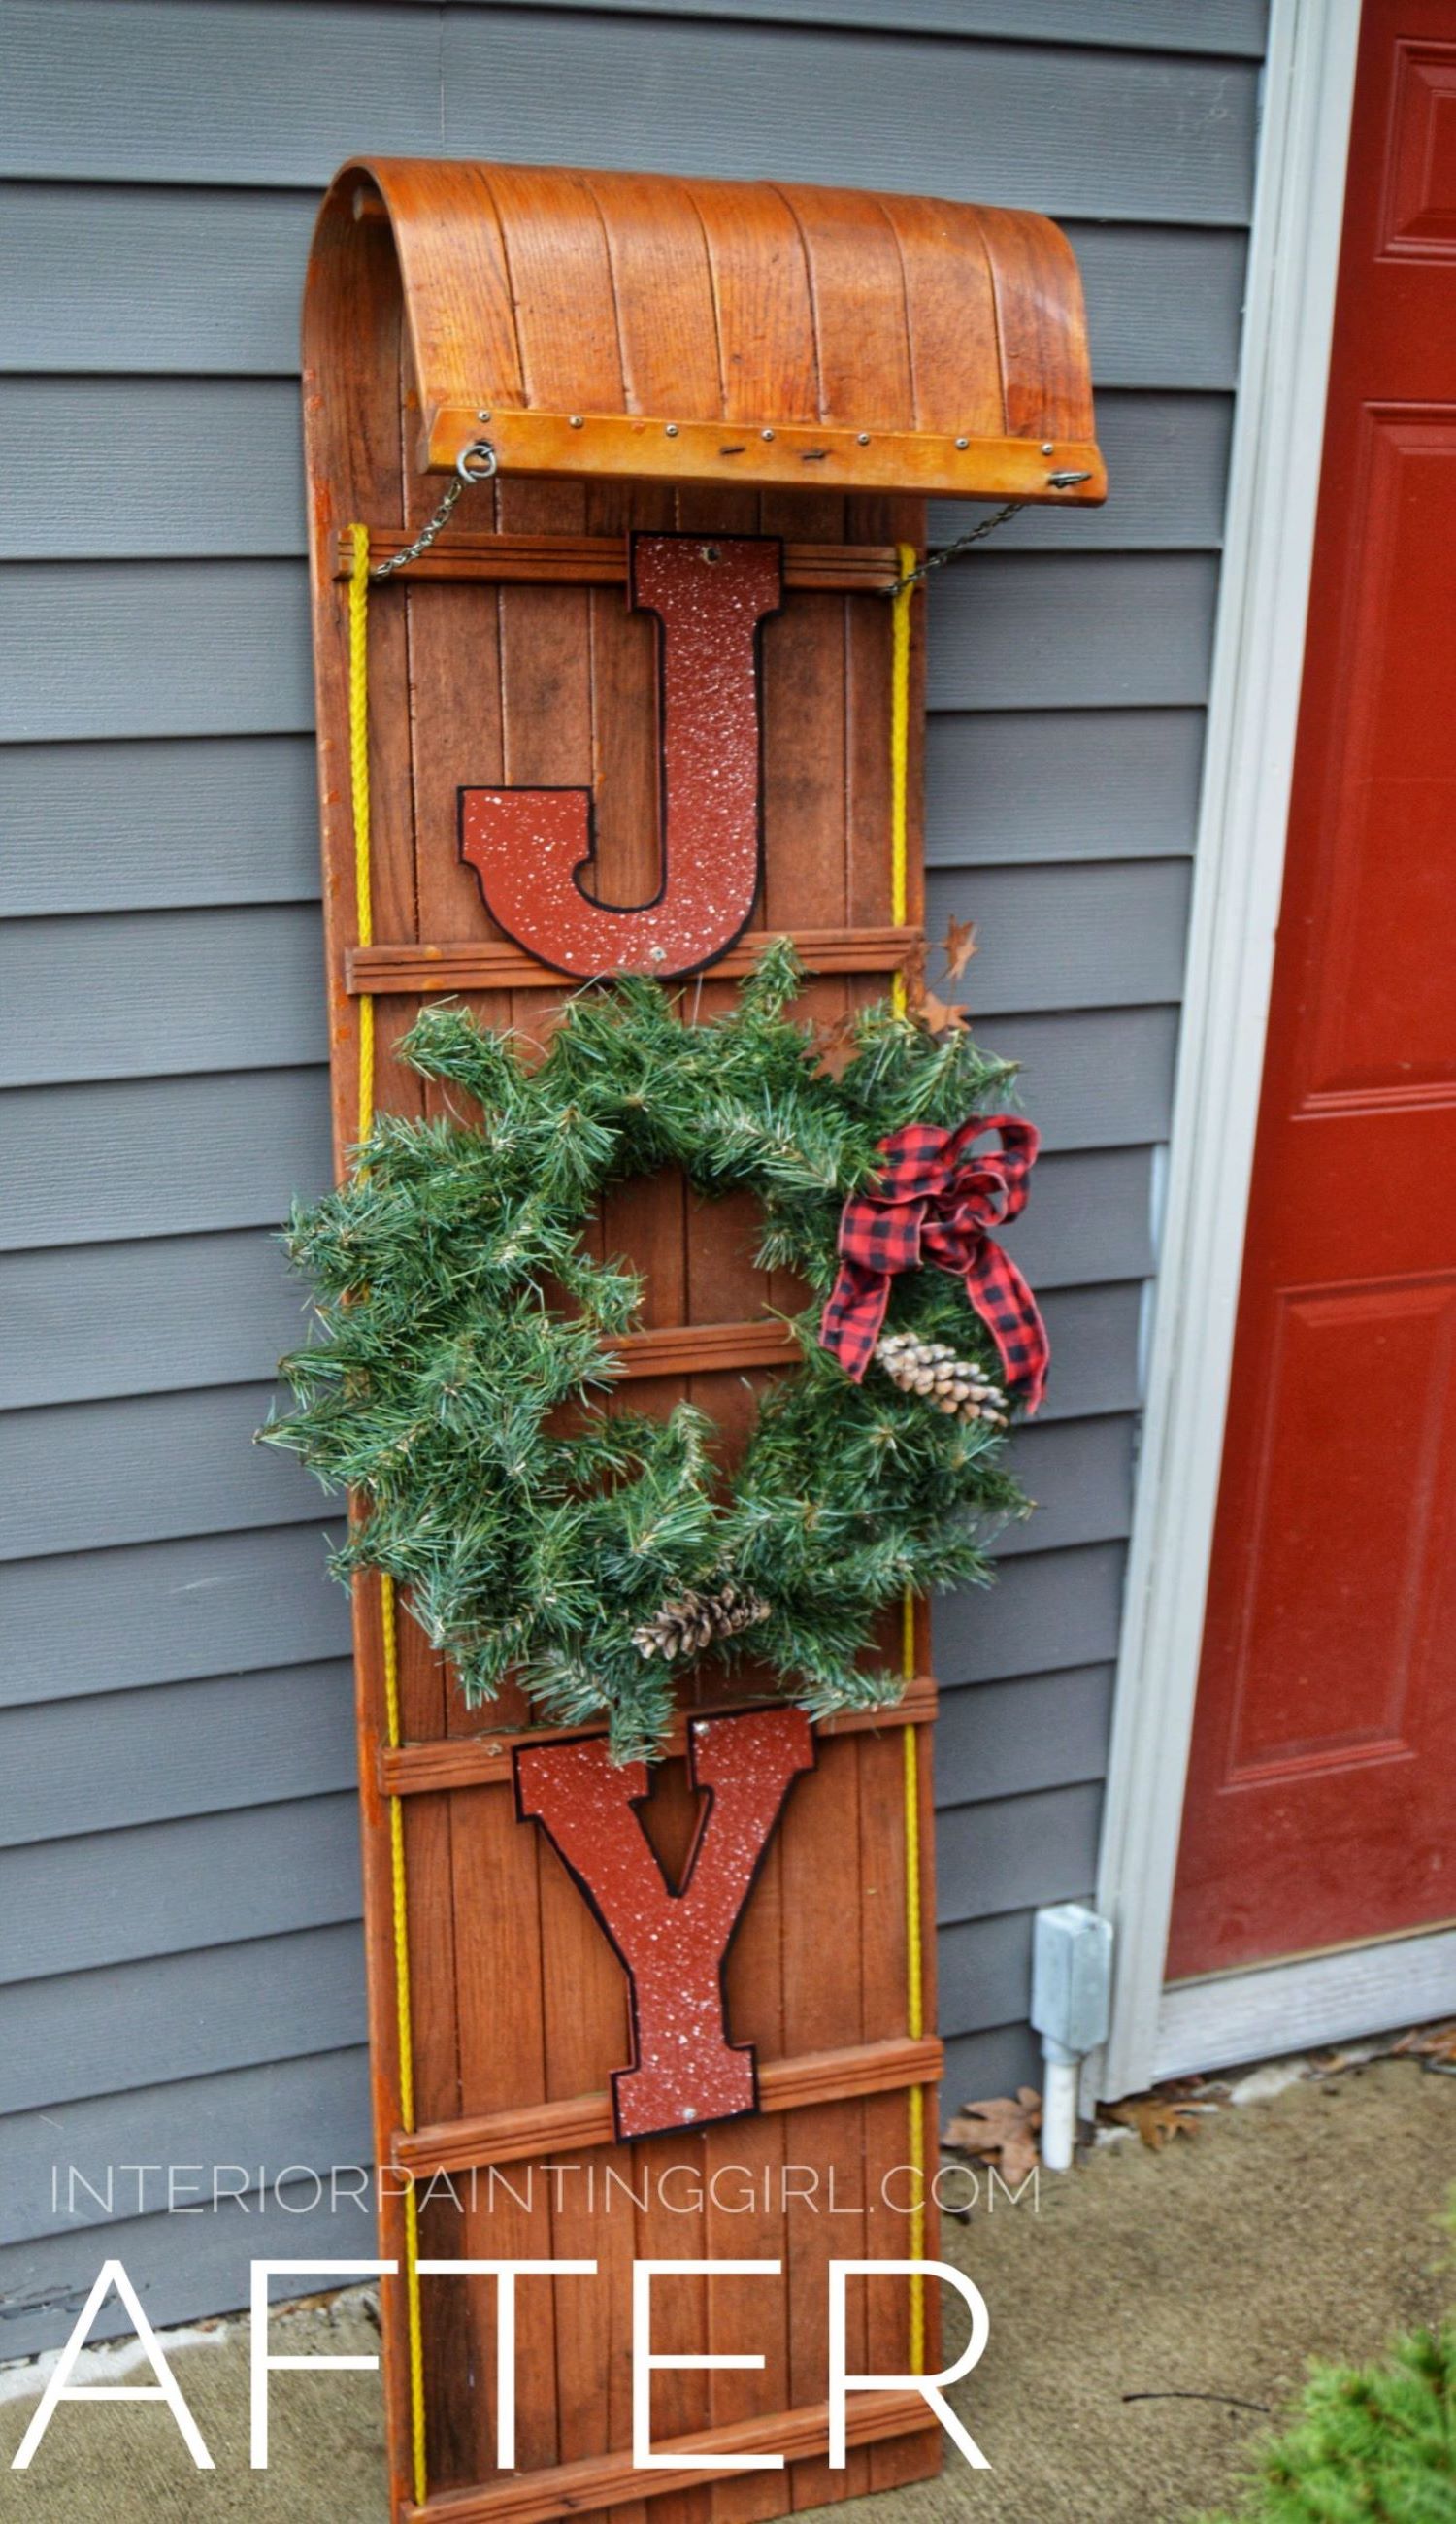 A place for all of my smaller craft painting projects and DIY projects that don't fit elsewhere.
Follow me on Pinterest @