How To Repurpose Old Windows
One of my favorite things to decorate with is repurposed old windows and doors. They are often aged so beautifully with their chipped paint and weather-worn wood. I cannot recall the last time I altered an old frame because they are just so shabbily perfect! Instead, it is their glass inserts that I play around with.
Repurpose Old Window Supply List
Here is what you'll need for this project:
- A Old Window (or an old frame with a glass insert)
- Painter’s Tape
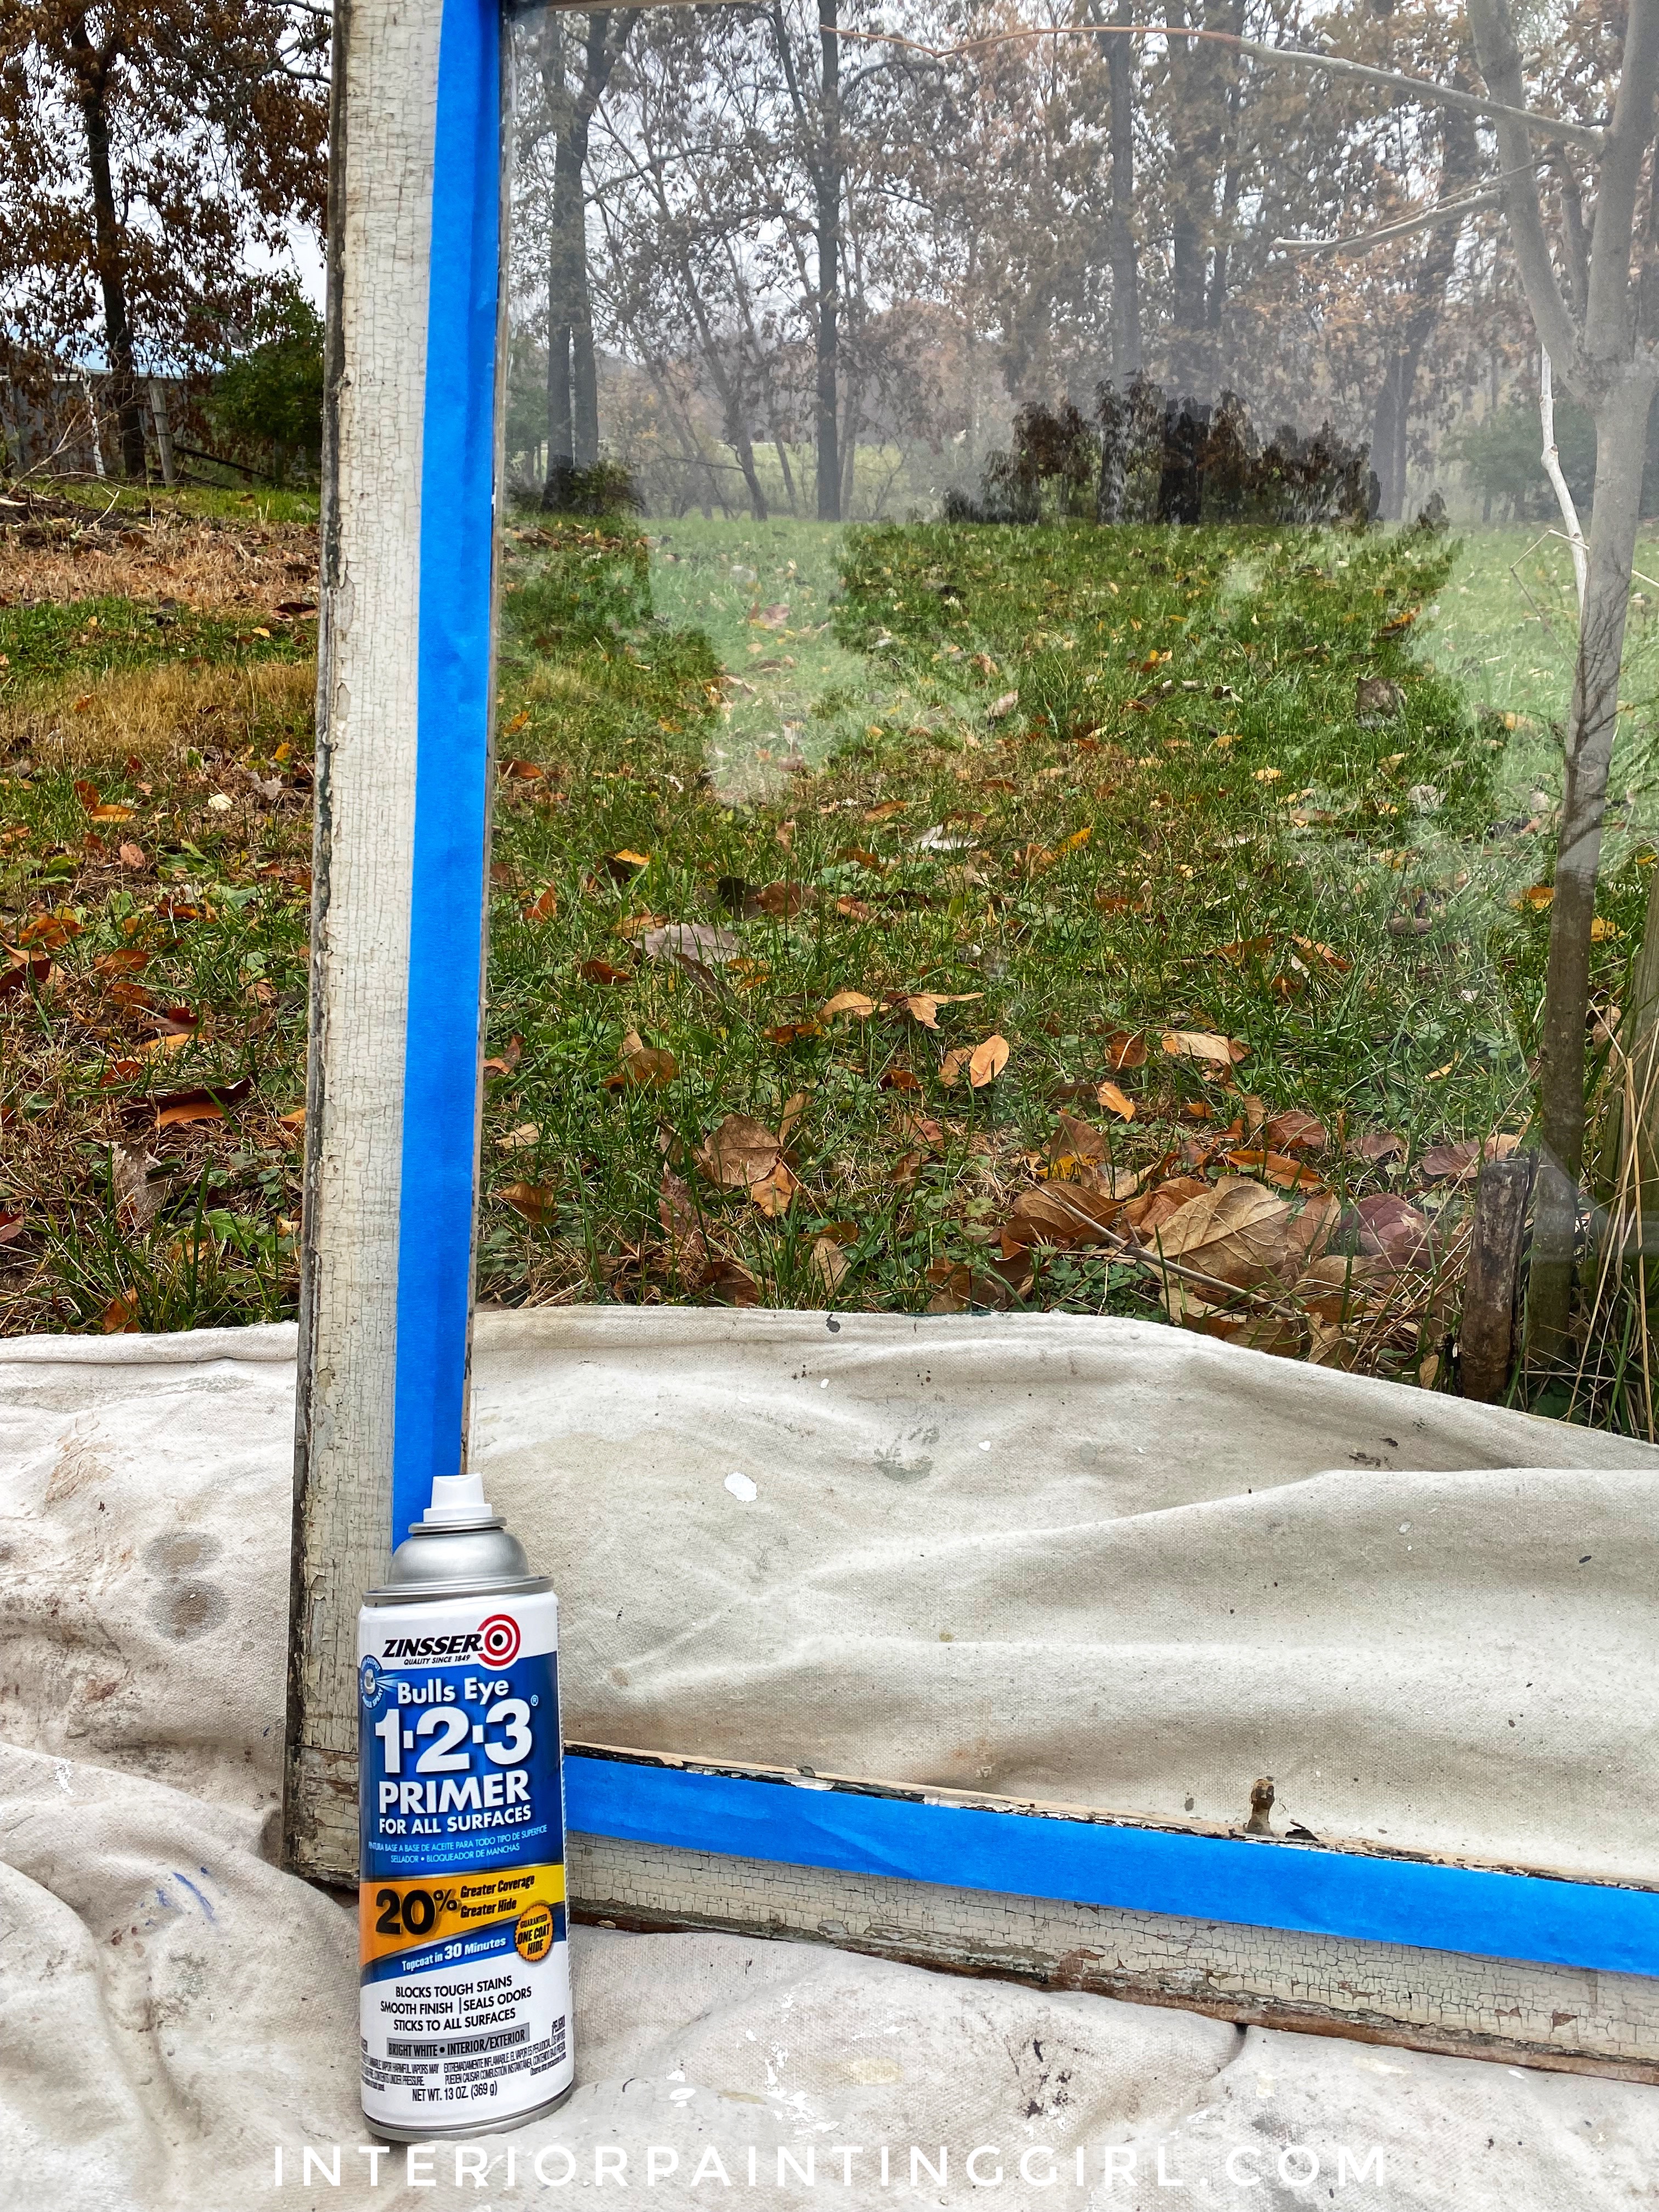
- Zinsser 1-2-3 Spray Primer
- Water-Based Craft Paints in your desired colors
- A Spray Bottle of warm water
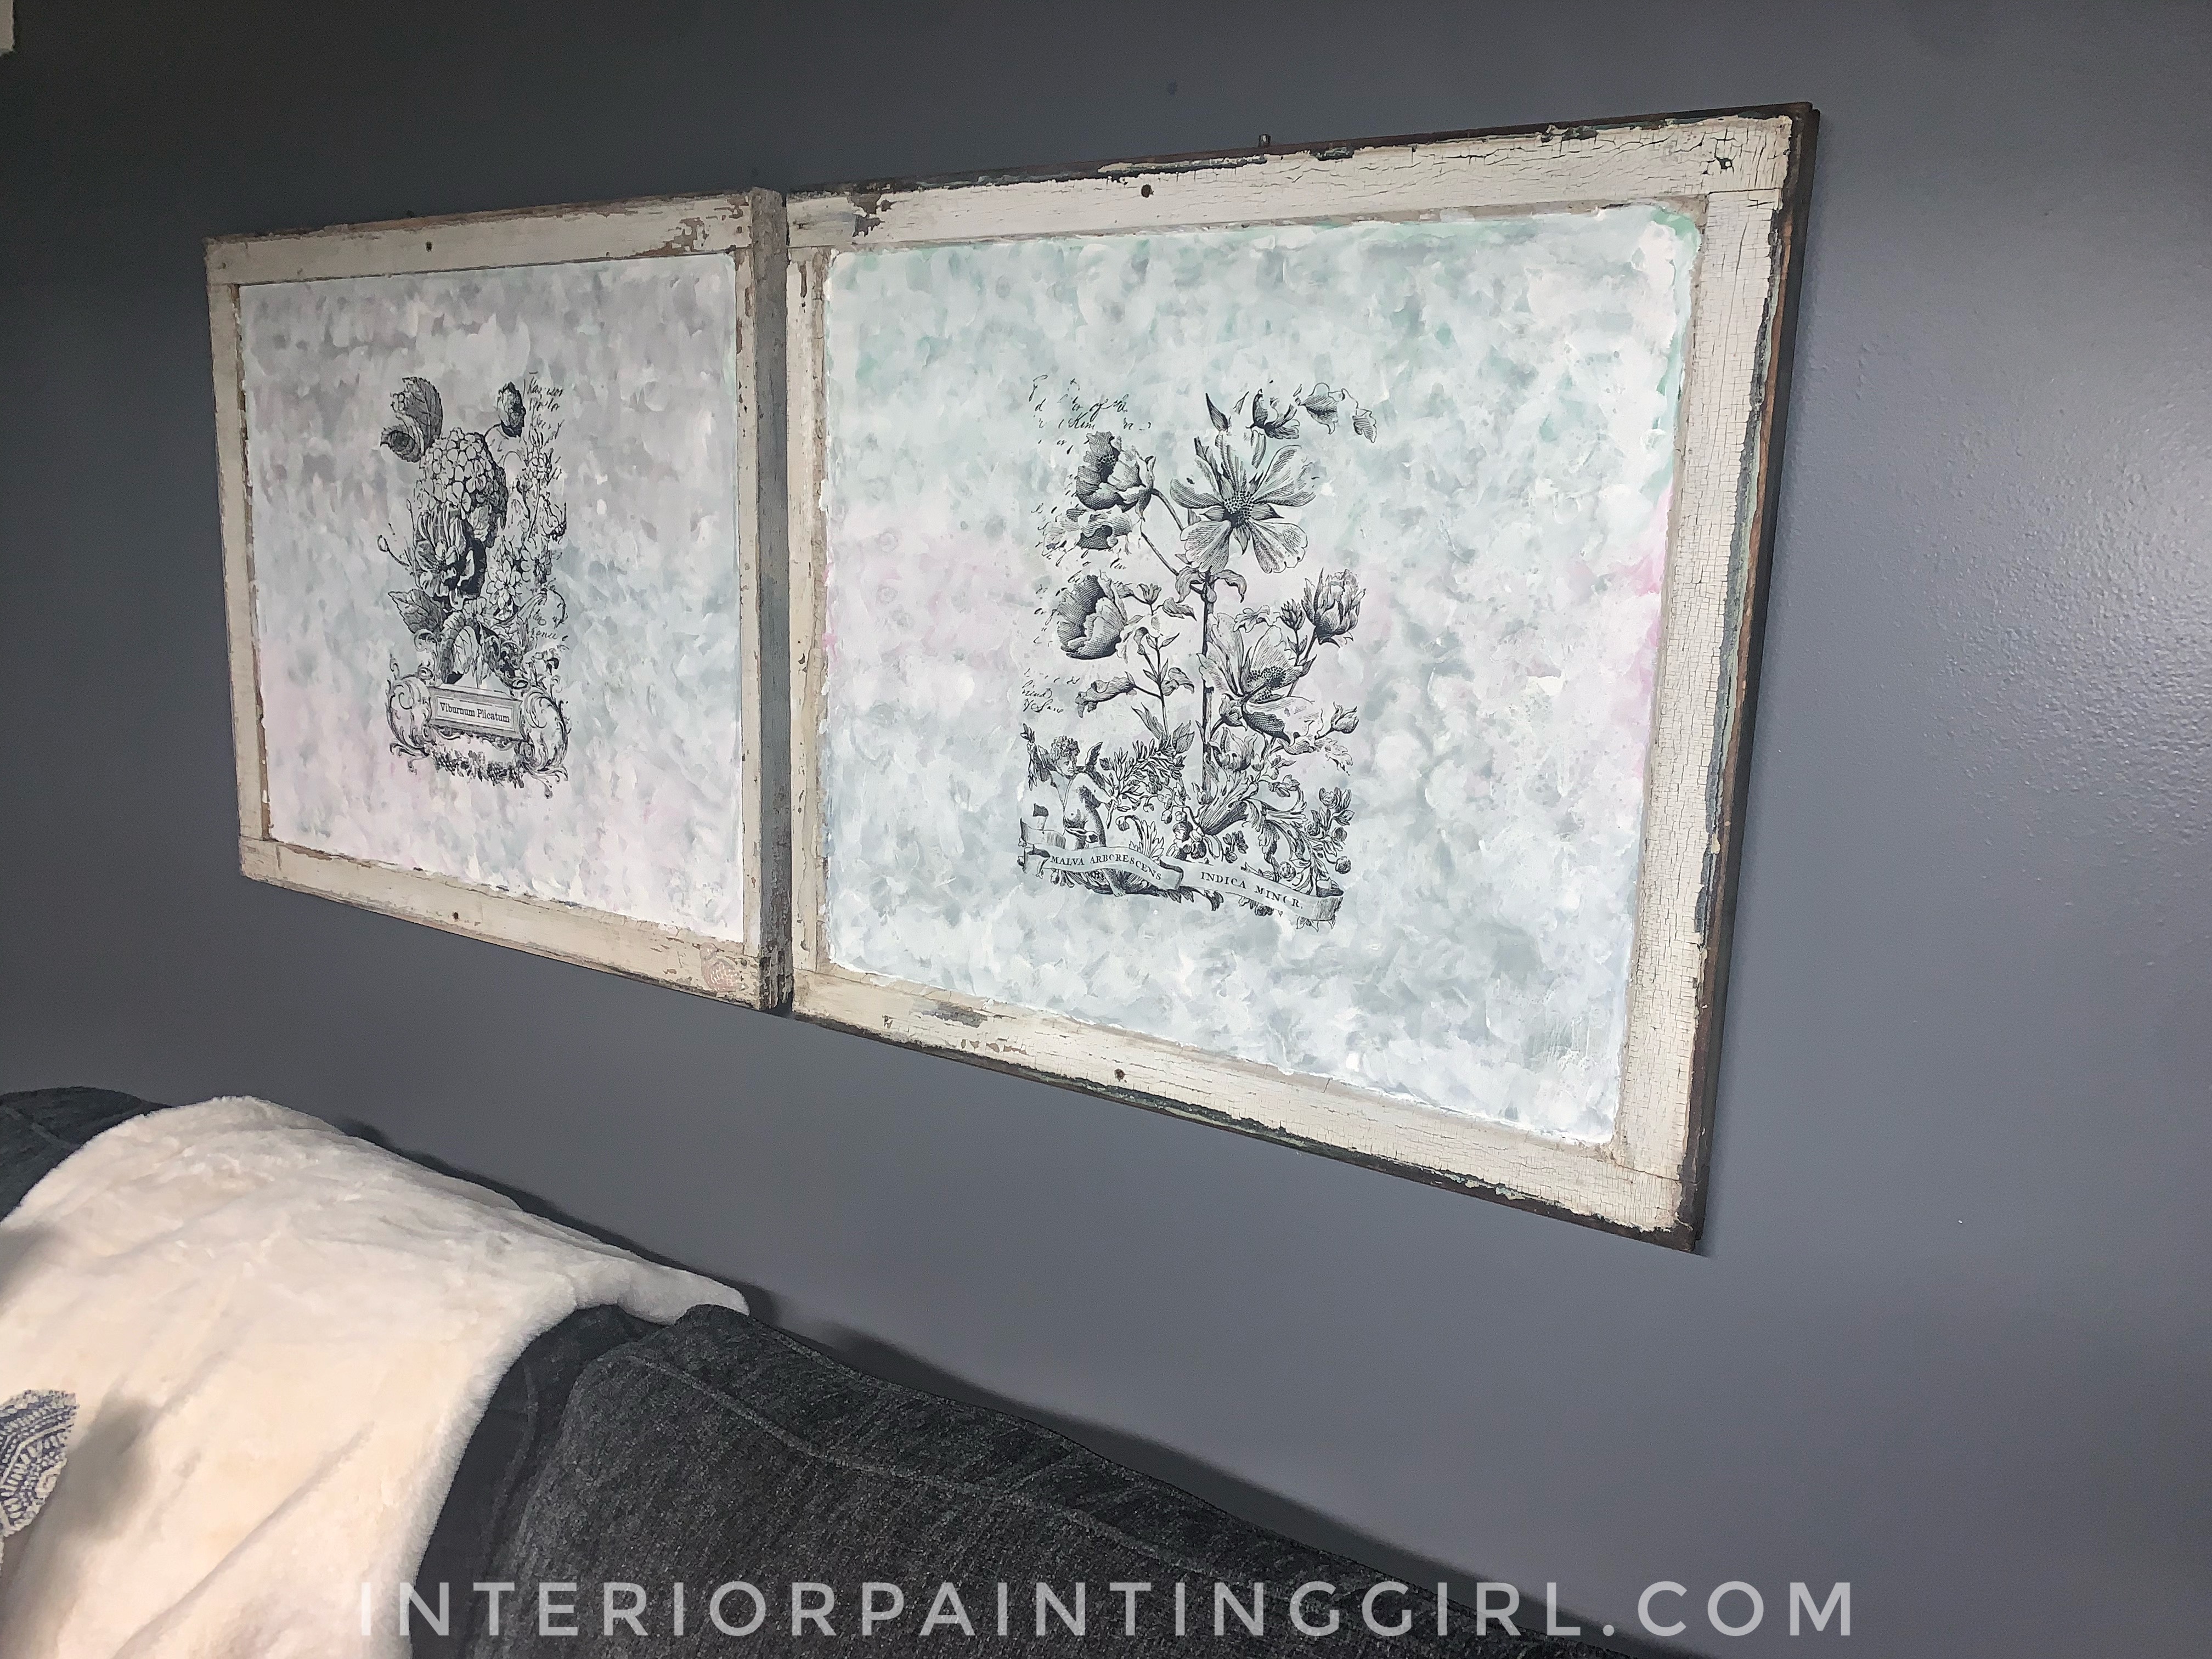
To repurpose this old window, I’m going to have fun mimicking a Monet watercolor effect on the glass. I wanted something soft and muted and blurry for my basement that I am refinishing.
This method allows you to be creative and – let’s be honest – a little sloppy. Think perfectly imperfect. And if that doesn’t allow for creative license, I don’t know what does.
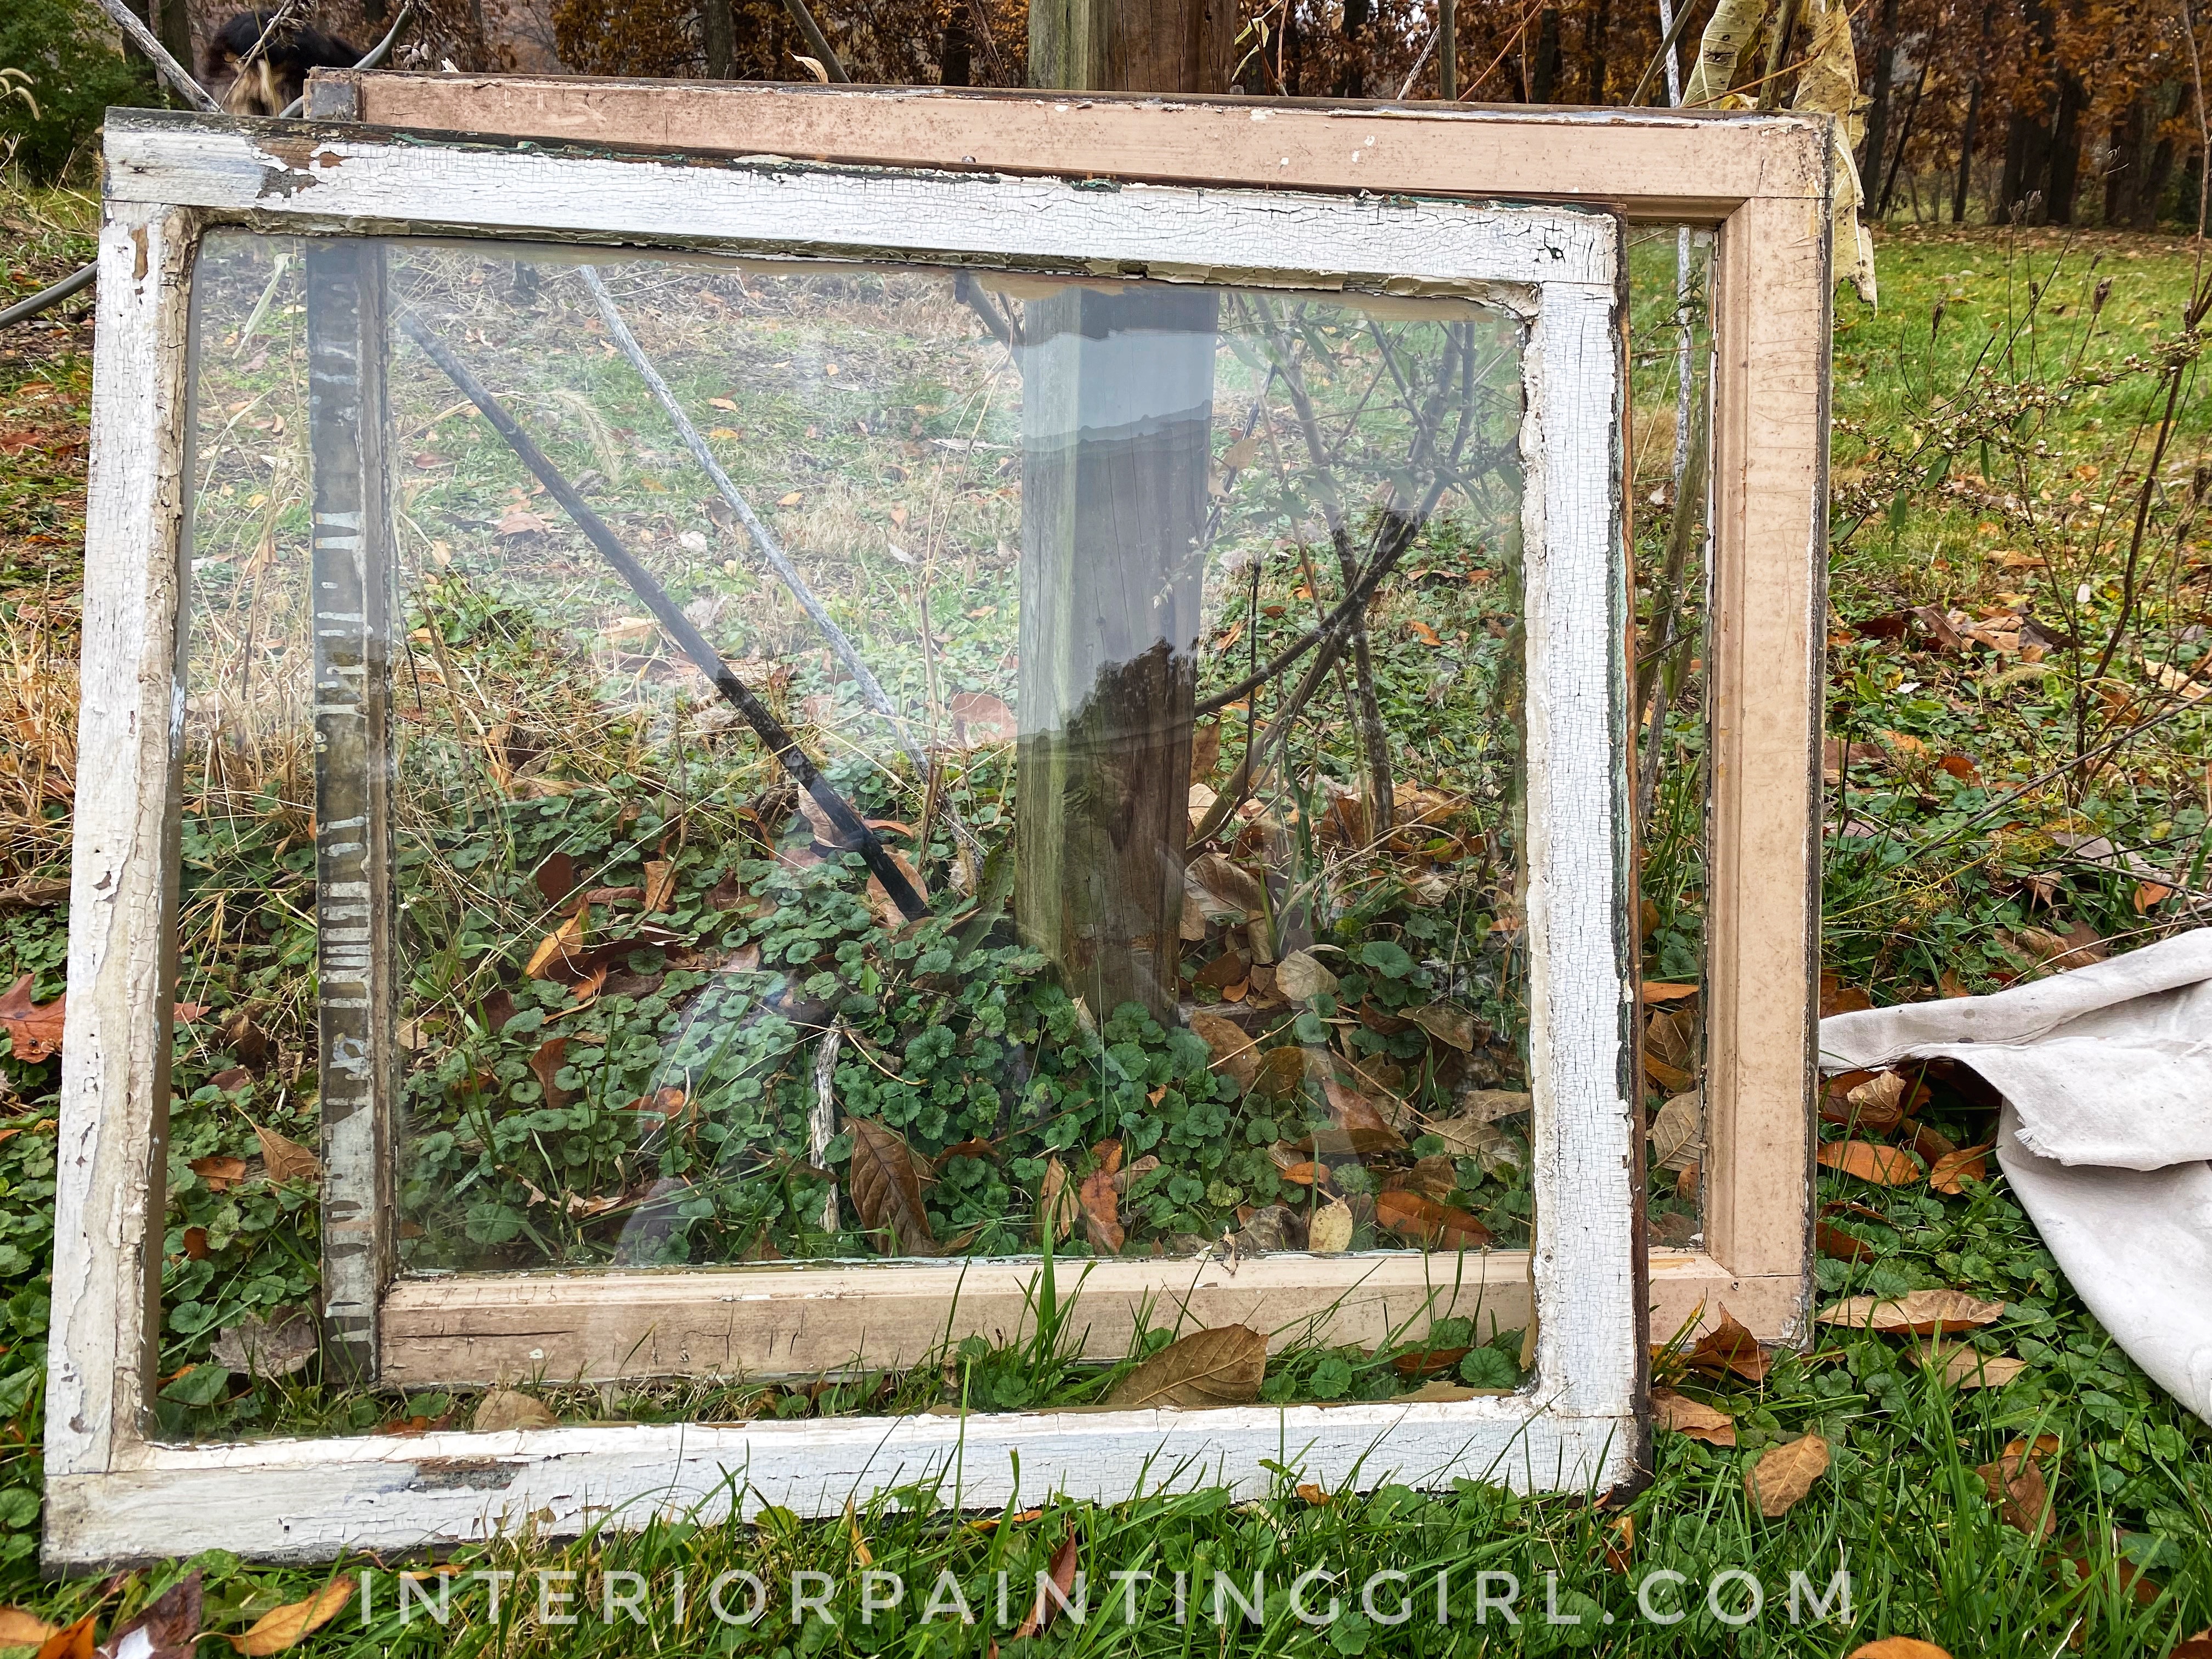
I found these windows on garbage collection day. I literally picked them up discarded at the roadside. One person’s trash is a crafter’s treasure.
I cleaned the glass with Windex and washed the frames with soap and water. Once the windows were washed and dried, I was ready to begin painting.
Zinsser 1-2-3 is my favorite primer. It primes almost anything without being sanded and is just a great all-purpose item to have in your crafting arsenal. It is available as a spray primer as well so this is ideal for painting glass.
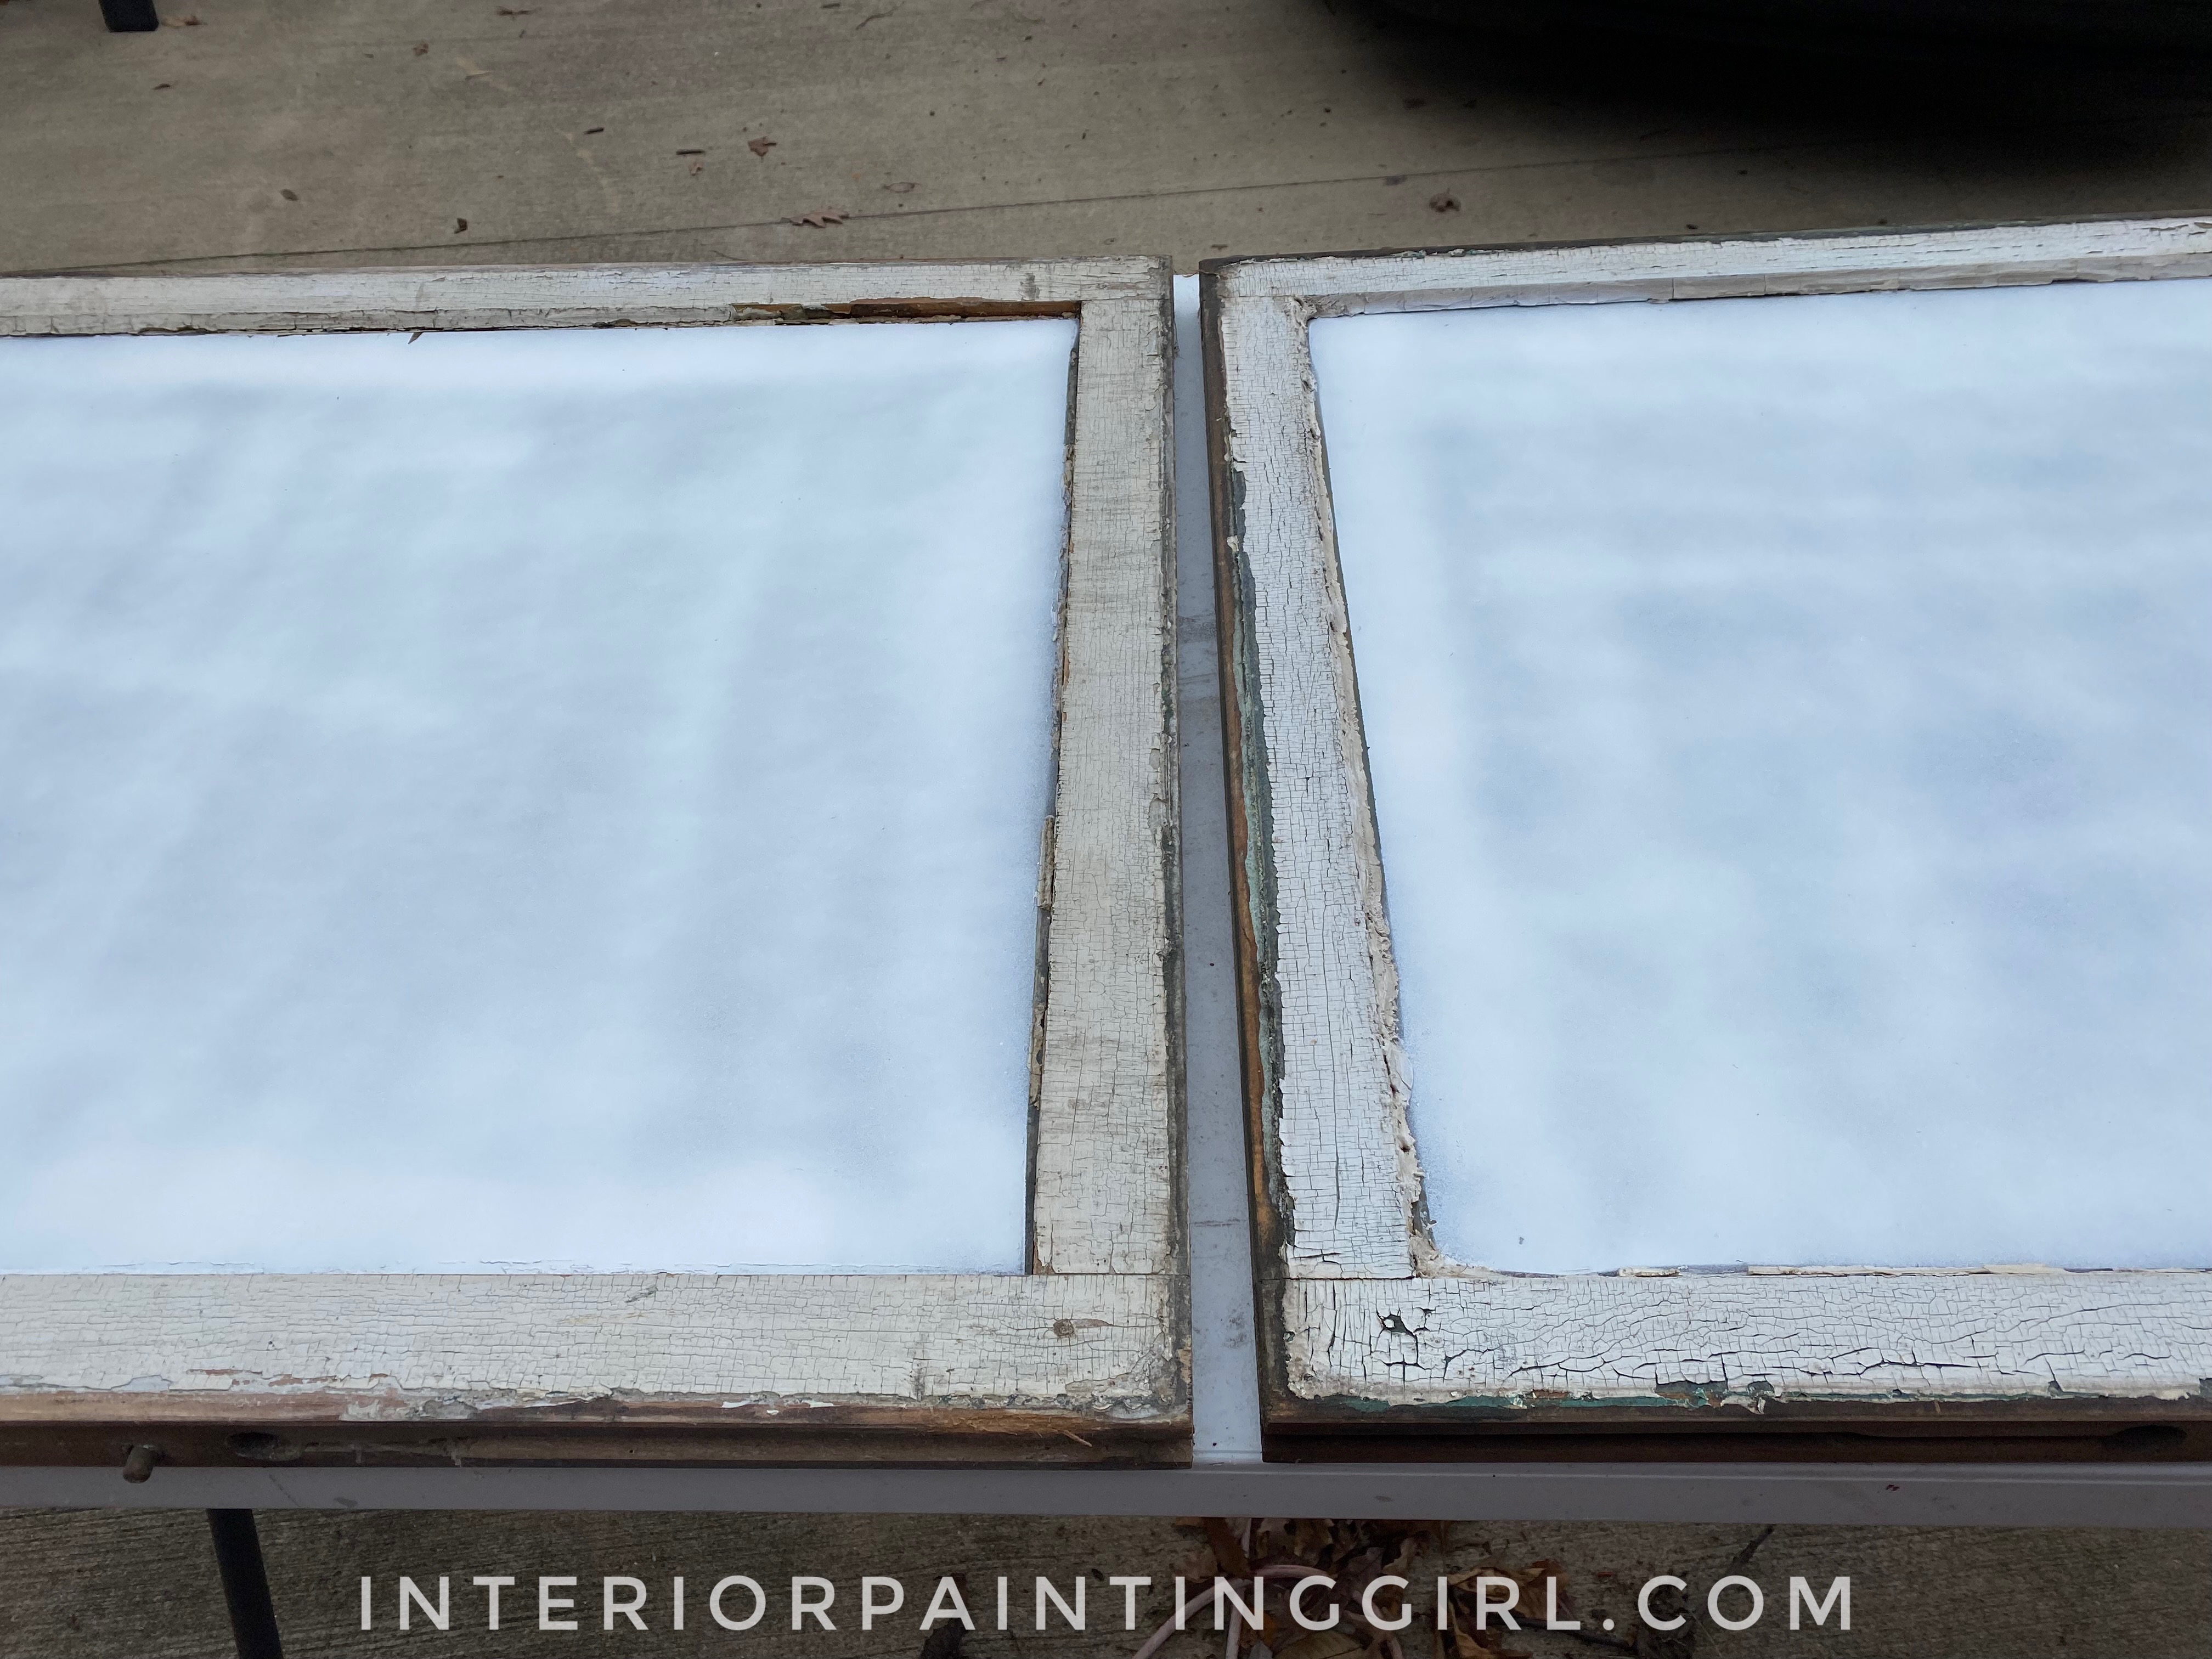
I used painter’s tape to mask off the frame from the glass. I didn’t want to get any of the primer on the frames themselves because I loved their aged appearance. I put on two light coats of the primer spray paint. I did this outdoors for ventilation. Primers often have a stronger odor than normal paint.
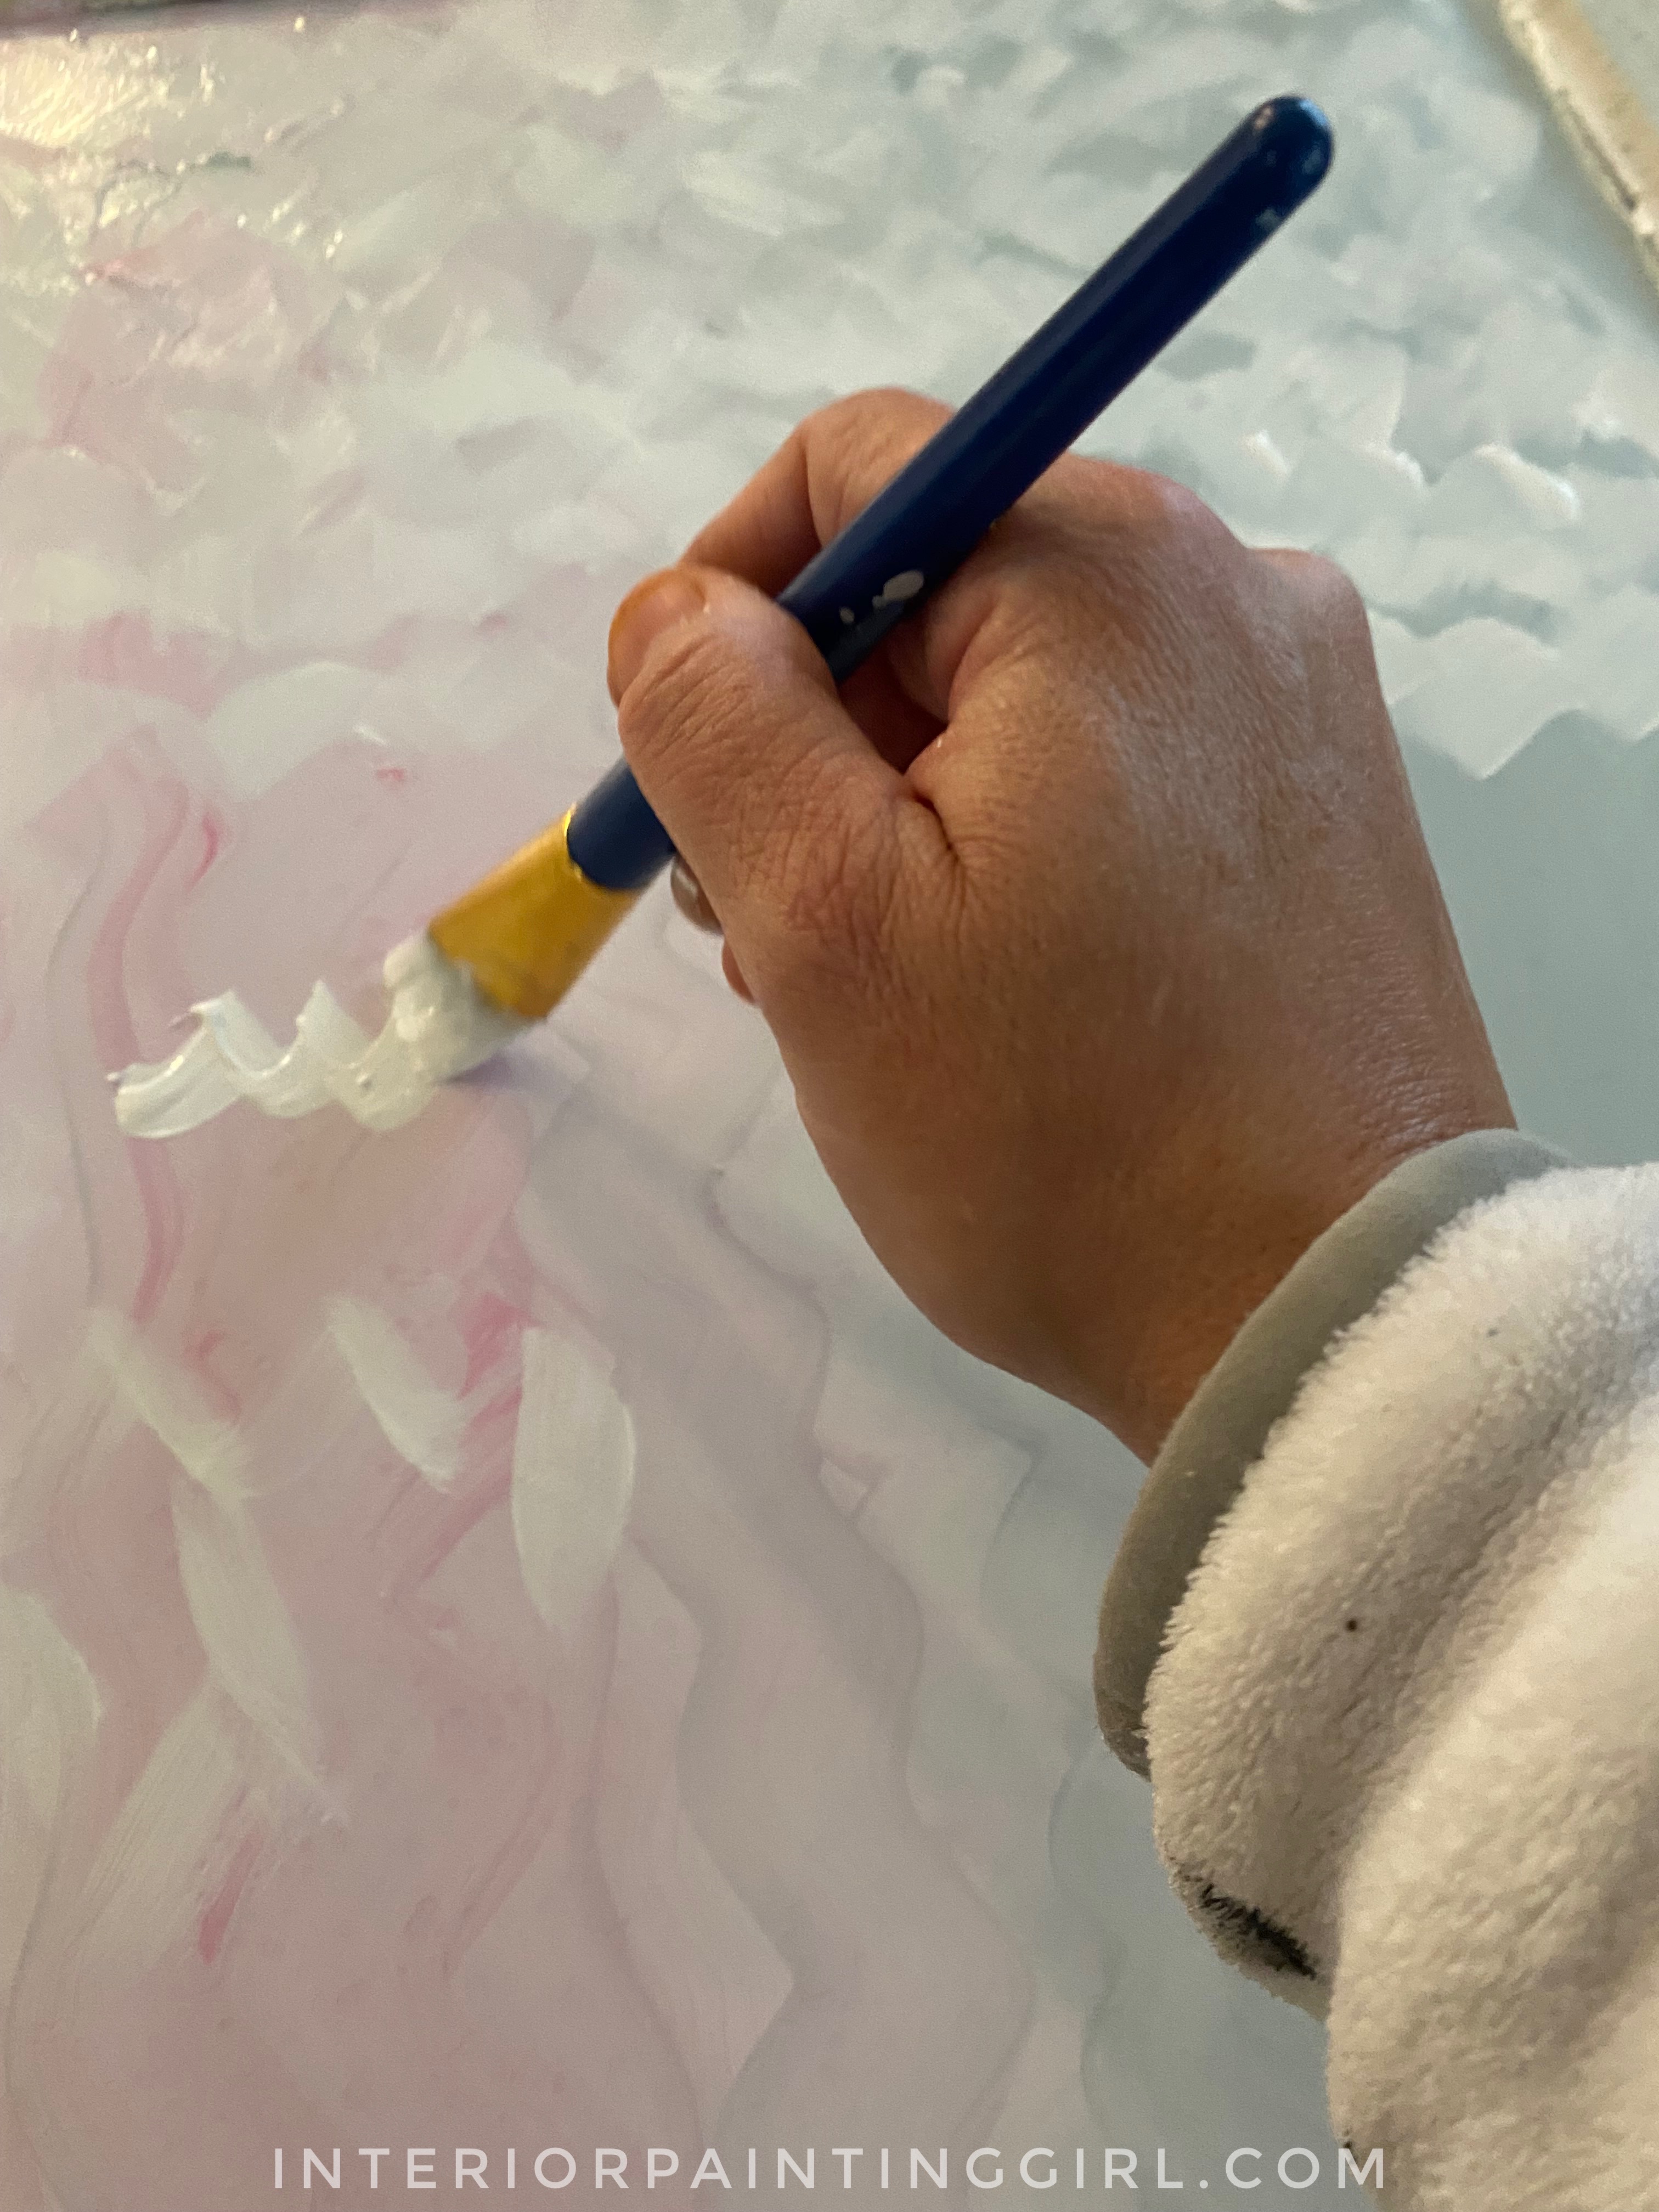
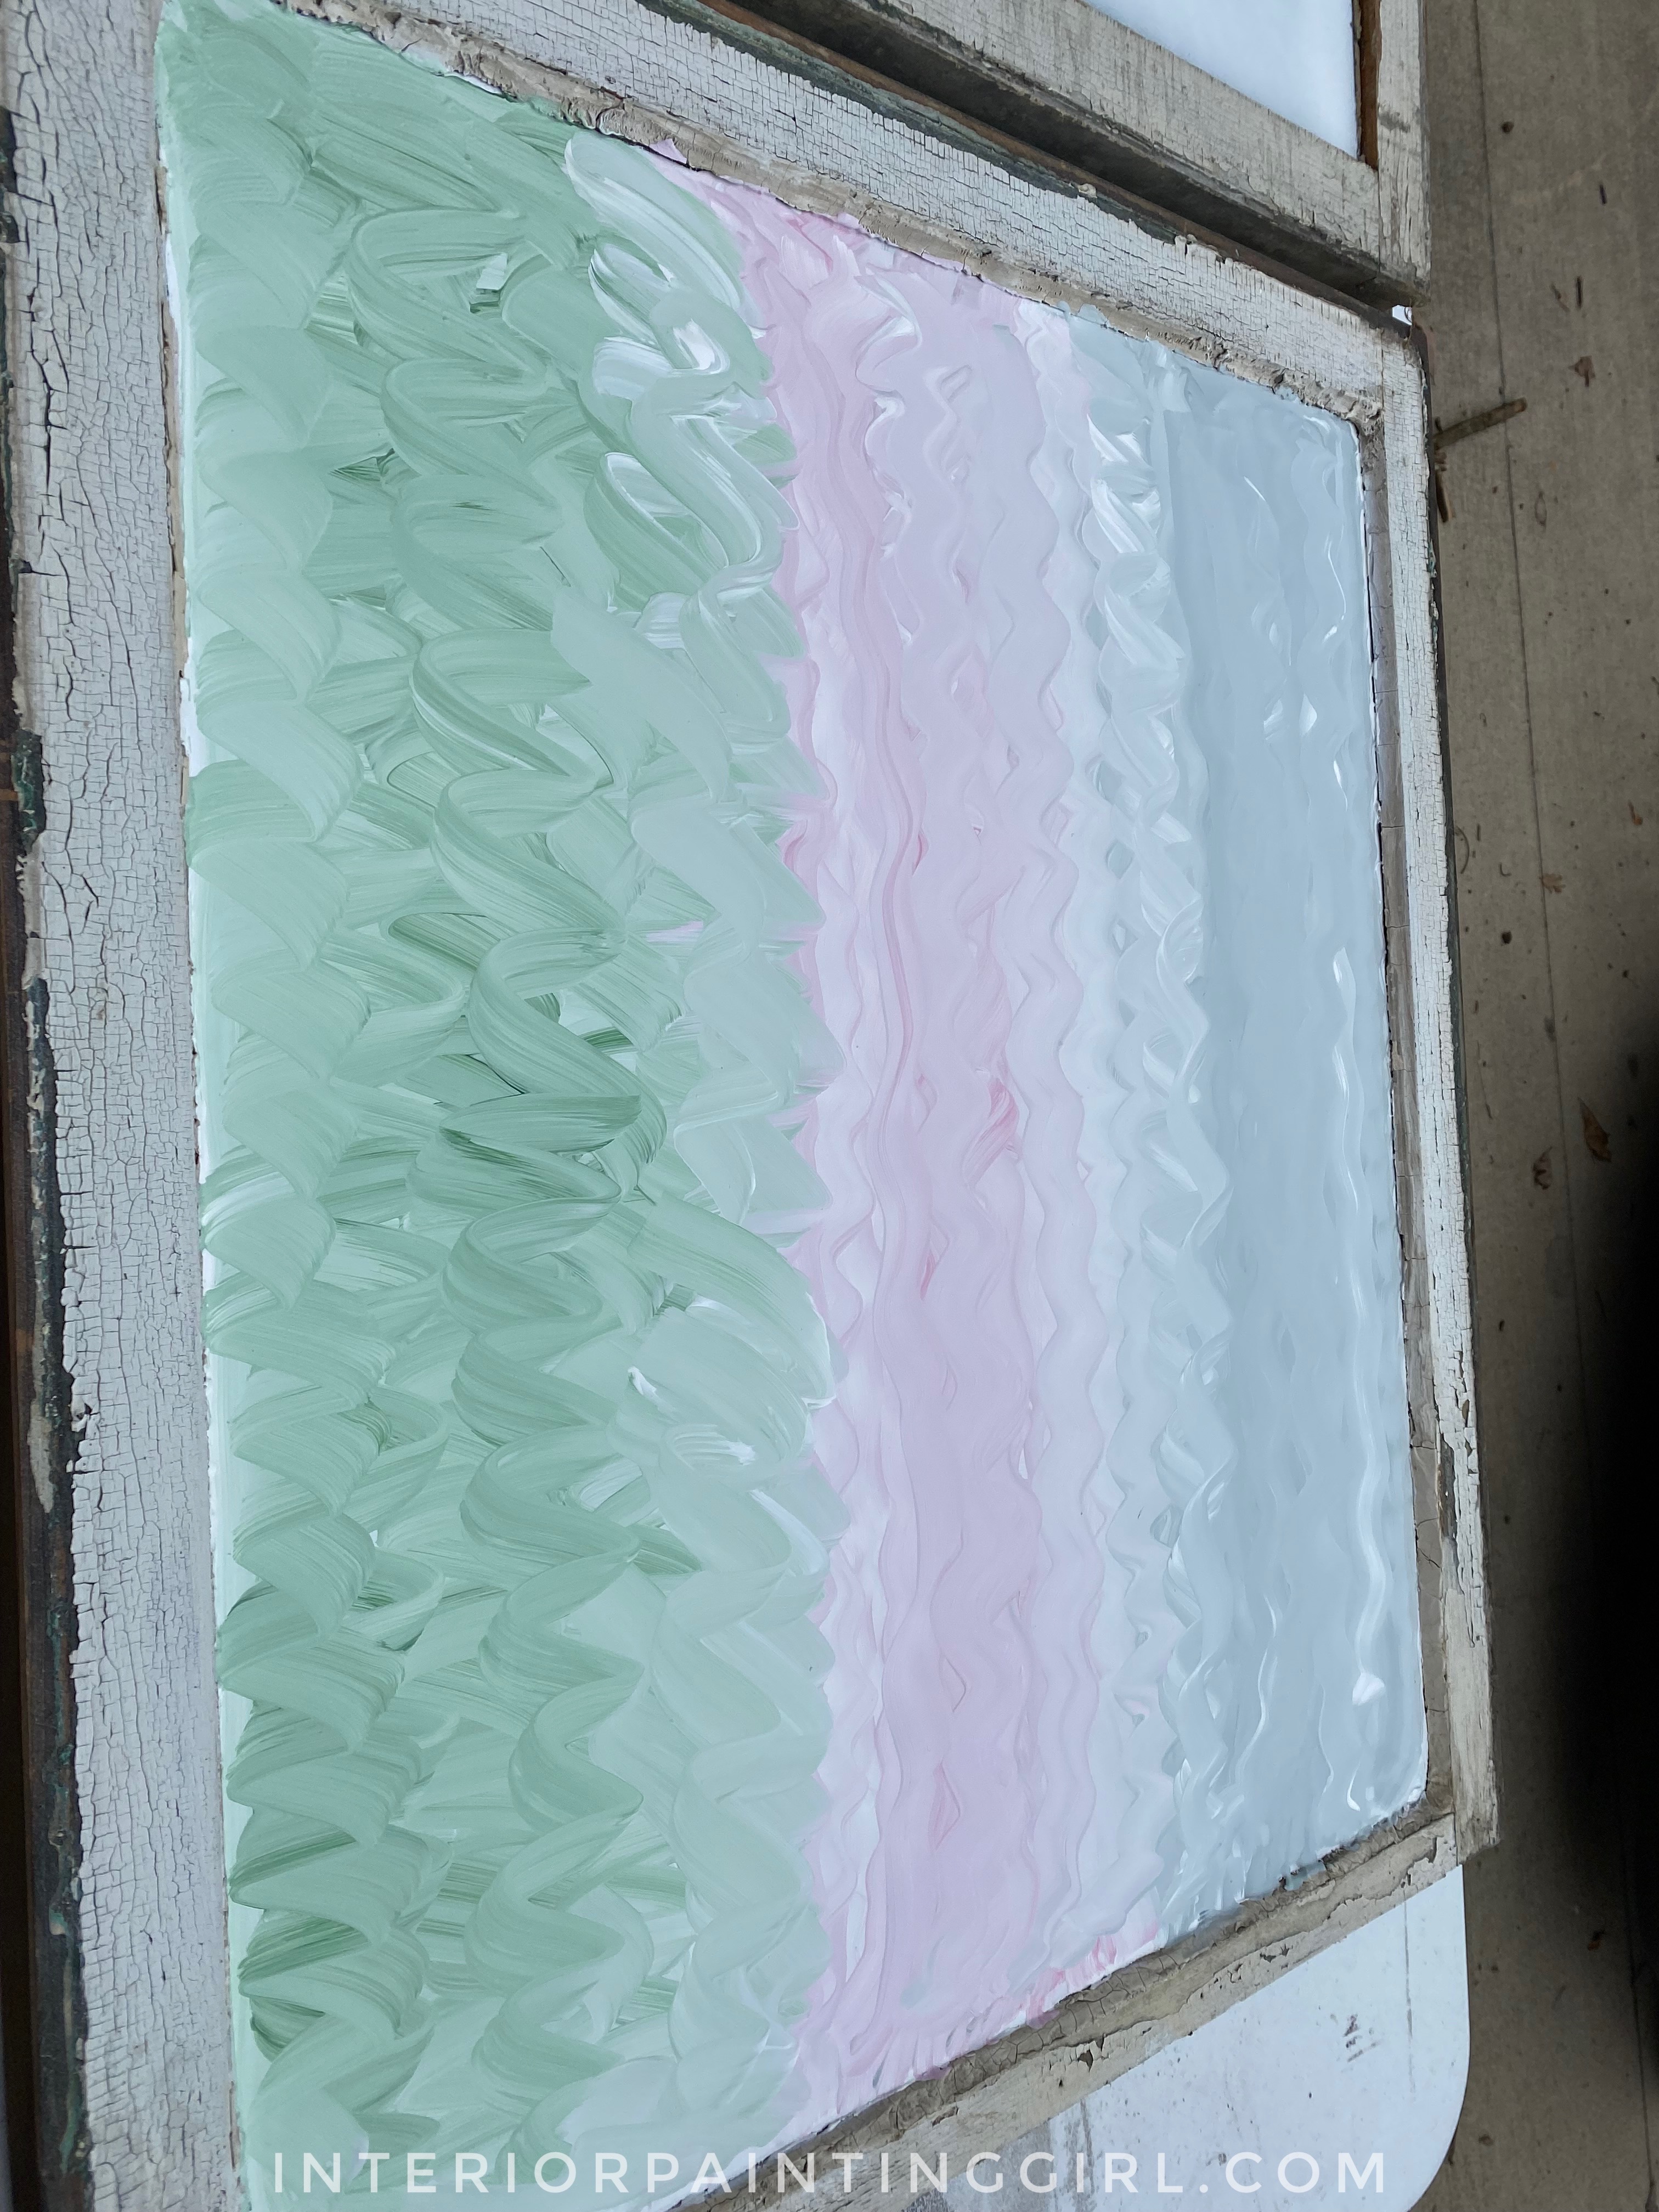
Once the windows were primed, I chose several colors of water-based craft paints (picked up cheaply at almost any craft store) to compliment my idea of a watercolor effect. I went with blue-grey, green, pink, and cream. I just put dollops of those paints on a paper plate and used that as my palette.
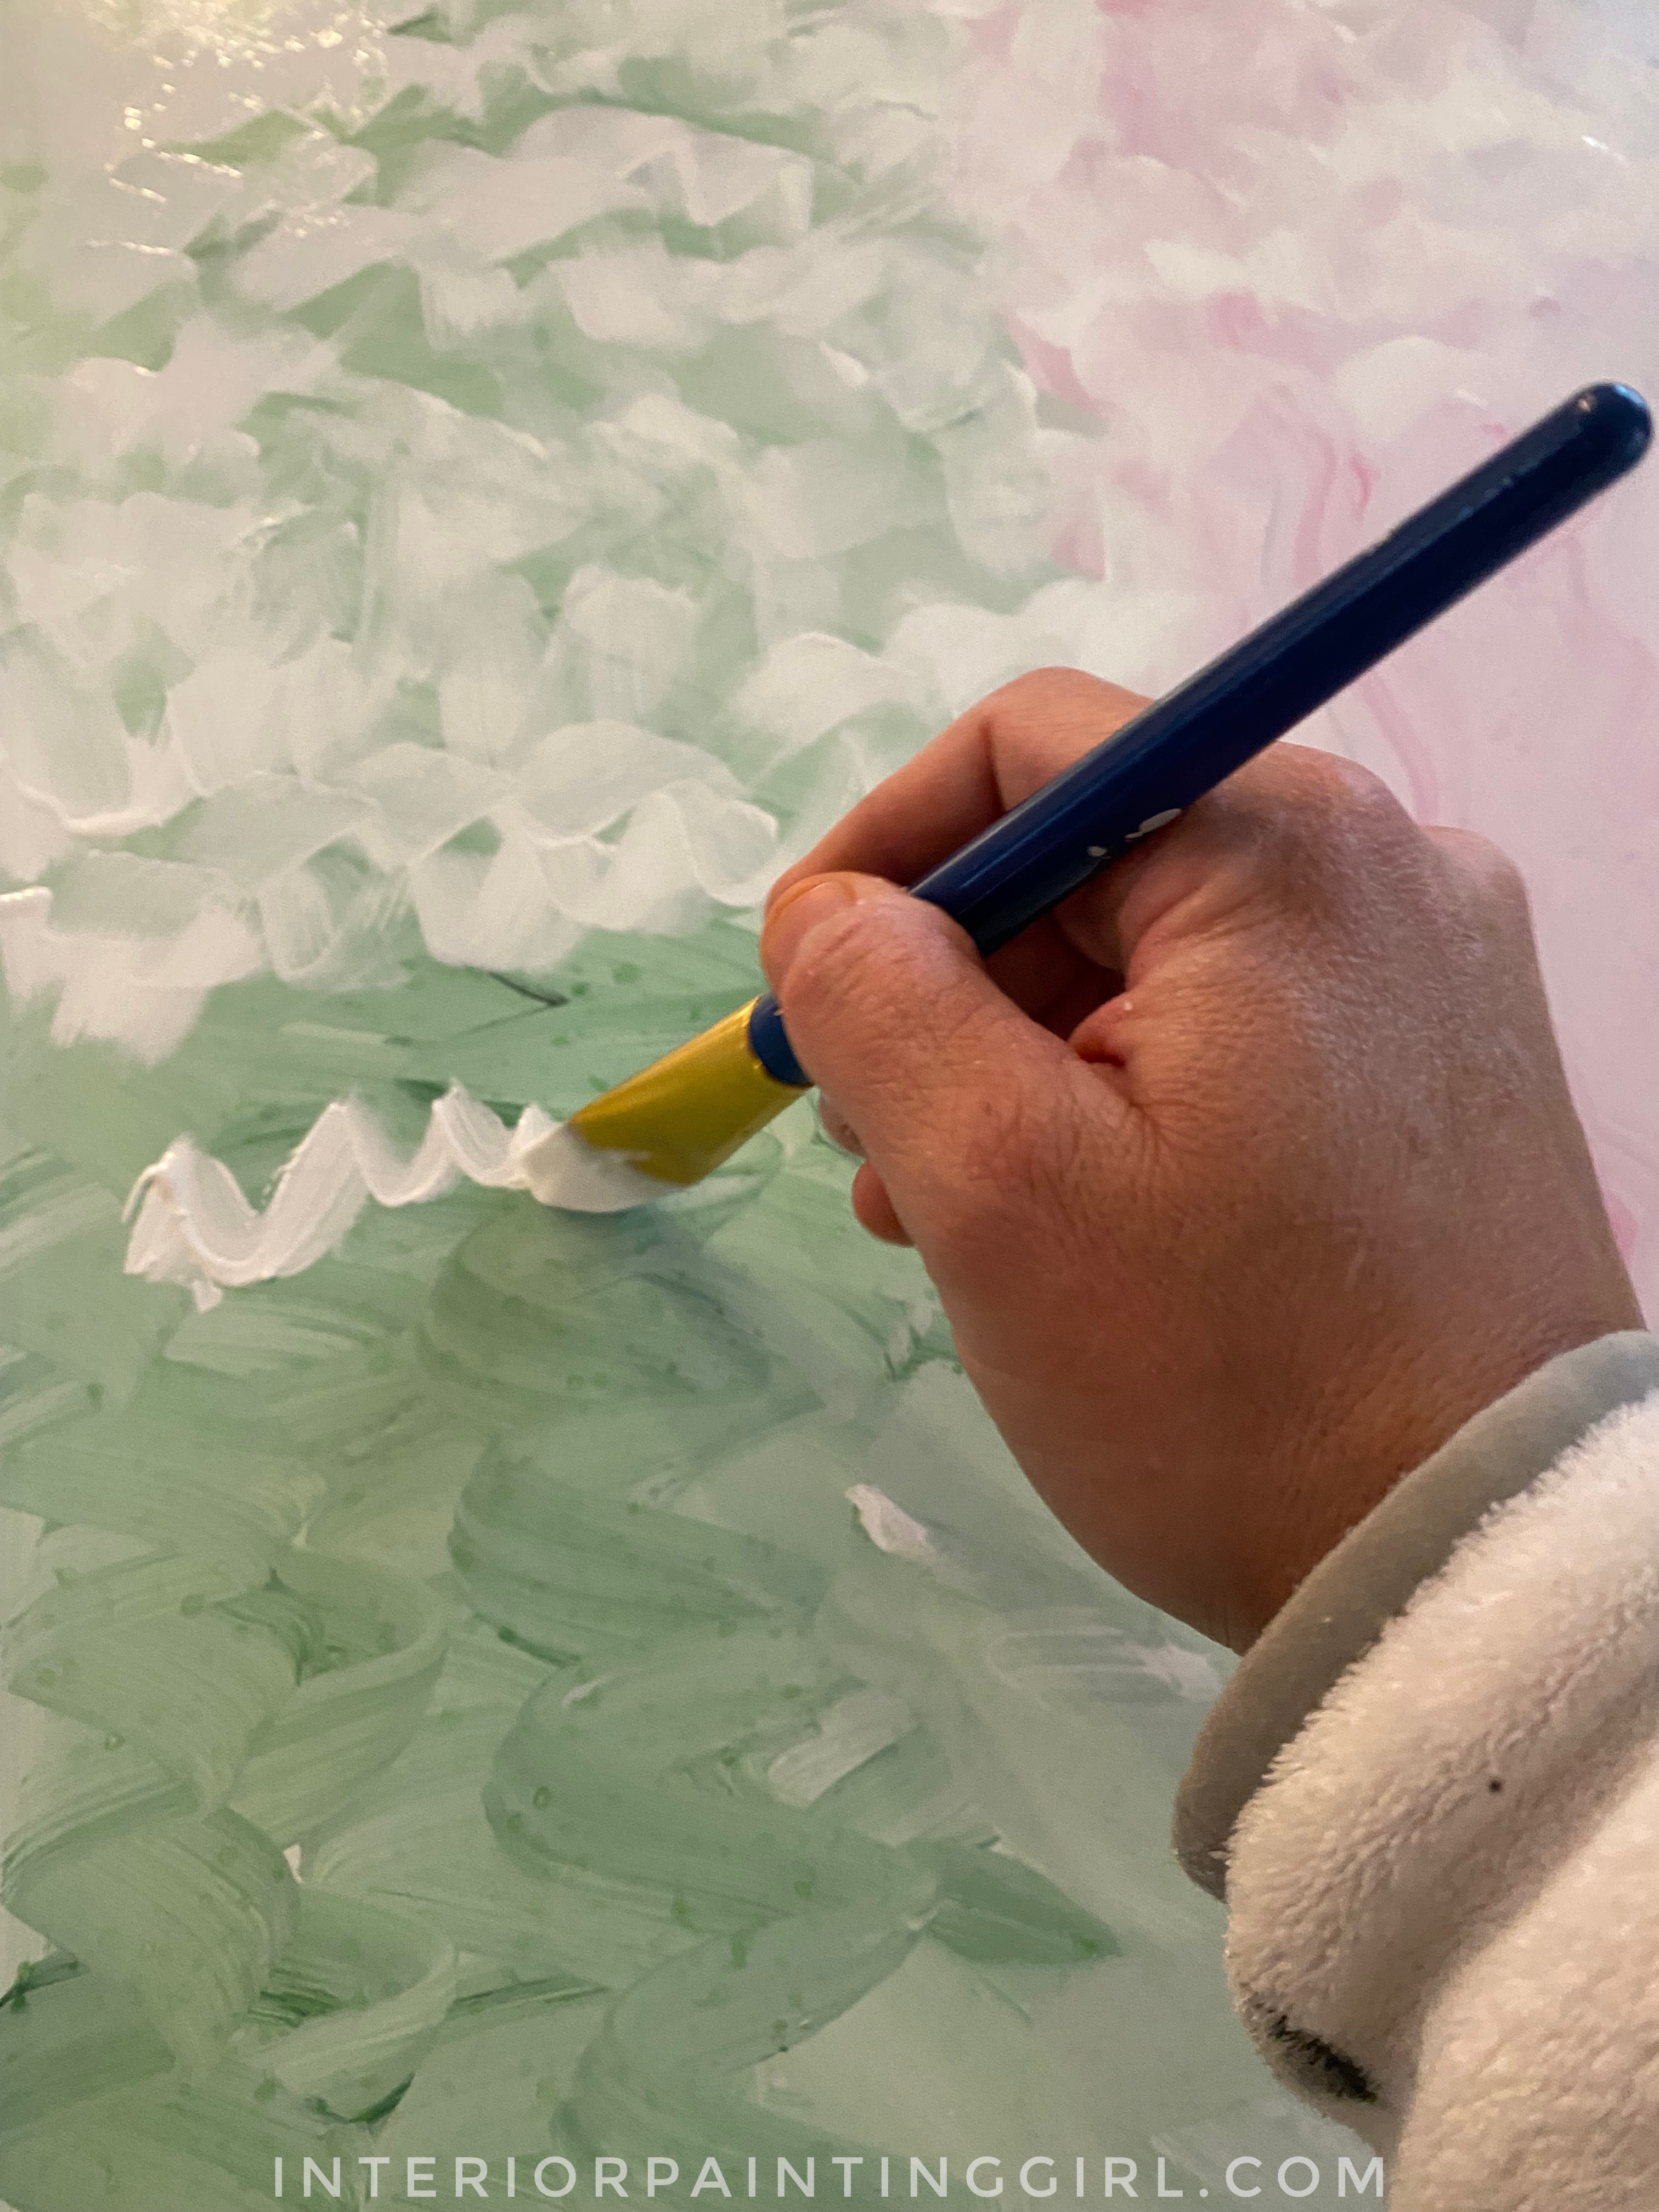
Then I started to apply those colors with artist brushes in a wavy manner. I fluttered my brush back and forth and divided my window into equal parts depending on how many colors I was using.
After applying all my colors in a row. I let them dry. I flipped the window and did the exact same thing but applied only the cream or white in opposite strokes. So if you went horizontal the first time then go vertical the second. Once this layer is complete, DO NOT wait until dry to do the next step.

This is where the watercolor effect gets amplified. Make sure your window is still lying flat and not standing up or everything will run in one direction. While your second set of wavy paint lines is still wet, get a spray bottle of warm water and gently mist the colors so that they start to bleed and meld together. This erases and blurs your brush strokes and blends your colors so artistically.
This will take a while to dry because it is so saturated. You can use a fan or hair dryer to speed up the process but remember not to stand up your frames while wet.
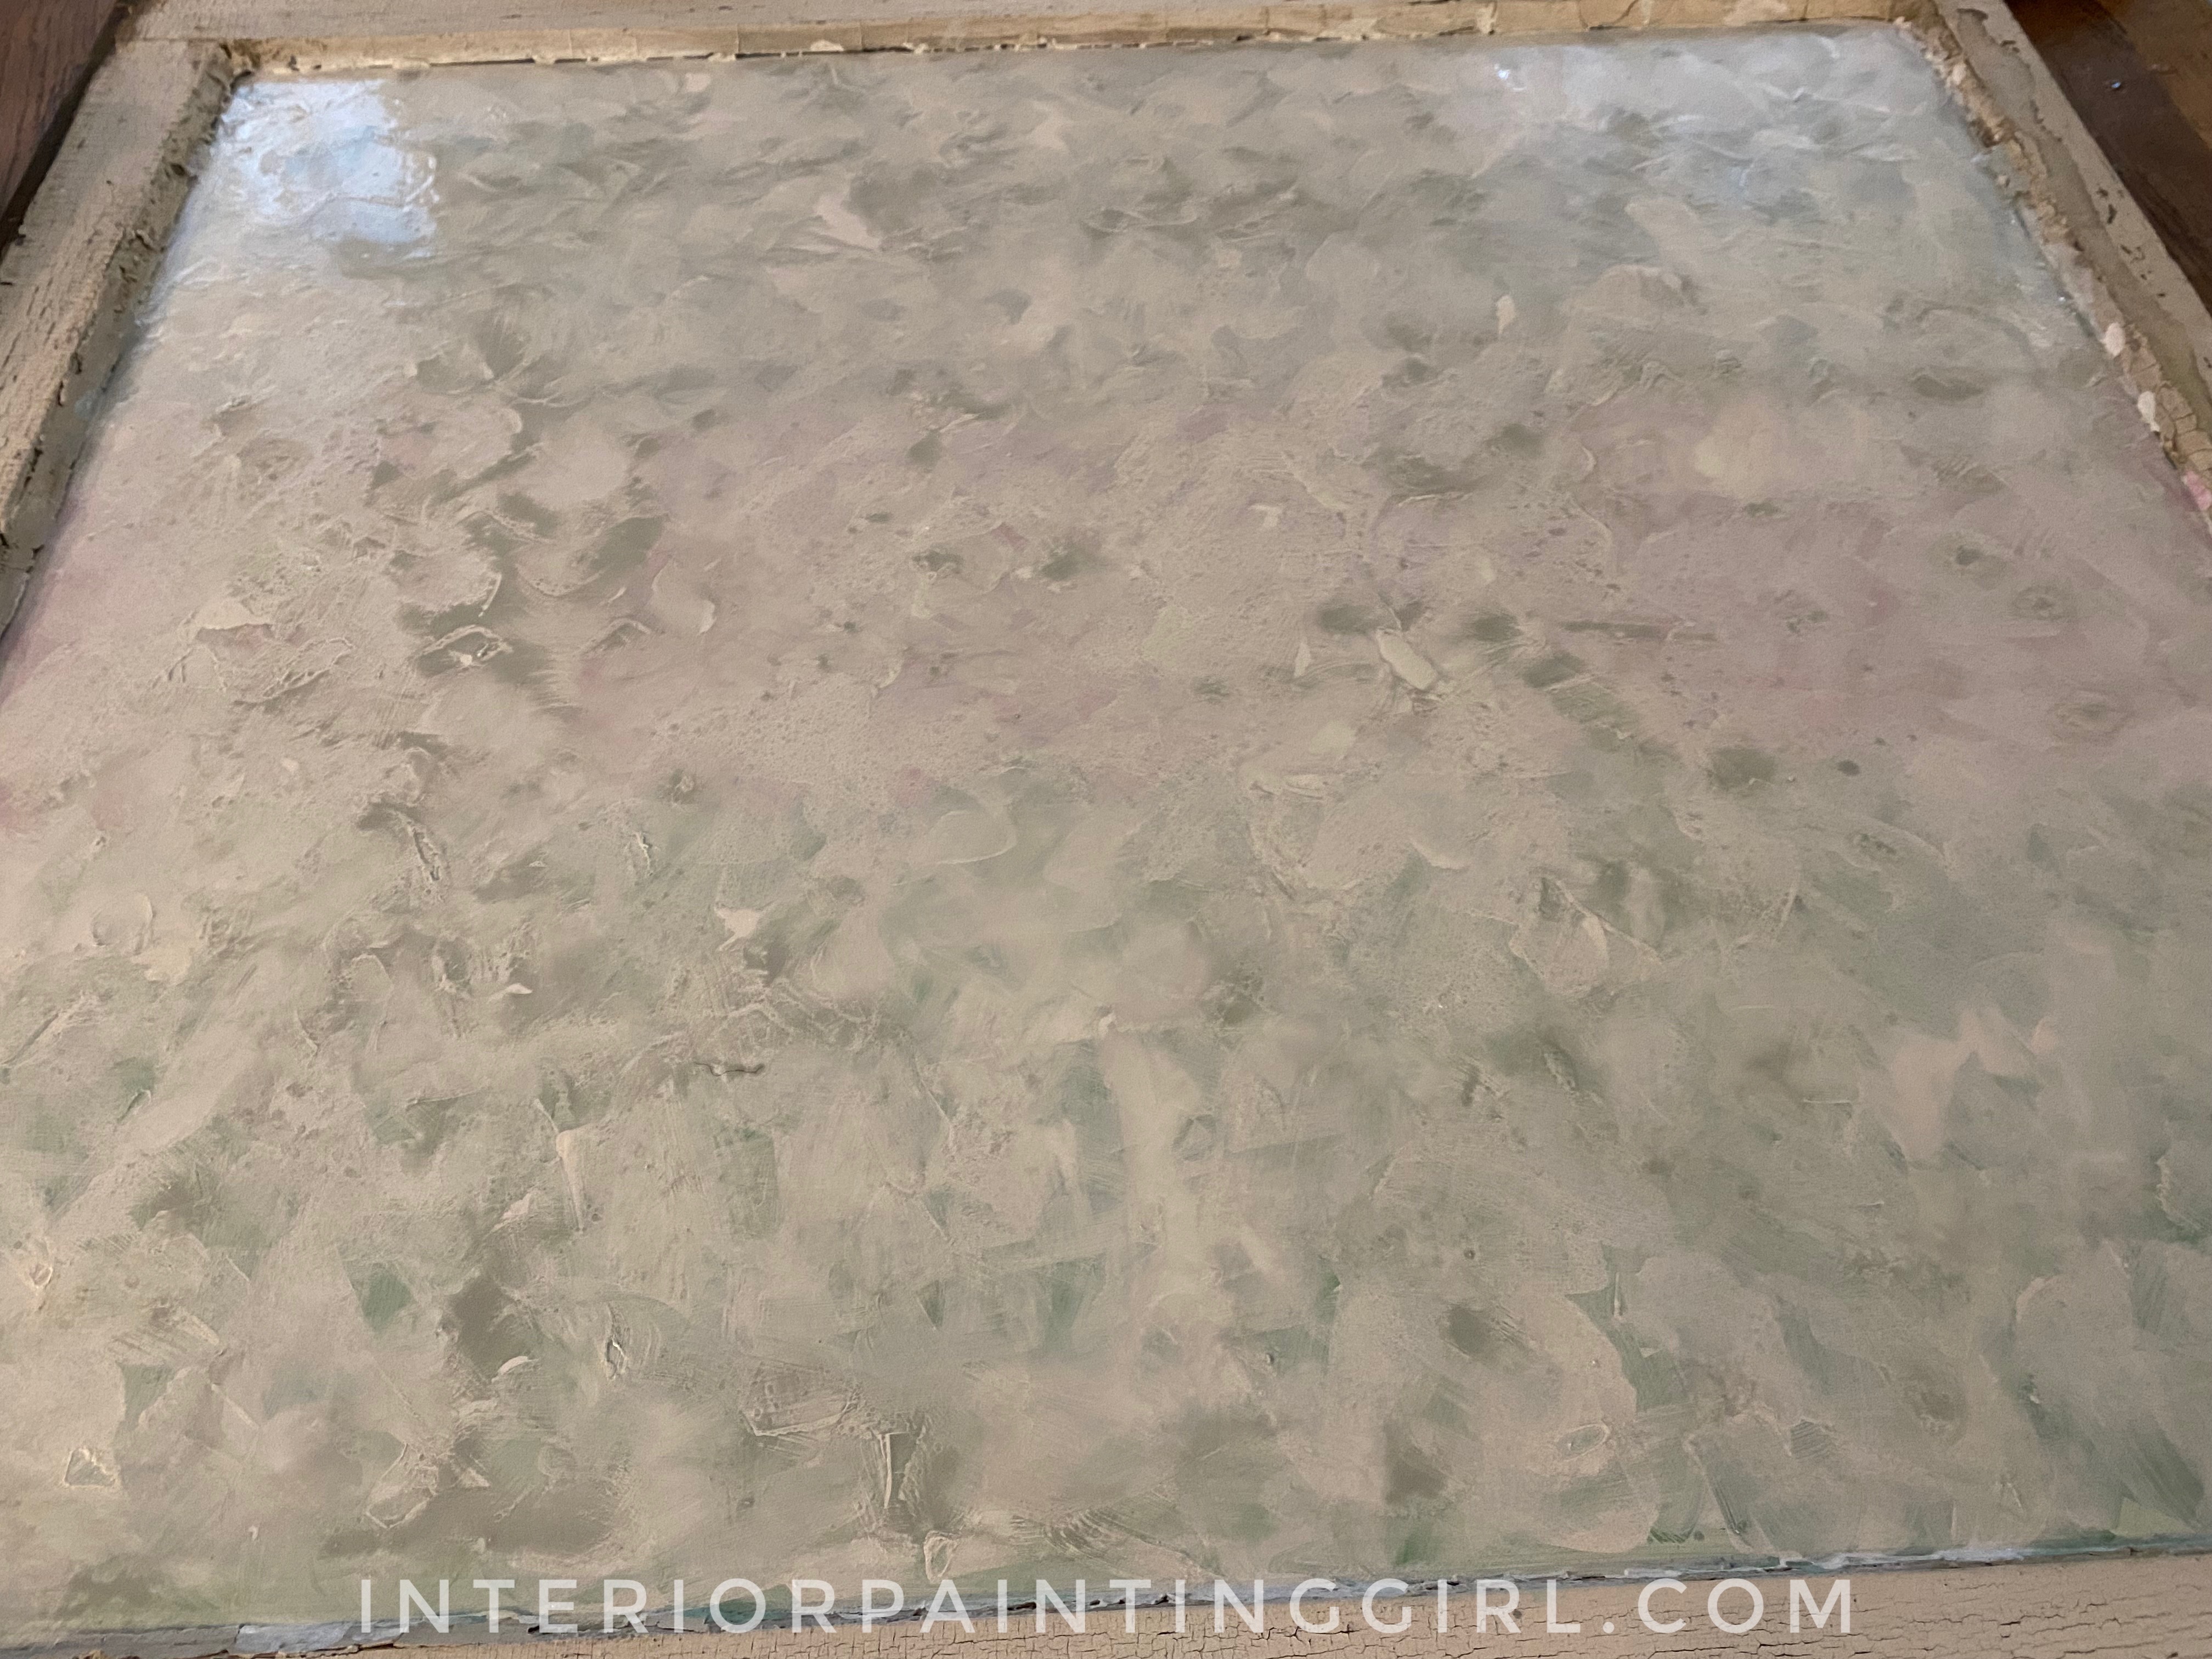
Once your windows are dry they should have a beautiful, mottled appearance, with cloudy hints of the underlying colors showing through the milky cream/white overcoat.
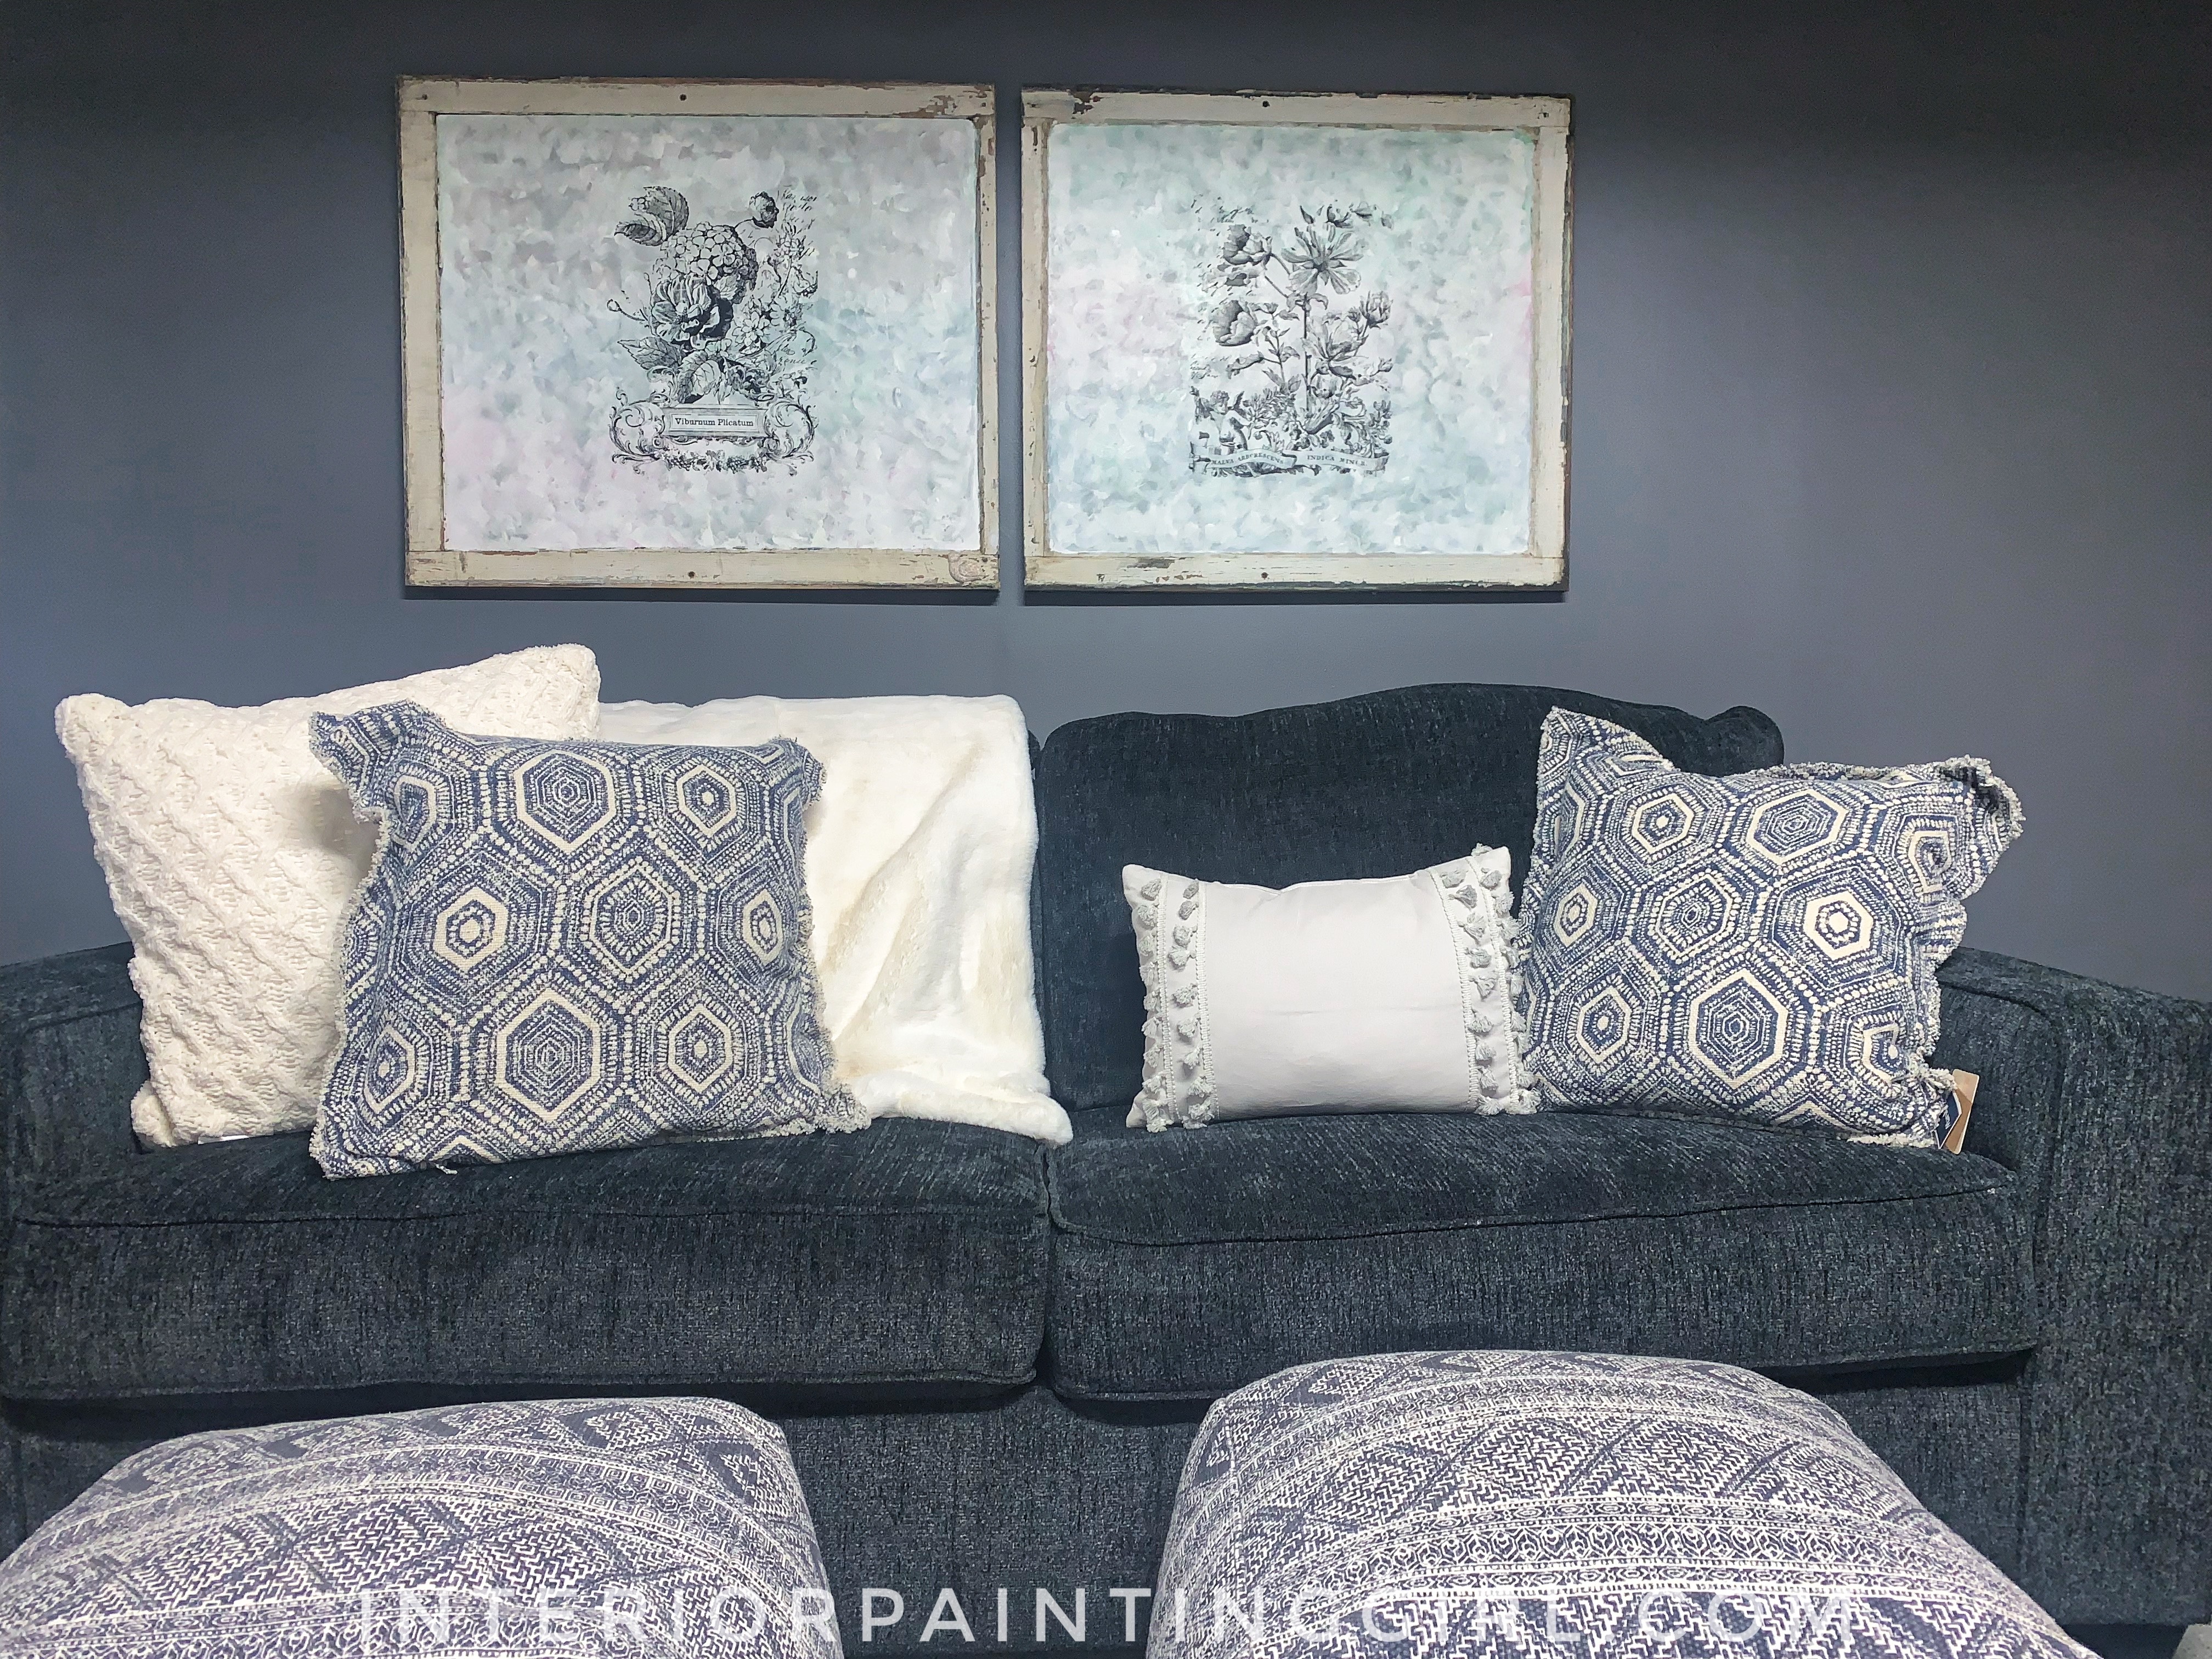
You can leave as it is or go one step further and apply a rub on transfer like I did from Iron Orchid Designs. It is just another opportunity for you to customize your art to compliment your aesthetic or personalize for a gift. These decals rub on with a tool like a credit card and come in many designs.
Congratulations! You’ve now created a one-of-a-kind repurposed old window to showcase or gift!

"I did not know how to paint or even what to paint, but I knew I had to begin." Margaret Atwood, Cat's Eye
Join my monthly email newsletter, "Dip & Swipe", for professional tips, how-to articles, color and decorating ideas, projects, and much more!
Recent Articles
-
Repurpose Old Windows
Dec 10, 21 06:32 PM
 Learn how to repurpose old windows by upcycling them into shabby chic decor.
 -
Upcycling a Toolbox
Dec 08, 21 10:22 PM
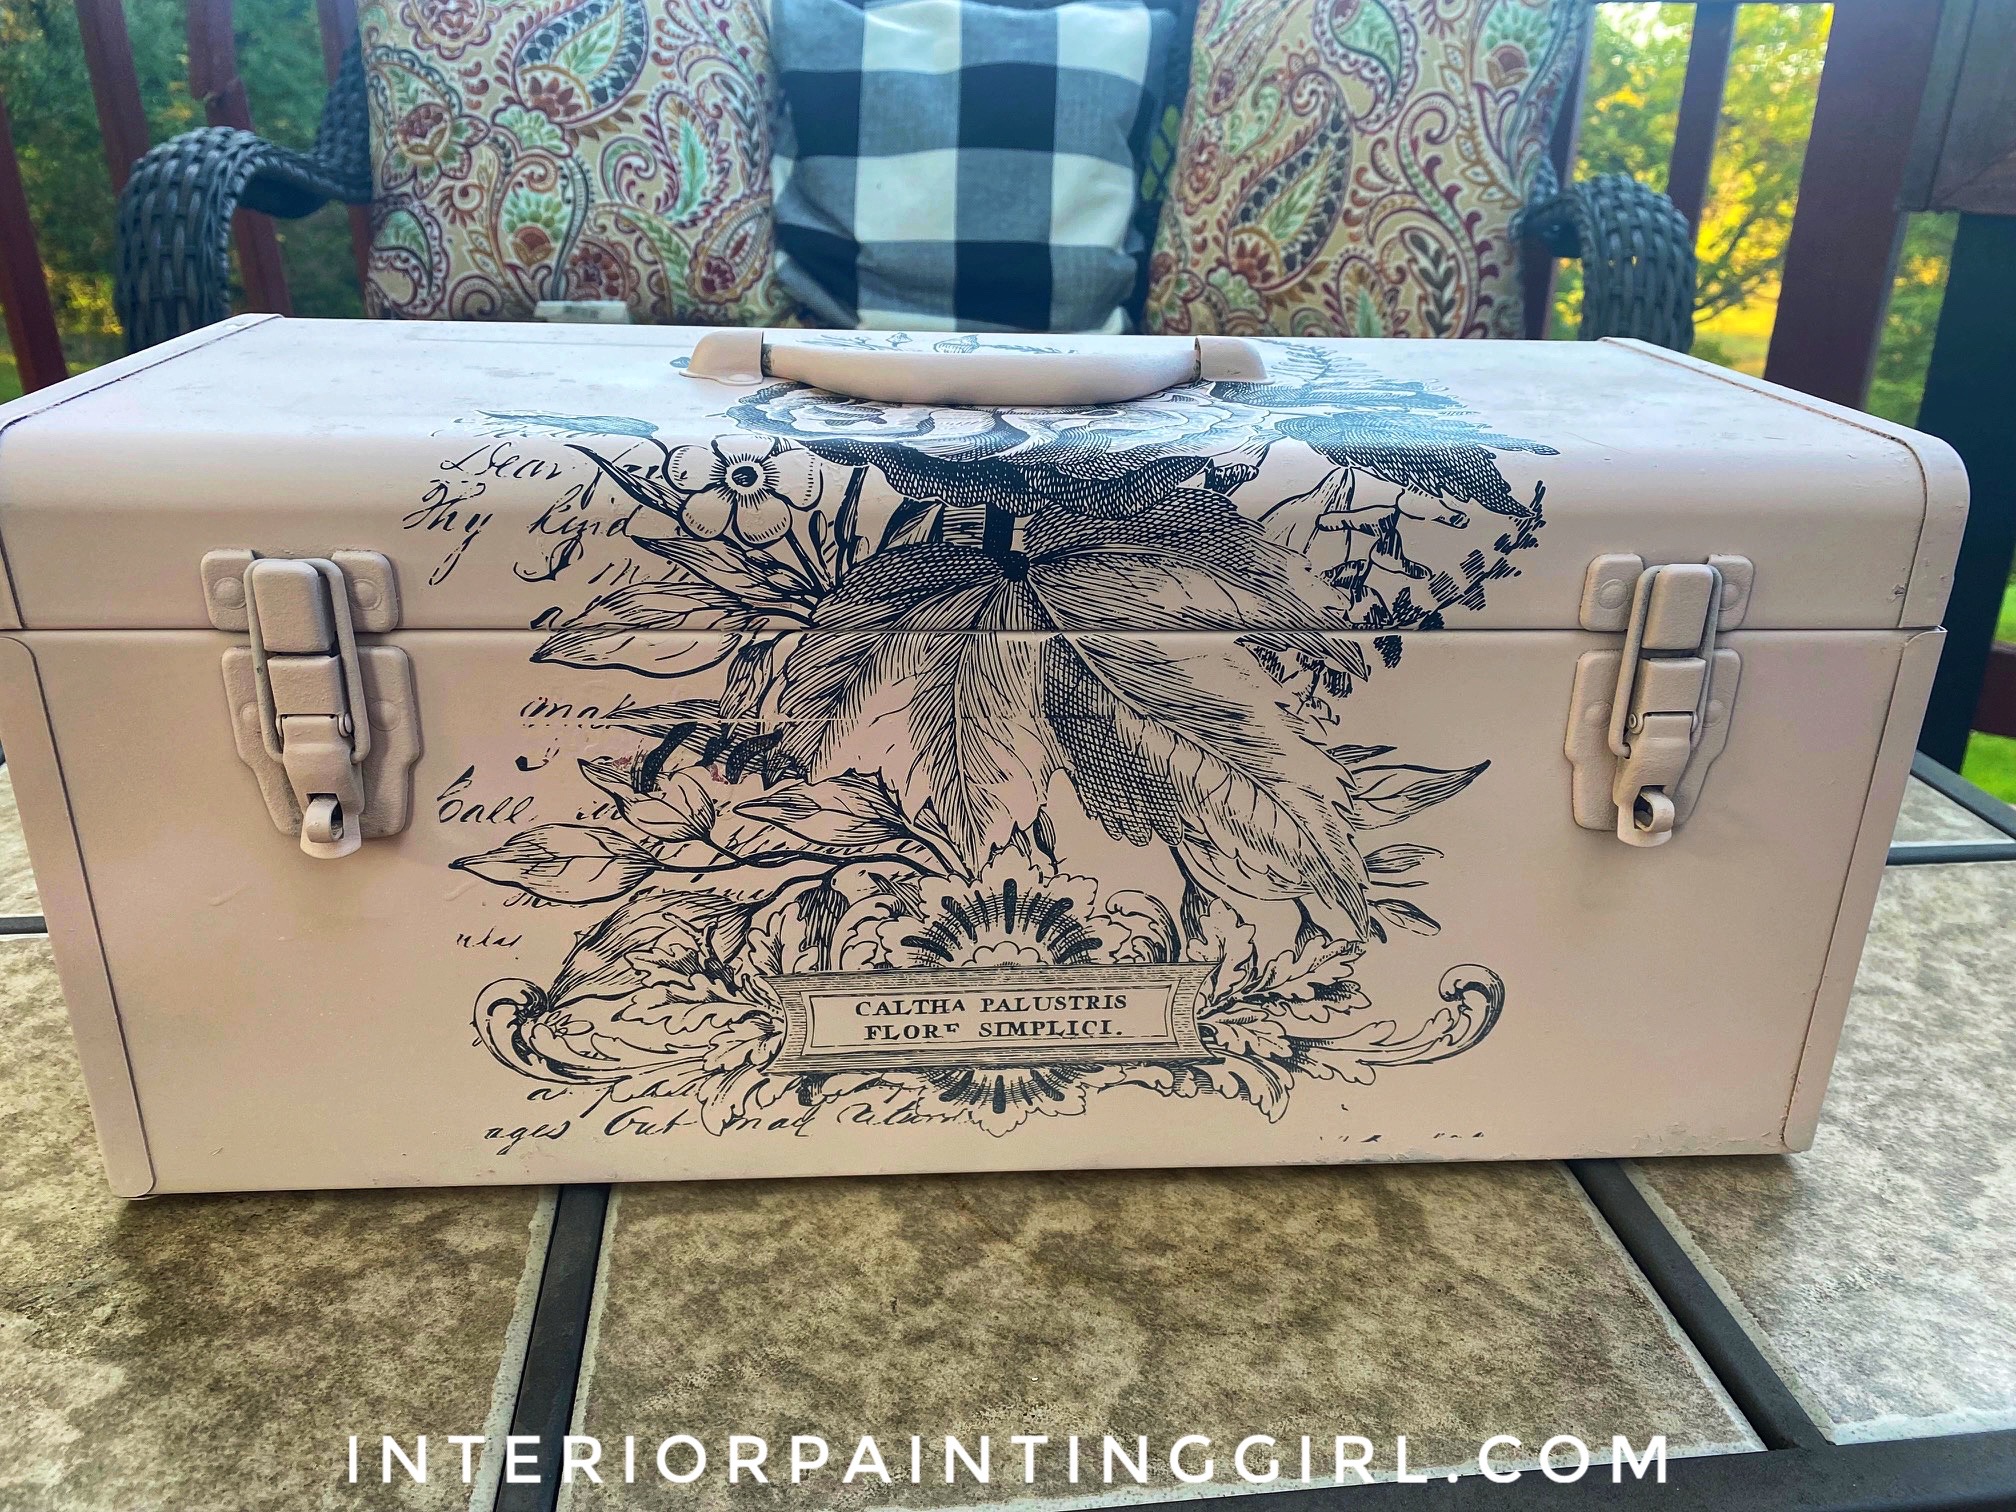 In this craft painting project, I upcycle an old toolbox with fresh paint and an appliqué.
 -
Craft Painting Projects
Dec 08, 21 08:13 PM
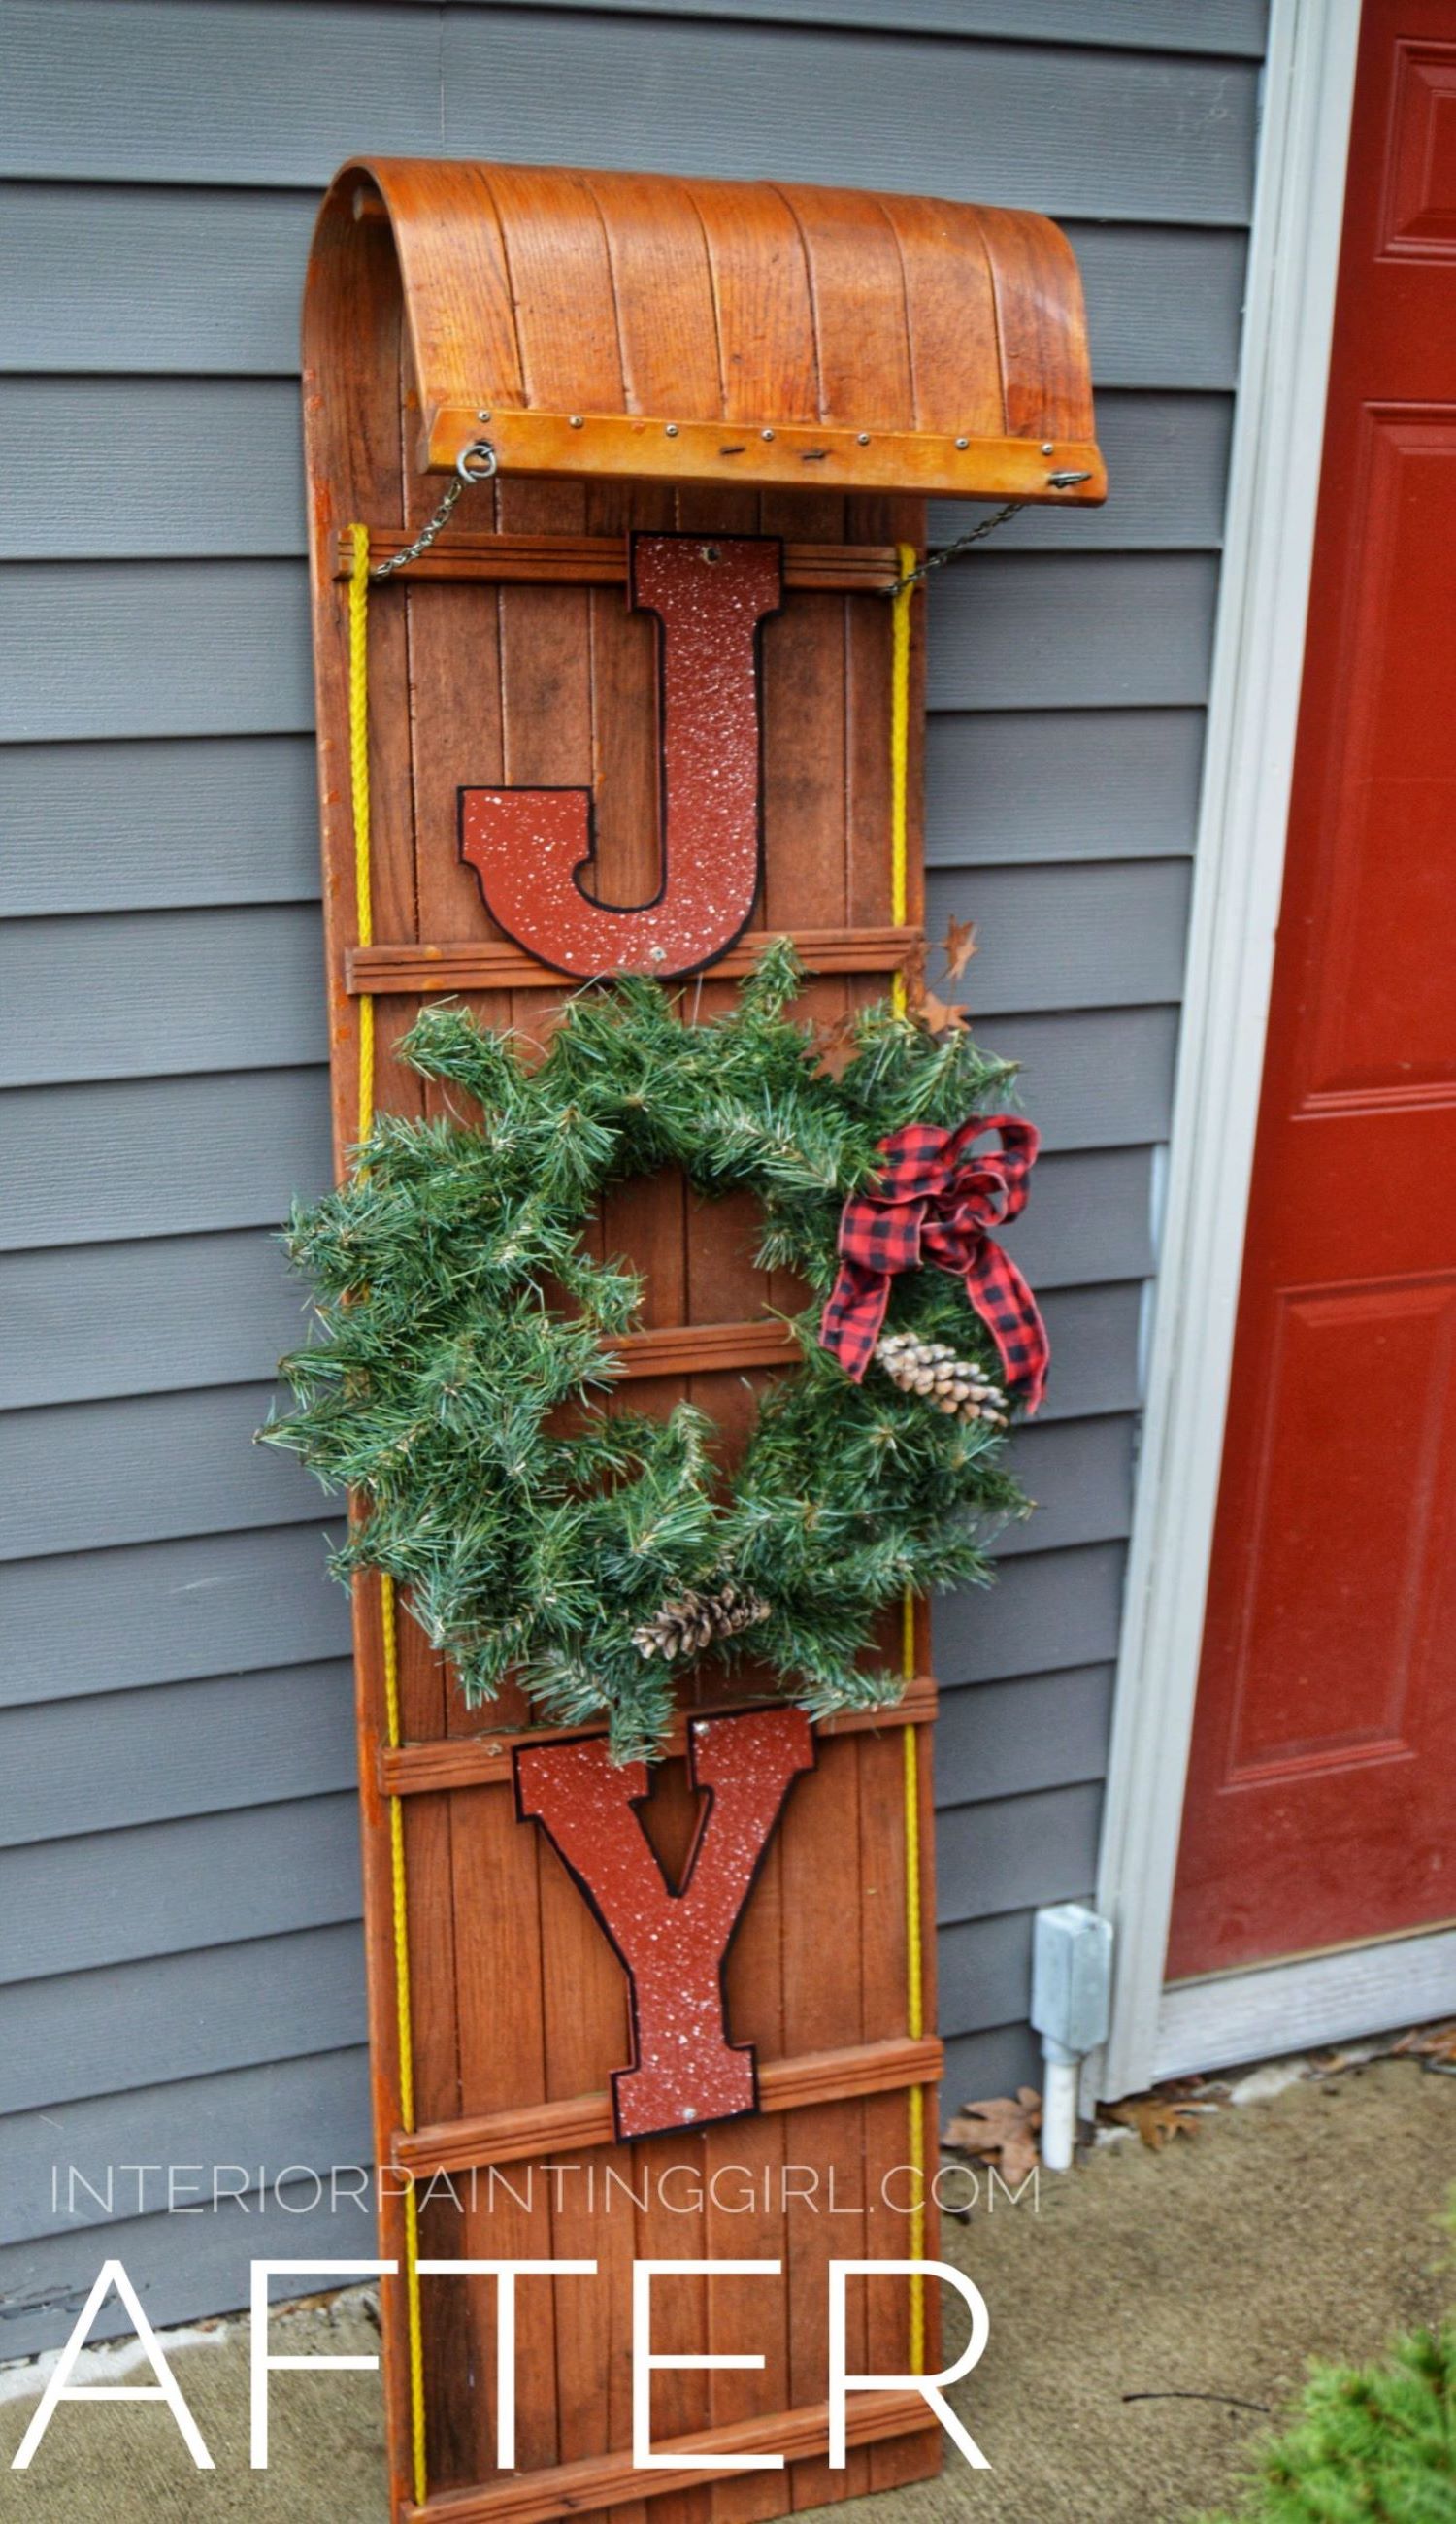 A place for all of my smaller craft painting projects and DIY projects that don't fit elsewhere.
Follow me on Pinterest @