How to Remove Wallpaper
If your home is more than a few years old, the chance is good you’ll need to learn how to remove wallpaper. Wallpaper removal – whether it’s borders or entire rooms – can feel like a daunting task. Don’t get stressed! I have lots of experience in this department and I CAN help you learn how to effectively remove wallpaper.
I had some early personal experience because my first home was an old Victorian house, and I tried my hand at learning how to remove wallpaper (and how NOT to remove it)! It was my foot in the door of home improvement so to speak and I gained invaluable experience.
I began offering this service when I first opened my interior painting business years ago, and it gave me a chance to take jobs other painters would pass up. A few quick tips and you’ll be showing your friends how to remove wallpaper.

One of the difficulties in removing wallpaper is that no two wallpaper removal projects are the same. There’s no surefire, one-size-fits-all wallpaper removal technique.
There are many types of wallpaper, and many different methods of hanging paper. They all require a little different approach. And you can rarely be quite sure how the surface was prepped before the wallpaper was hung.
The upside to all this is: there are only a few tools necessary. You will just have to experiment with these tools and techniques to see what works.
I’ve listed some steps to take below…attempt to follow the steps keeping in mind patience is your friend here. Keep a positive mind set and know that once this is done, you can repaint at any time in the future knowing you’ll never have to tackle this again.
Supply List
Necessary Tools for Removing Wallpaper
- Spray Bottle
- Putty Knife
- Wallpaper Removal Solution
- Sponge and Rags
- Painter’s Plastic
- Zinsser Gardz Sealer
Optional (But Extremely Helpful) Tools
- Wallpaper Perforation Tool (necessary if Step 2 is required)
- Wallpaper Scraping Tool (replaces putty knife)
- Garden or Pump Sprayer (clean, replaces spray bottle)
- Wallpaper Steamer
Note: Before starting, clear the walls and room as much as possible of furnishings. Anything that can’t be removed should be placed in the center of the room and covered in painter’s plastic or dropcloths.
Removing wallpaper requires a lot of water and wallpaper removal solution which can damage and saturate surrounding floor and décor.
How to Remove Wallpaper Step-By-Step
Step 1 : Remove the Top Layer
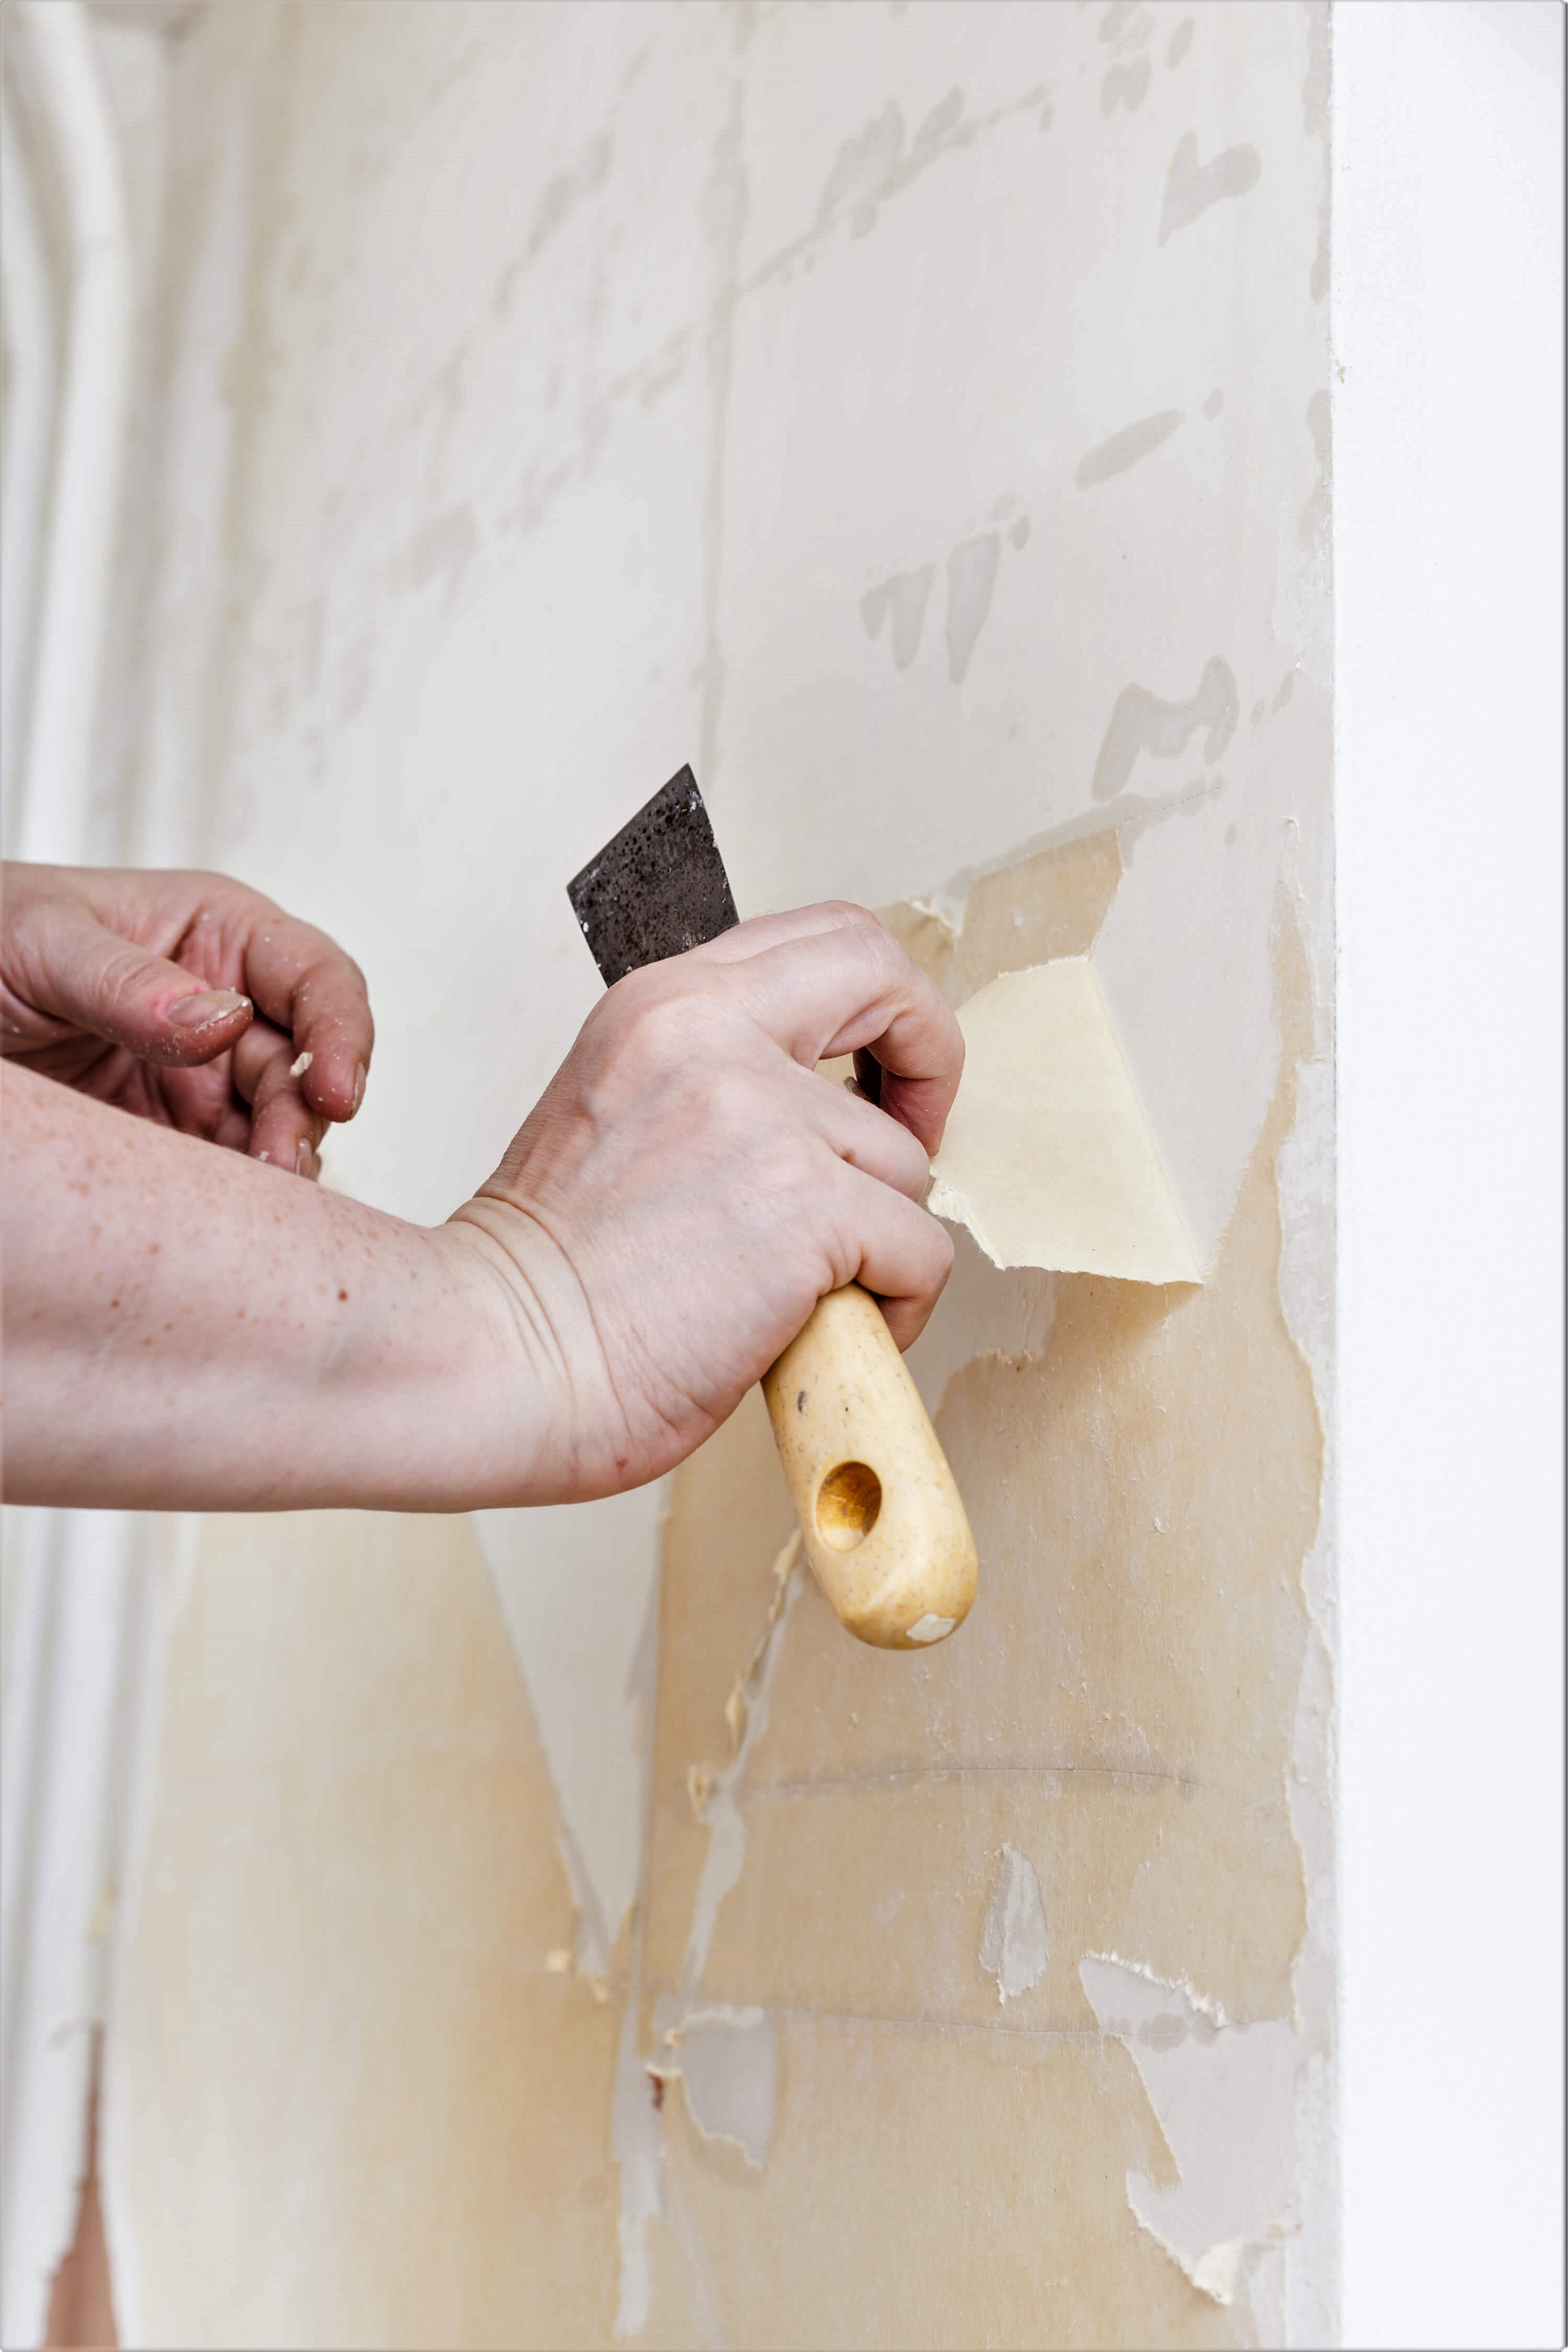
There are generally two layers to wallpaper. The outer layer of the wallpaper is more resilient and made to repel moisture. It is often made of vinyl or a composite paper.
You need to peel this top layer away by starting in the bottom corner of a wall. Use your putty knife to loosen a piece which you can pull at and begin to peel away from the wall. Try working slowly and taking big strips at a time. This should reveal the raw paper and adhesive beneath.
Step 2 : Remove Any Unpeeled Top Layer
If you successfully removed top entire layer, skip to Step 3 below.
If you are unable to complete Step 1, don’t worry you just need to score the paper with a perforation tool so the moisture can get beneath that top layer and loosen the paper and adhesive.
This tool is called a Paper Tiger. It’s simply a small tool with one or more spiked wheels that perforate the top layer of wallpaper, allowing the wallpaper removal solution to penetrate to the underlayer of the wallpaper.
Run this tool over any remaining top layer wallpaper, scoring the outer layer with small holes for the solution to penetrate.
Step 3 : Wallpaper Removal Solution
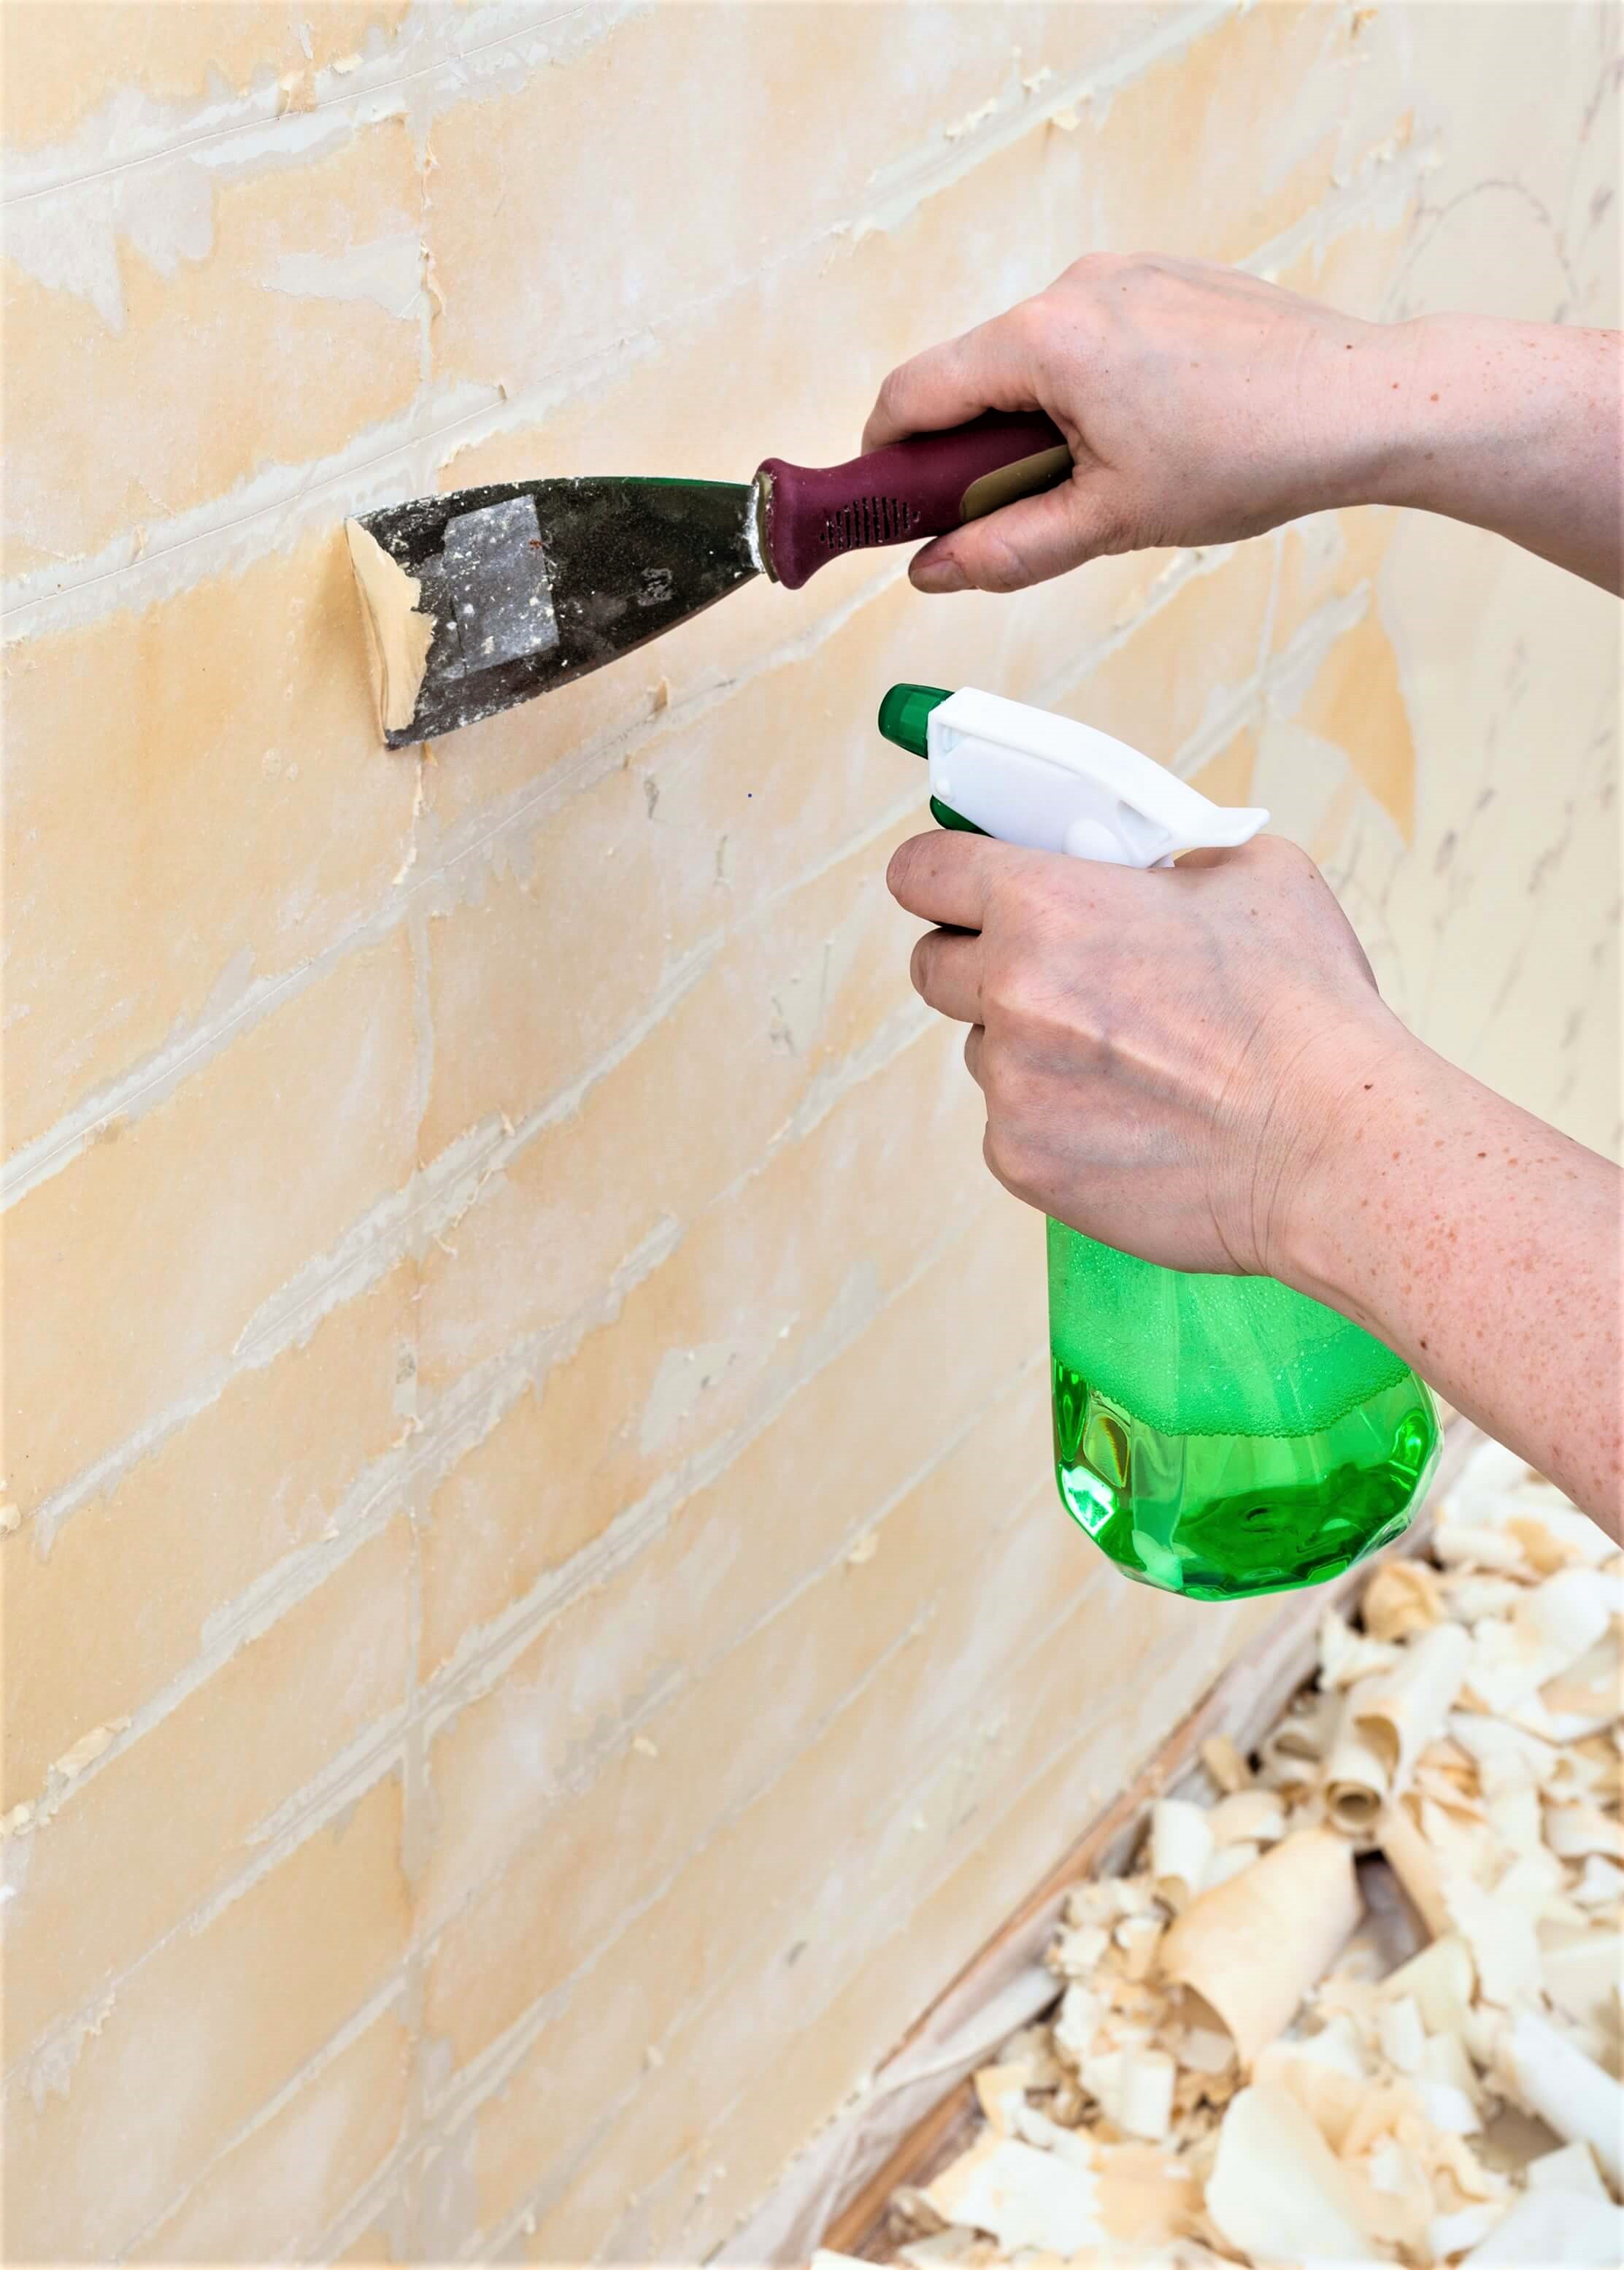
Wallpaper removal solution is a liquid enzyme that breaks down the paste and adhesive that’s used to adhere the wallpaper to the wall. It is sold as a concentrate to be mixed with water and used in your garden sprayer or squirt bottle. It is also sold premixed in a gel formula that is ready to use, but I prefer the first method.
For sheer ease of use, I suggest buying the concentrate and using a clean garden sprayer instead of a spray bottle, especially if you have a large area to cover. This will save you time and wrist fatigue and pain.
If you were able to remove the top layer of wallpaper, spray down the remaining paper and paste with the removal solution. Wait five to ten minutes for the enzyme in the solution to begin working, then begin removing the wallpaper with a putty knife, or (ideally) a wallpaper removal scraper.
The wallpaper scraper is engineered to use the appropriate angle and rounded corners to minimize gouges and damage on your drywall. Keep the area saturated as you work. This may require multiple applications with your garden sprayer or squirt bottle.
A word of caution. Be careful to avoid damaging the drywall beneath the wallpaper with your putty knife or removal tool. Use only the flat side of the putty knife/wallpaper scraper. Do not use the corners. Badly gouged or damaged drywall or plaster can be difficult and costly to fix.
If you were unable to remove the top layer of wallpaper, be sure to perforate the outer layer well with the perforating tool before spraying with solution.
Let sit five to ten minutes, then begin scraping.
This is typically enough to remove the majority of the wallpaper and paste. Repeat using the removal solution and putty knife over the entire wall to remove any leftover adhesive.
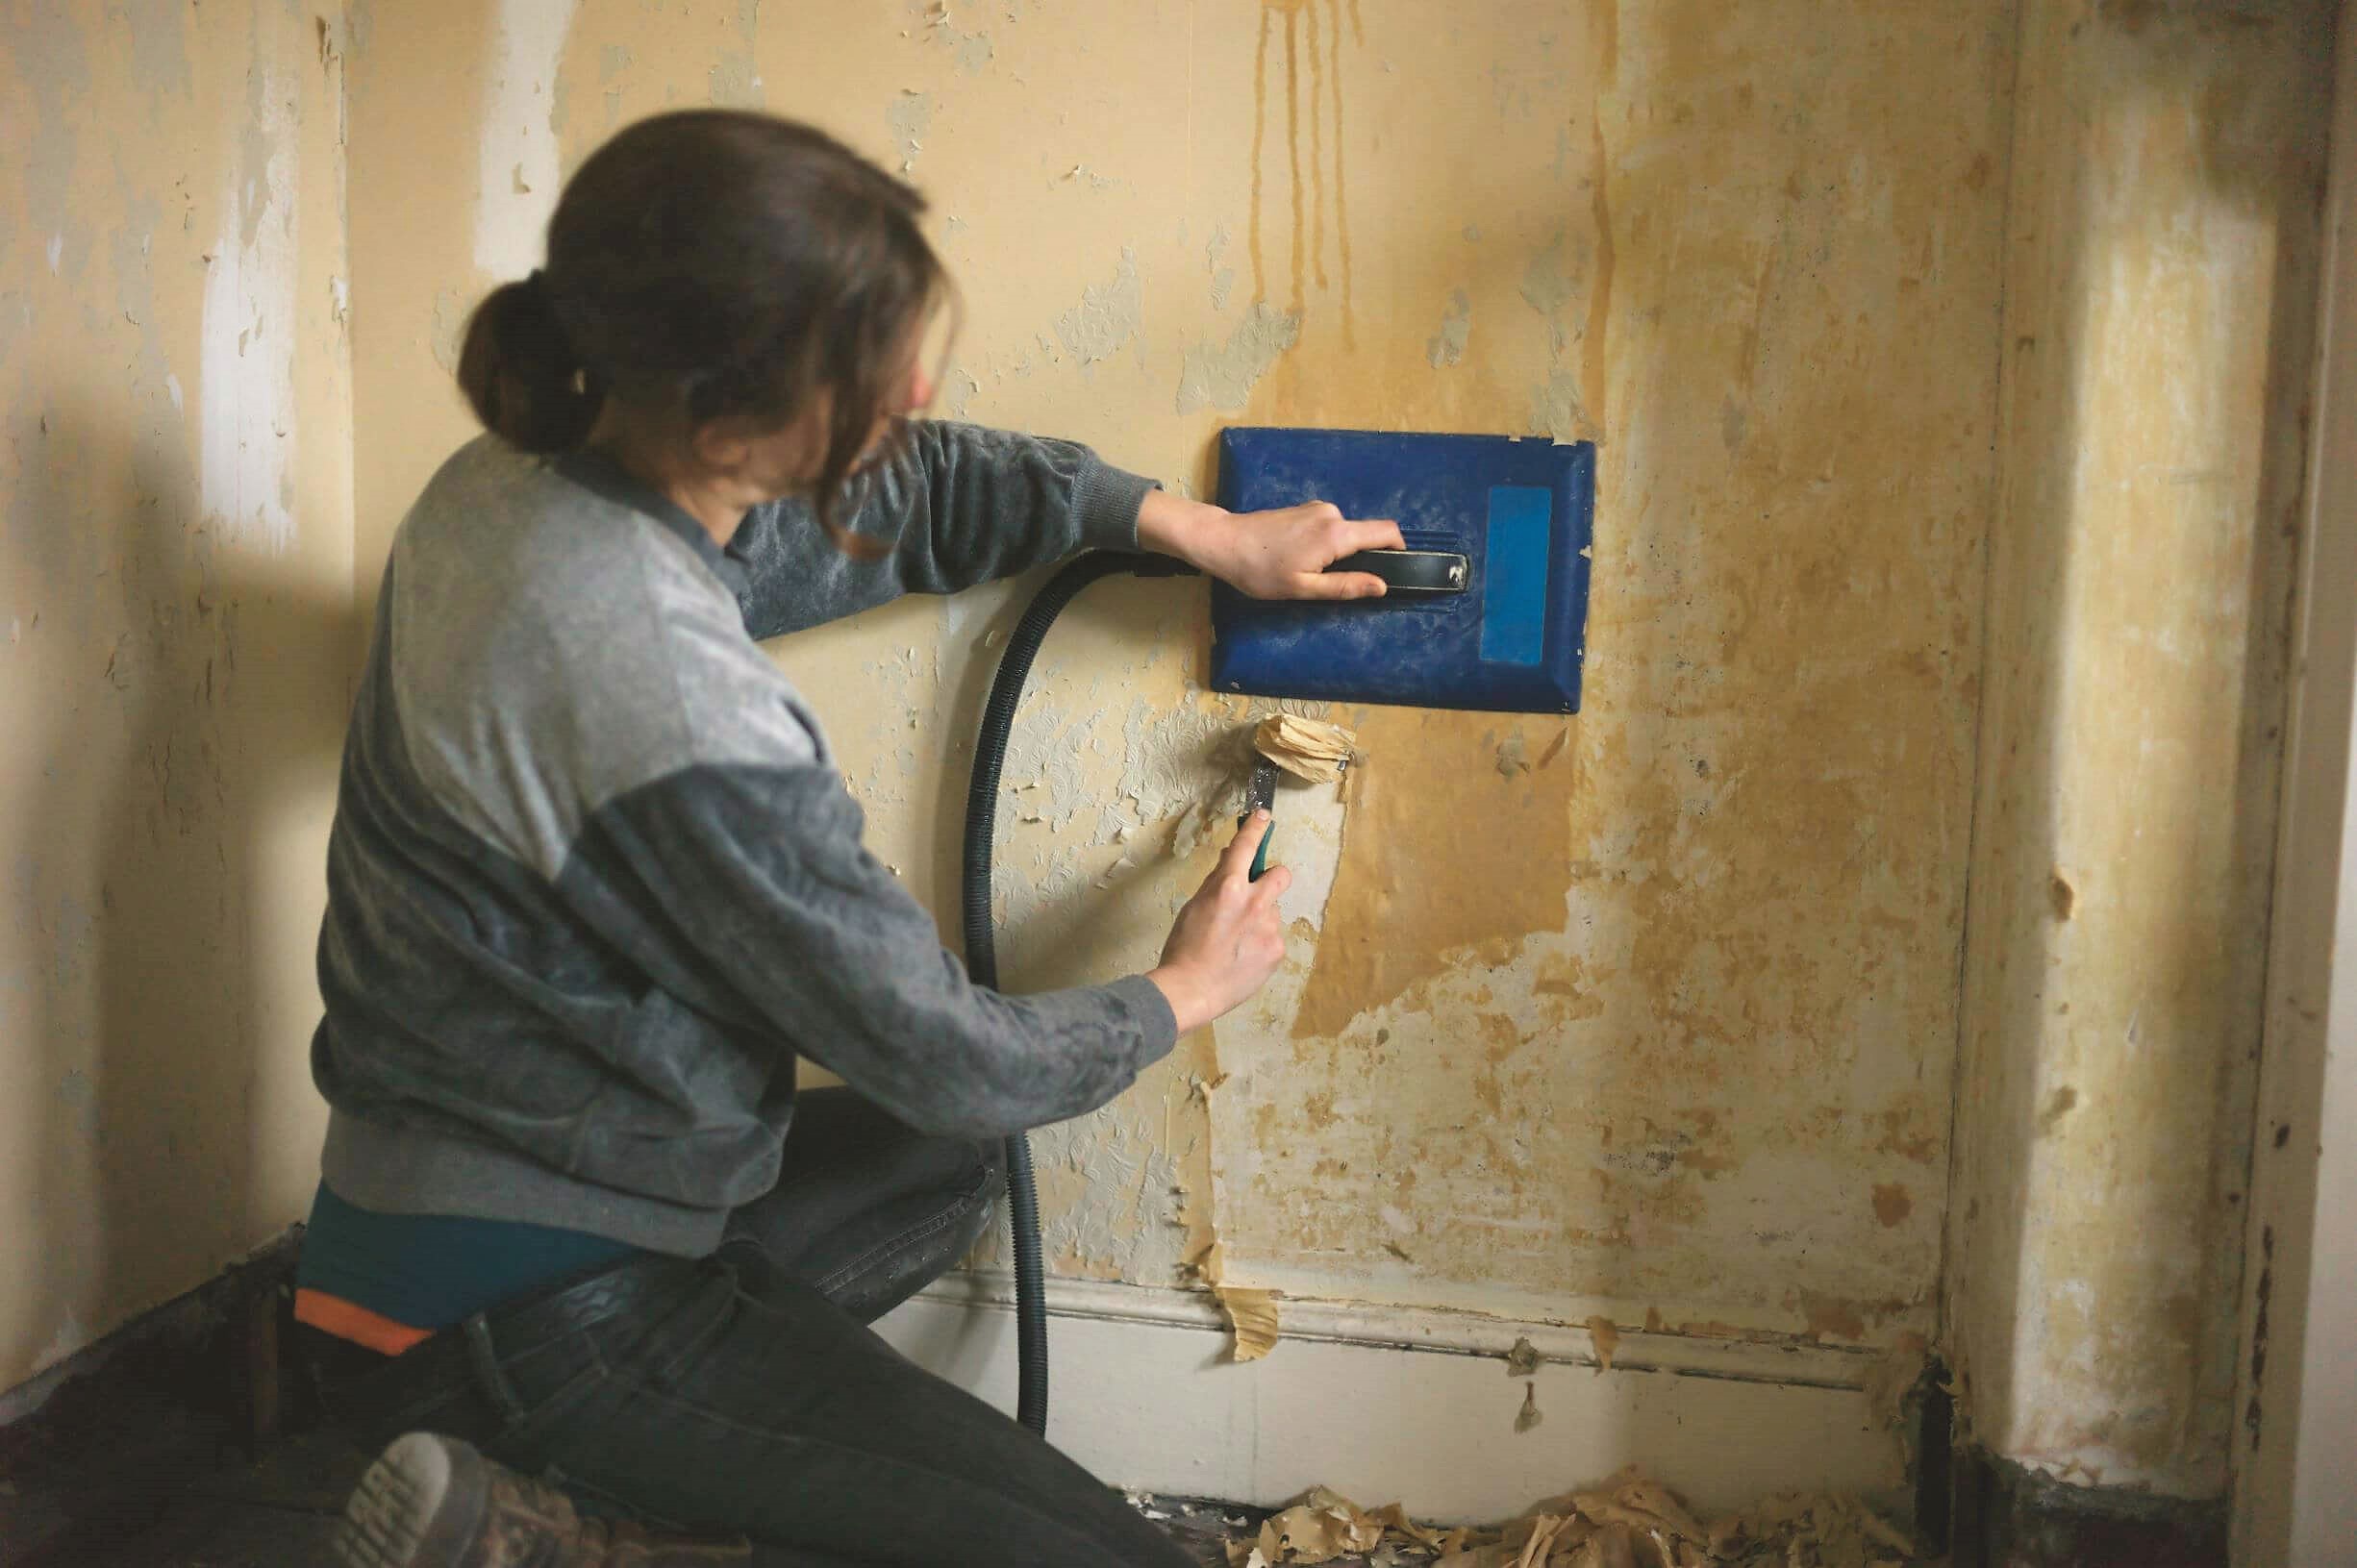
Step 4 : Use a Wallpaper Steamer
Eighty percent of the time, the above steps will be enough for remove wallpaper from your walls.
Occasionally, due to the type of wallpaper, the condition of the walls beneath, or the procedure used to hang the wallpaper, these initial steps on how to remove wallpaper will be inadequate to finish the job.
One great tool that can be used is a wallpaper steamer. This tool is lightweight, easy-to-use, and very effective, especially on old, brittle wallpapers that can be the most difficult to remove.
The wallpaper steamer is used by delivering hot steam to wallpaper which penetrates to the adhesive and causes it to bubble and soften.
Caution should be used not to steam one area for too long, as the steamer may damage the drywall beneath. (Picture it like using an clothes iron and don’t linger on a single spot!) Be sure to read and follow the manufacturer’s directions if you decide to purchase a use a wallpaper steamer.
Step 5 : Remove Remaining Wallpaper Paste
Once all the wallpaper and most of the paste is gone, wash walls and any remaining wallpaper paste with a new solution of your wallpaper removal solution mixed in a bucket of hot water. Use the flat edge of a scraper and clean rags. Rinse them often as you wipe off the remaining gooey paste.
After you’ve washed the walls, follow up with a rinse application of cold water. Be sure to get all of the paste and removal solution rinsed clean from the walls. Exchange your bucket with cold water and clean rags and rinse walls thoroughly.
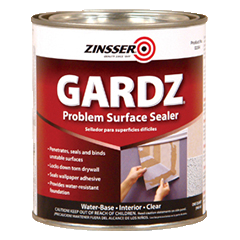
Step 6 : Seal With Zinsser Gardz
This is my secret weapon when dealing with wallpaper removal. Unfortunately, no matter how much you attempt to clean the wallpaper paste, there’s always some residual, invisible glue ready to sabotage your painting application.
Walls that appear “clean” will often be hiding remnants of glue waiting to bubble in your paint. This won’t be visible until after the moisture in the paint activates it.
To eliminate any possible issues of this sort, Zinsser has a unique sealer called Gardz. There may be similar products on the market, but if so I haven’t found them. It acts as a primer and seals out any remaining wallpaper paste and provides a solid base for your interior painting project!
Apply Gardz to the walls just as you would any normal primer / sealer, allow it to dry, then proceed with your painting application.
I hope these instructions for how to remove wallpaper will help make your home decoration or renovation project easier. Please check out the rest of the site for Interior Painting Guides, professional painting tips, and Interior Painting Ideas!

"I did not know how to paint or even what to paint, but I knew I had to begin." Margaret Atwood, Cat's Eye
Join my monthly email newsletter, "Dip & Swipe", for professional tips, how-to articles, color and decorating ideas, projects, and much more!
Recent Articles
-
Repurpose Old Windows
Dec 10, 21 06:32 PM
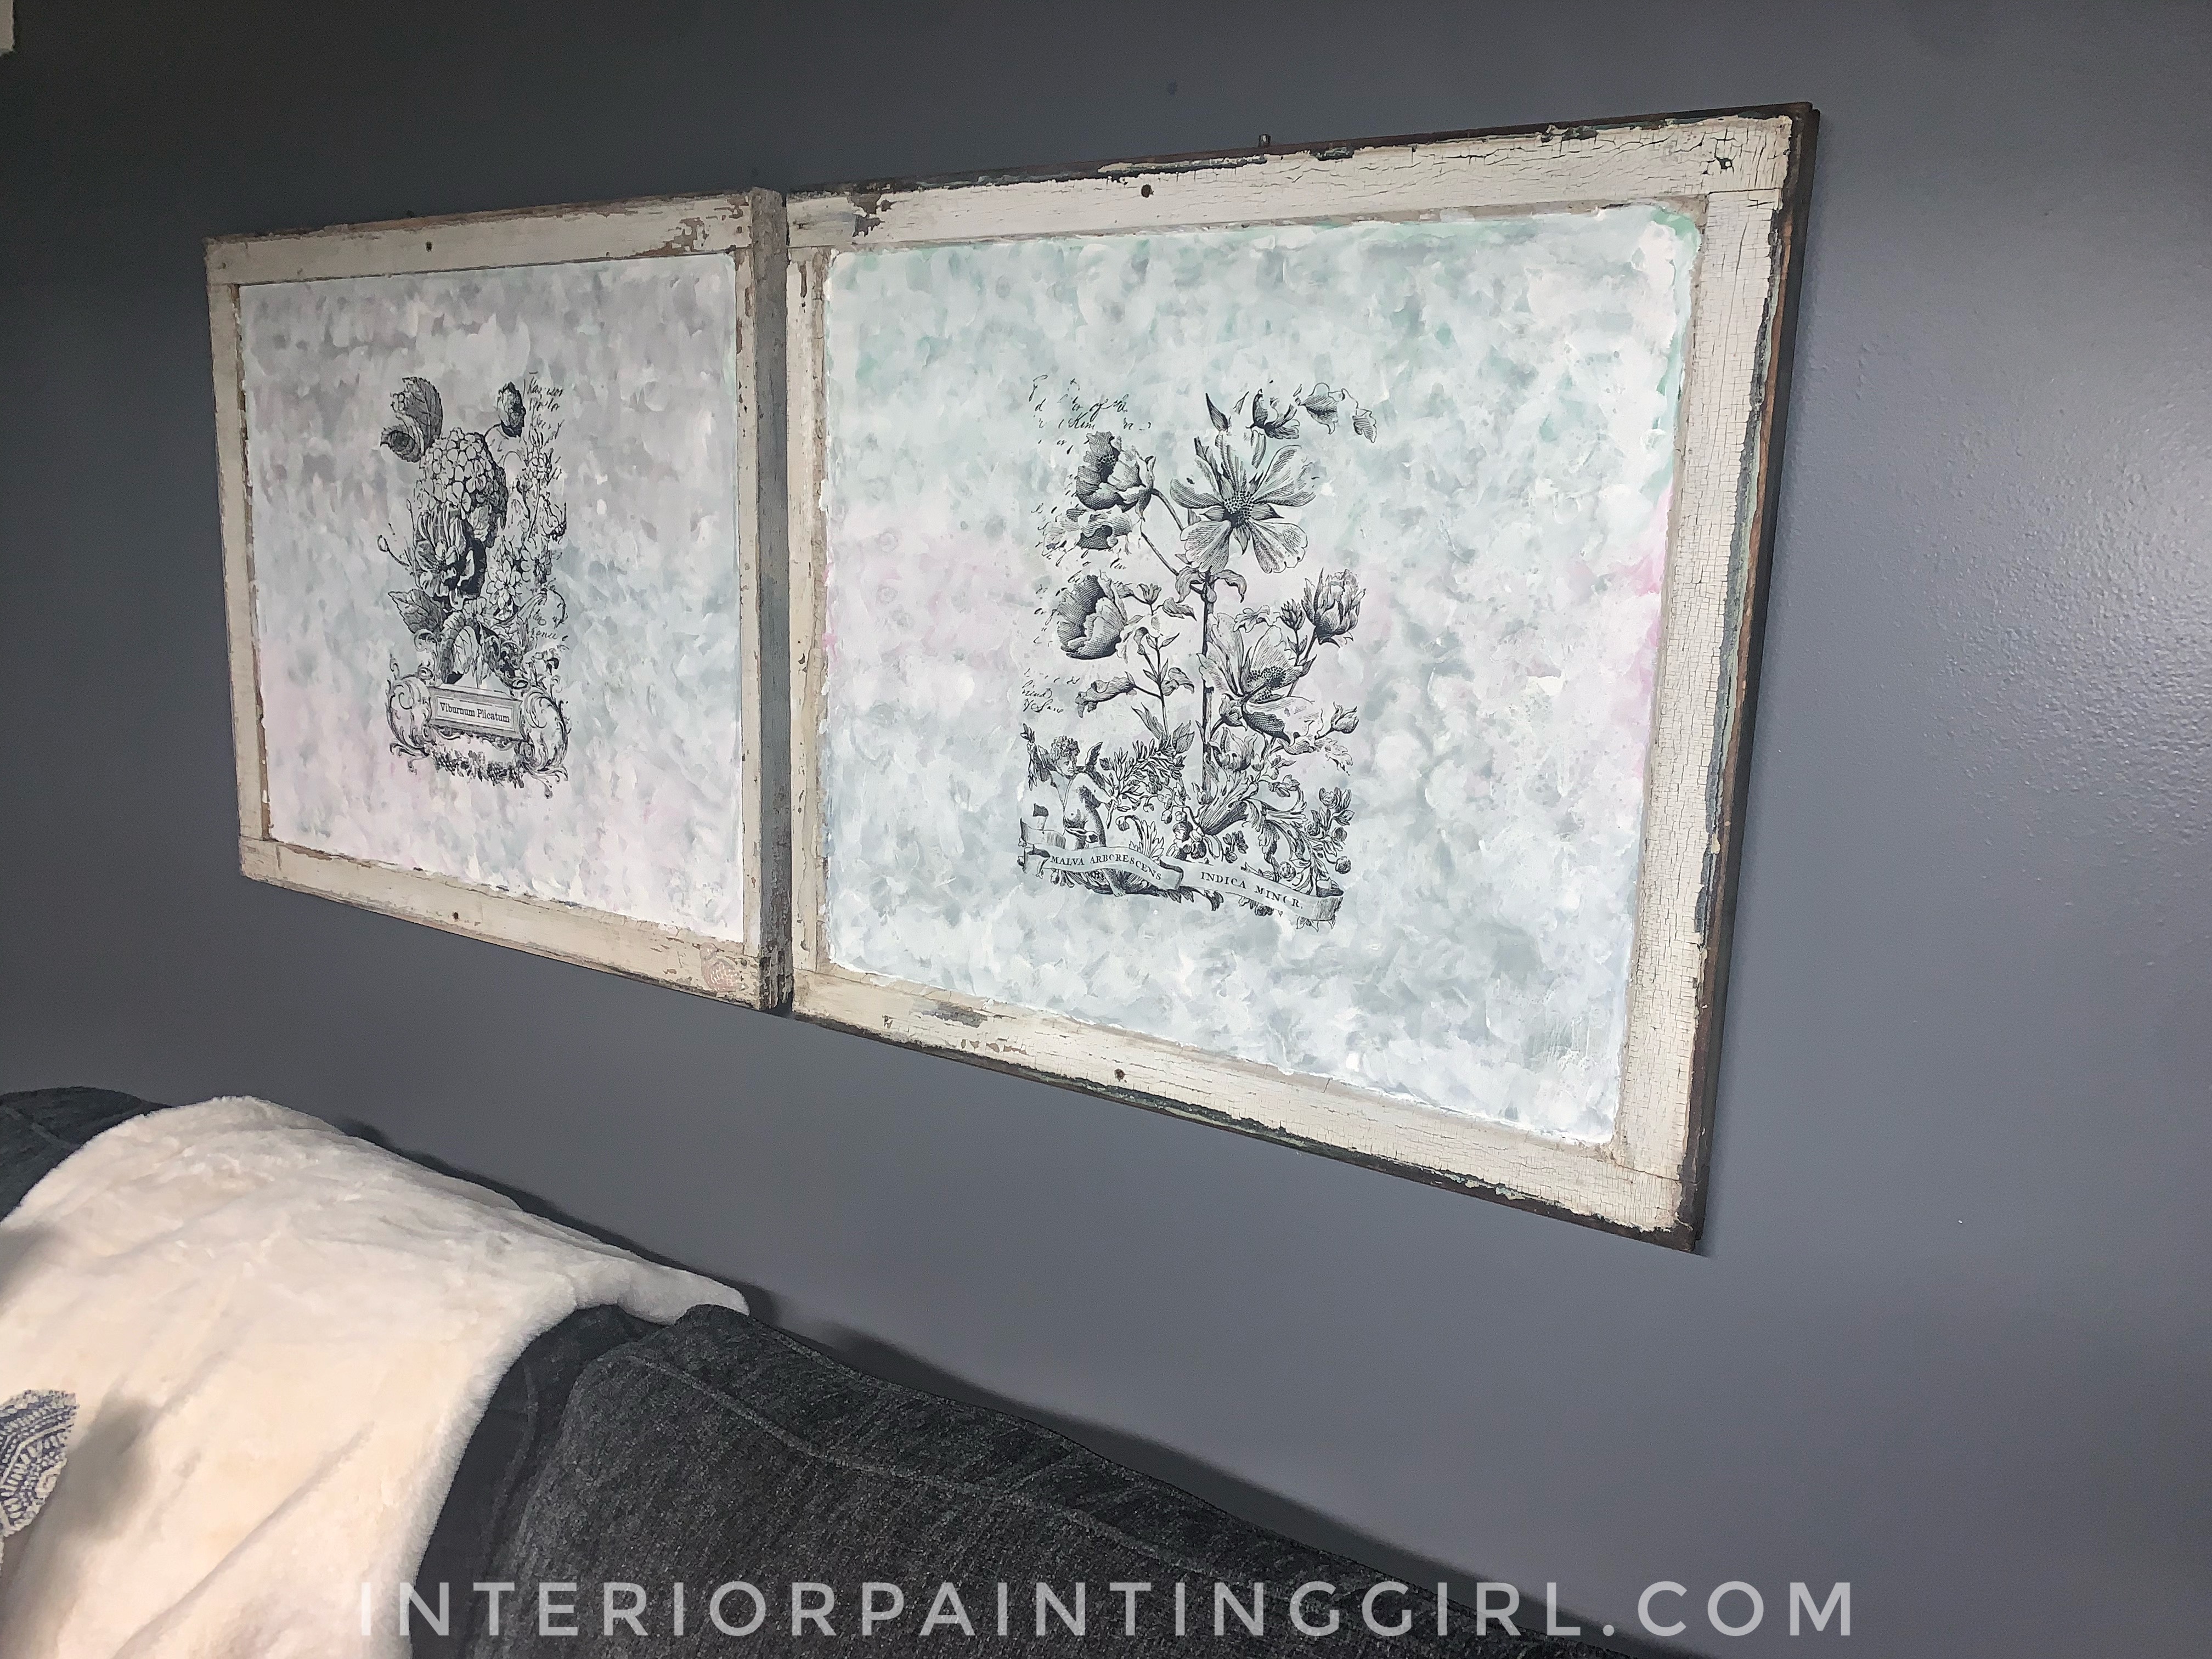 Learn how to repurpose old windows by upcycling them into shabby chic decor.
 -
Upcycling a Toolbox
Dec 08, 21 10:22 PM
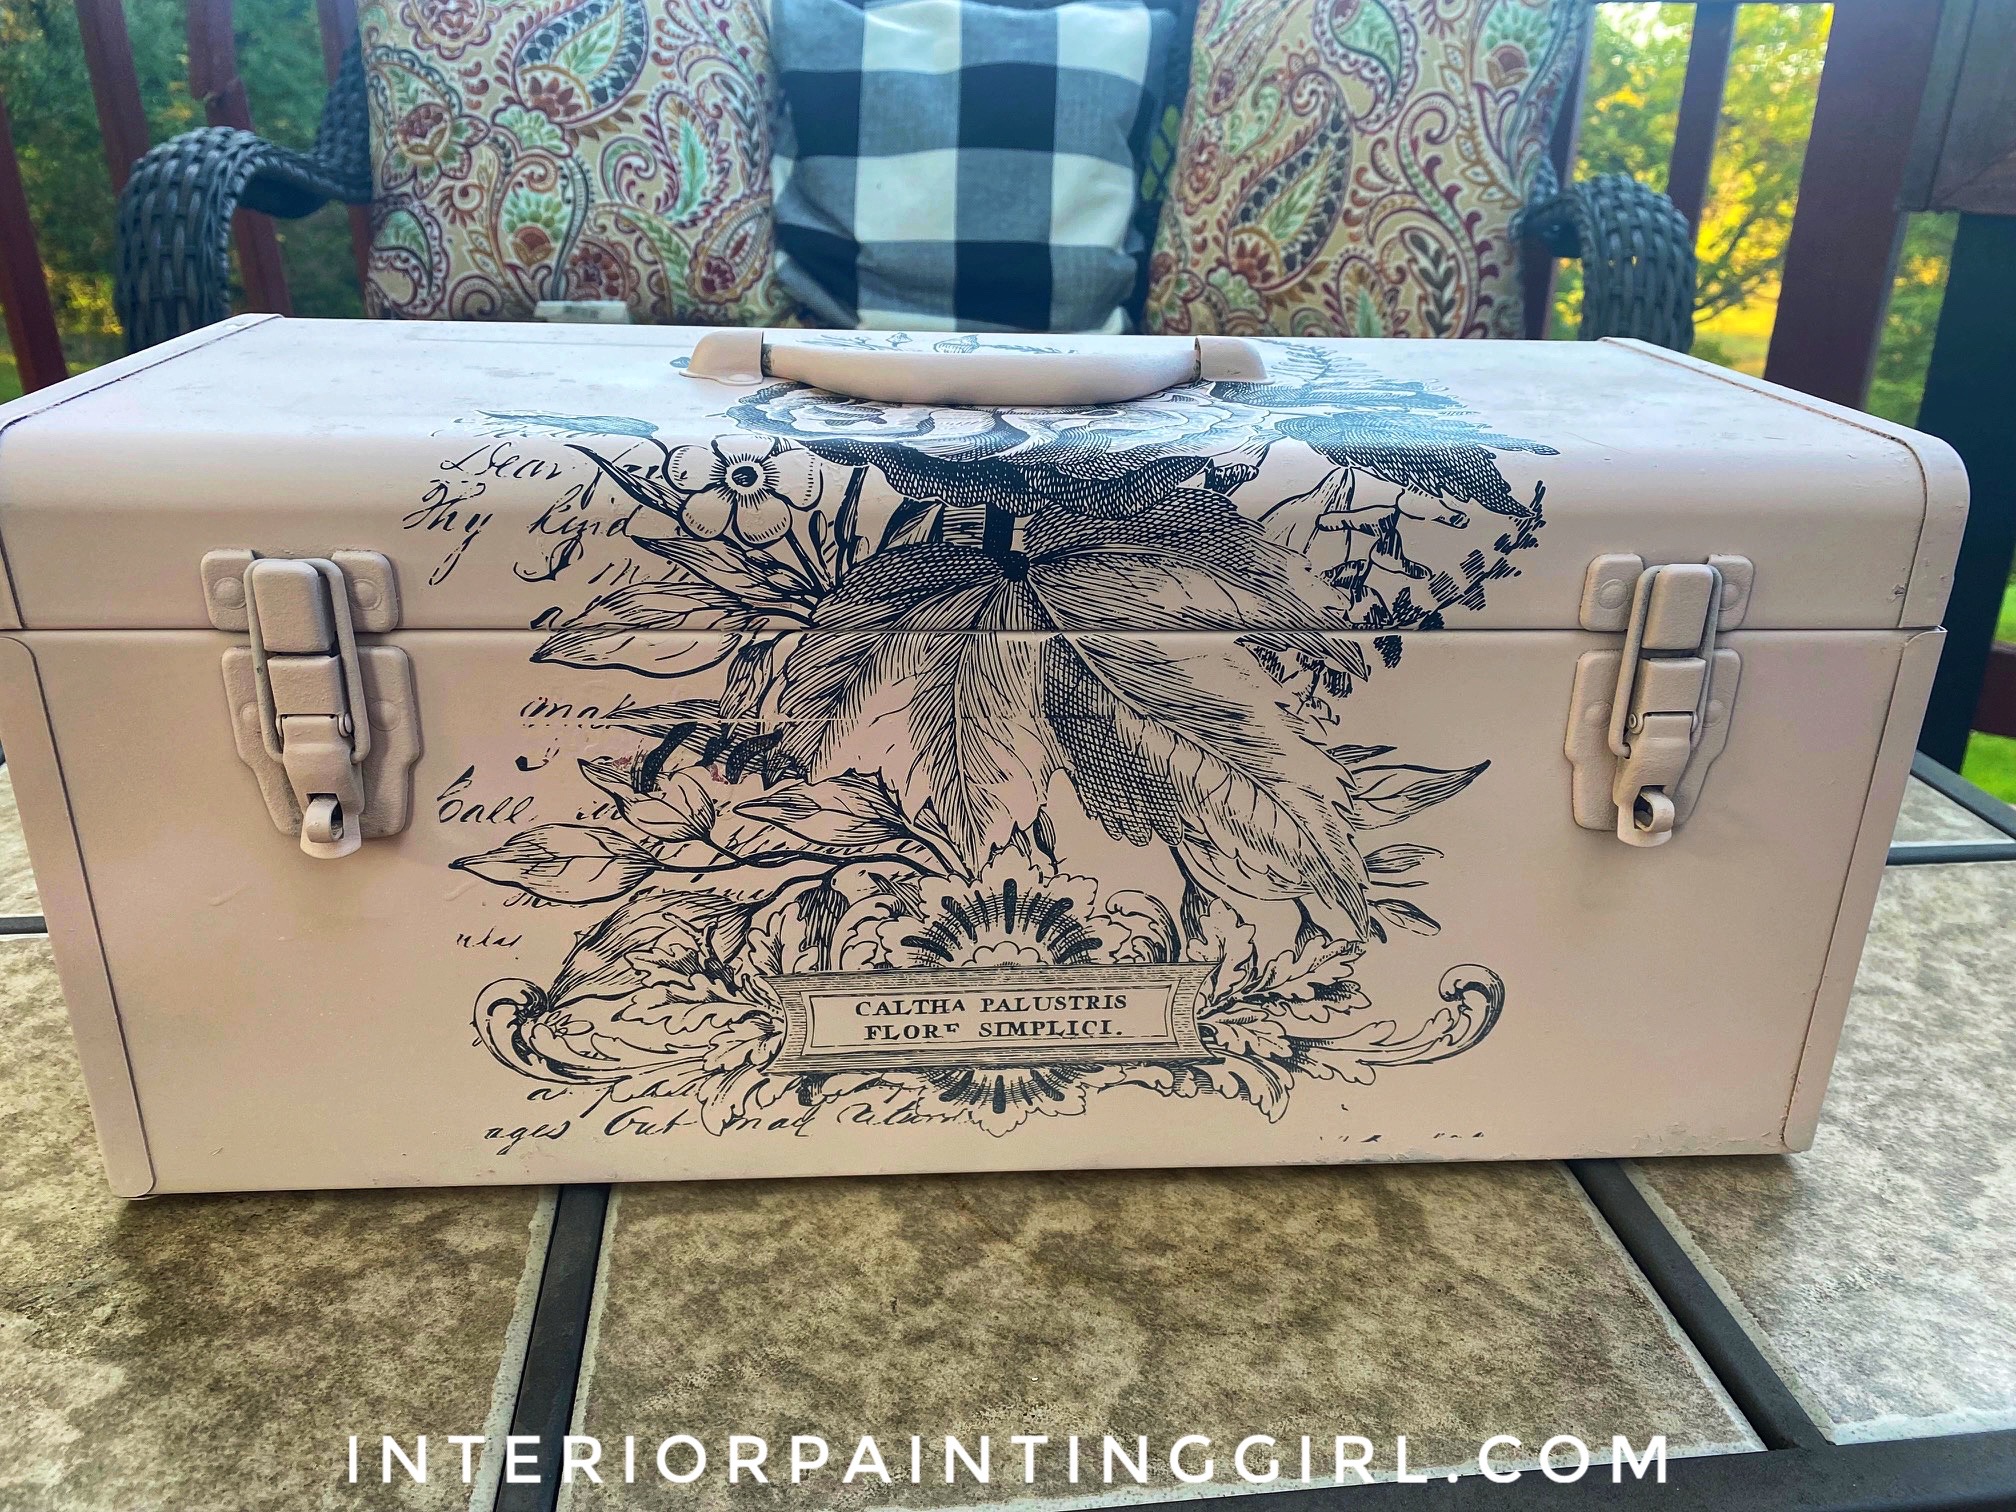 In this craft painting project, I upcycle an old toolbox with fresh paint and an appliqué.
 -
Craft Painting Projects
Dec 08, 21 08:13 PM
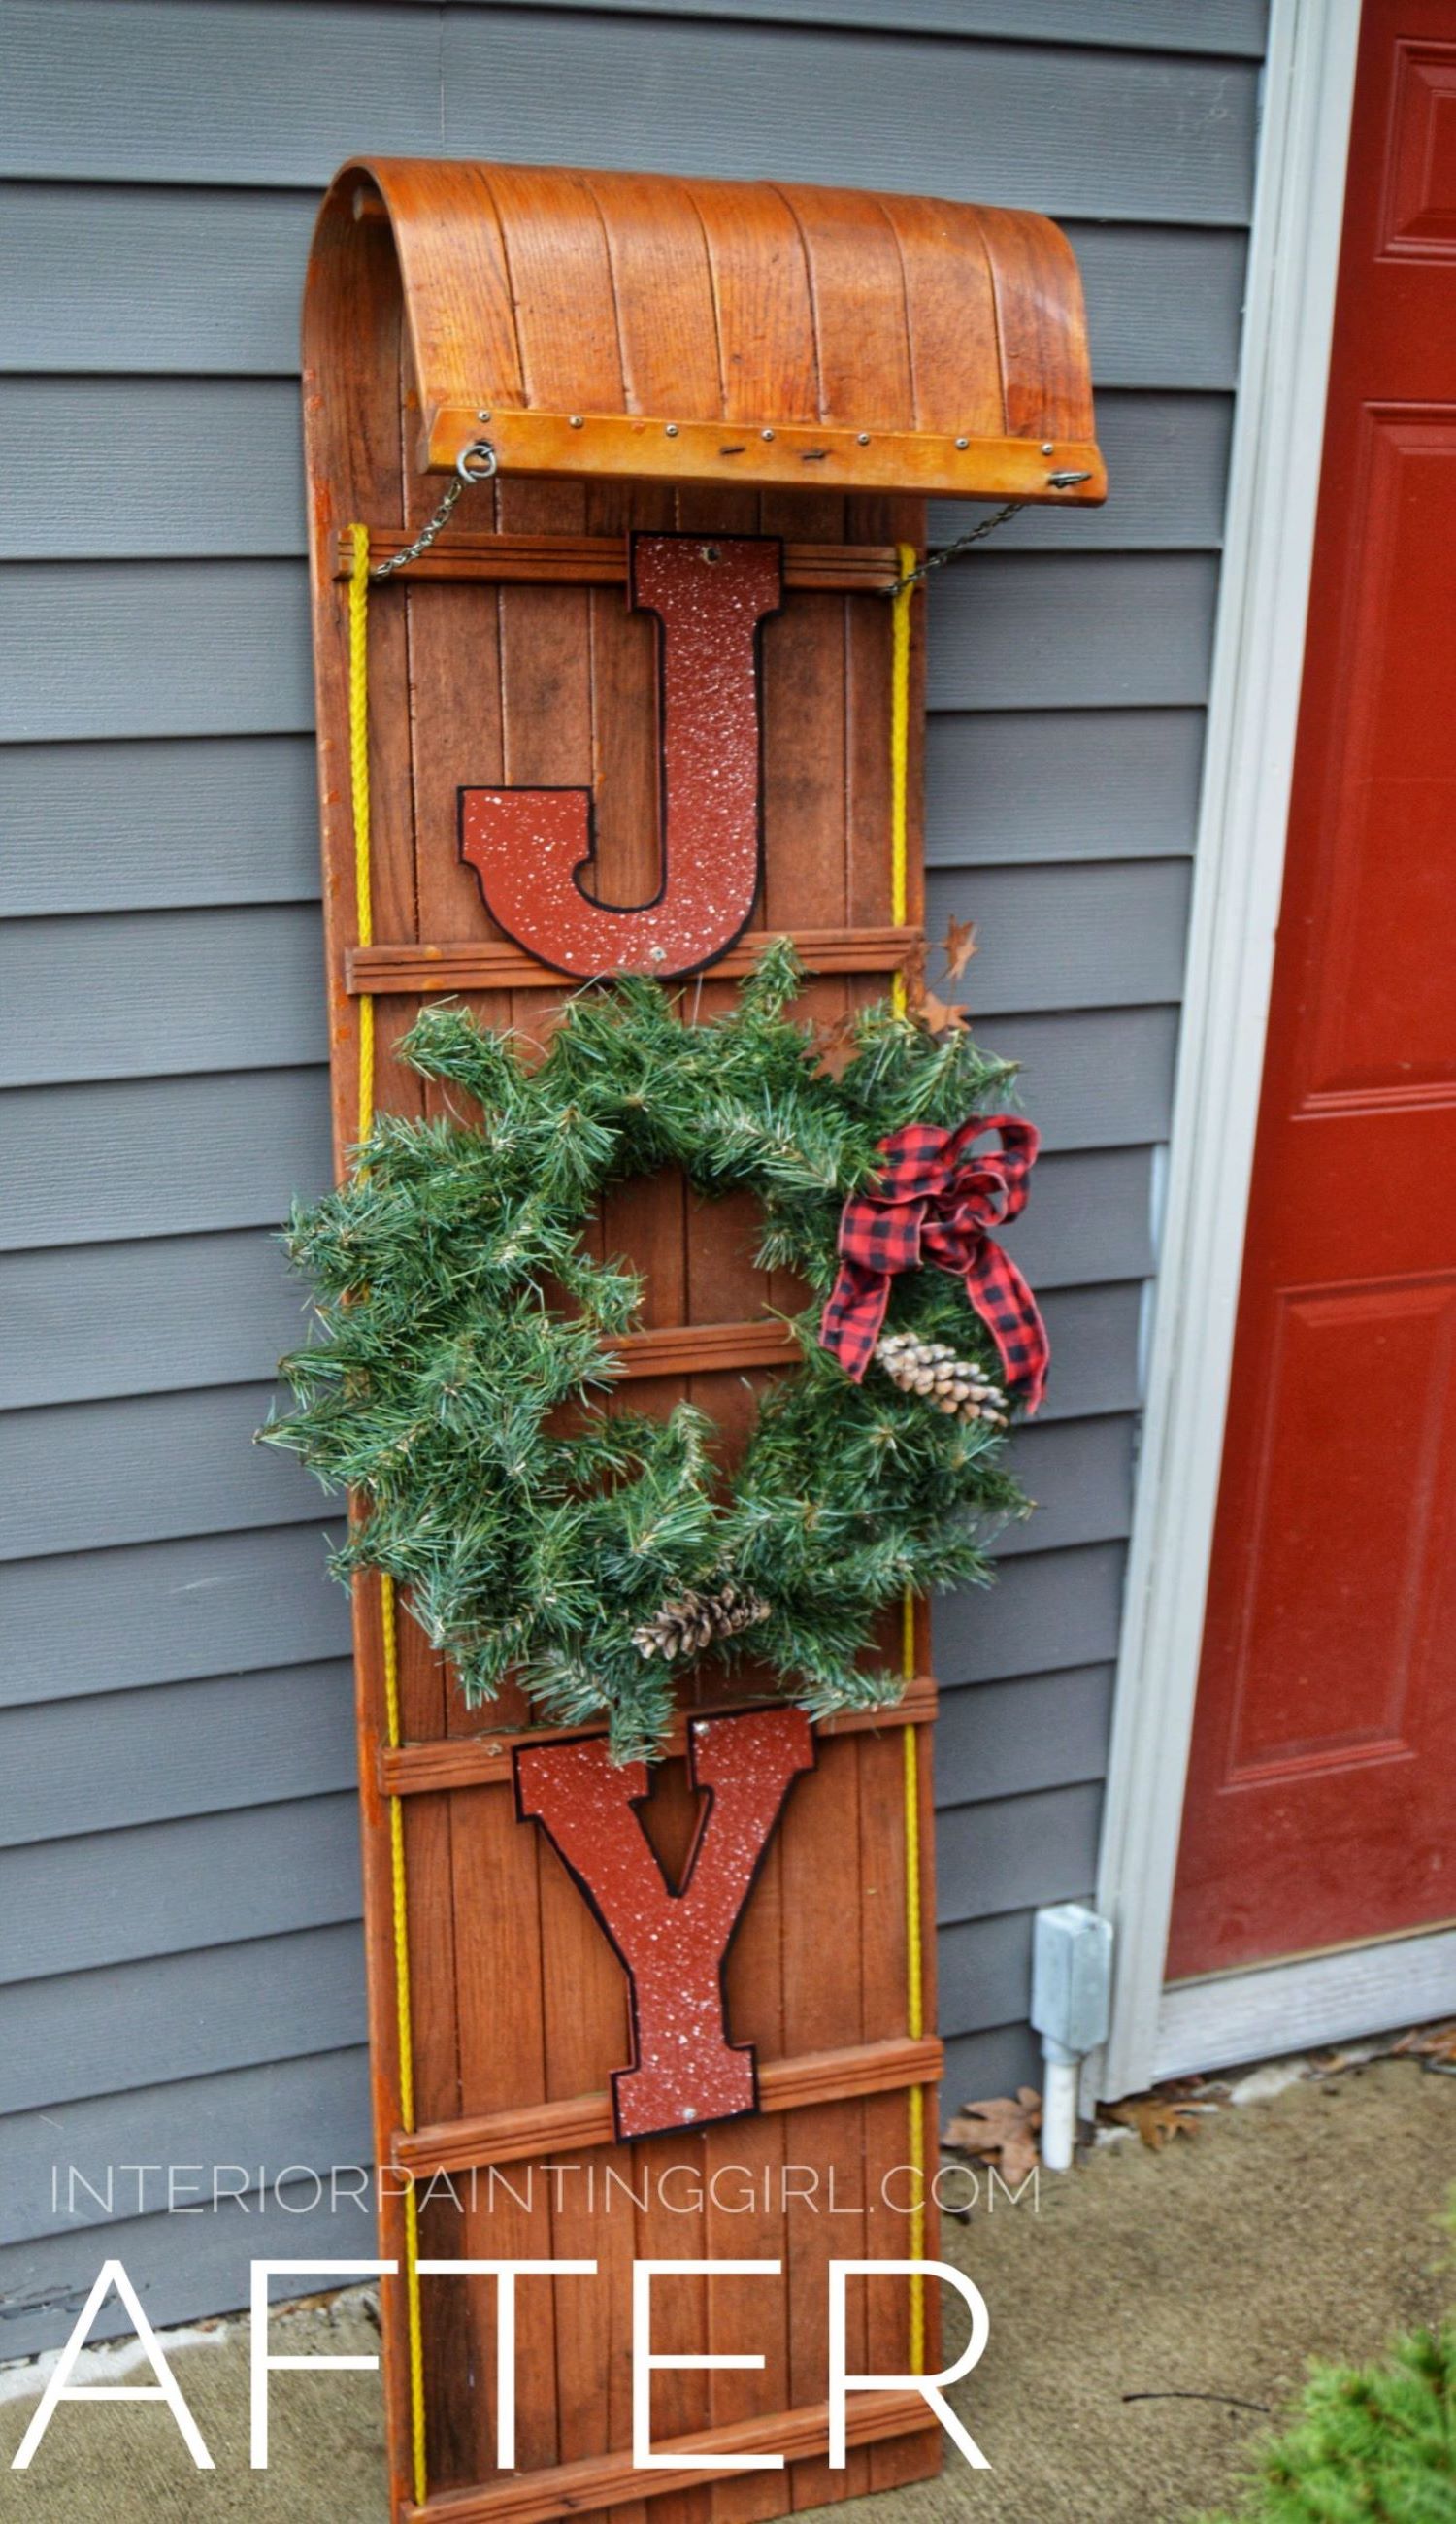 A place for all of my smaller craft painting projects and DIY projects that don't fit elsewhere.
Follow me on Pinterest @