How To Paint Drywall
The single most common question I get asked is how to paint drywall. Drywall is the standard wall surface in any home built after 1950, and it provides an even and reliable surface for paint.
There is nothing particularly challenging in painting drywall, but I can teach you how to paint drywall with easy steps and interior painting tips that can help ensure your success and the longevity of your paint!
The most important tips I can give on painting drywall are these – do not skip the preparation steps and choose quality products and supplies.
I cover preparation in depth on my Interior Painting Preparation page. If you haven’t already reviewed that page, this is the time to do so (link opens in a new window).
Having a properly prepared, ready-to-paint drywall surface will give you a running start toward a successful drywall painting project. Without it, your project is doomed to failure (or at best a lot of re-work)!
Need color or design ideas for your space? Check out my interior painting ideas for everything from kitchens and bathrooms to bedrooms and baby nurseries.

Professional Quick Start Tips for How to Paint Drywall
- Follow preparation steps carefully - preparation is key!
- Buy quality products and supplies! High quality paints, brushes, and rollers are worth every cent!
- Paint one wall at a time. Cut it in, then roll it out. Do not cut in an entire room at once.
- Maintain a wet working edge. Use a spray bottle of water to lightly mist your working surface or supplies as needed.
- Wash your new roller covers before use to remove loose fibers.
- Use a paint extension pole for your rollers. Your body will thank you!
- Use only delicate painter's tape on painted surfaces to avoid pulling off paint when it is removed.
- Utilize small corner rollers to help you cut in.
How to Paint Drywall Supply List
Paint Supplies:
- Interior Latex Paint in the color and sheen of your choice (Eggshell or Satin finish are suggested for most interior surfaces)
- Water-Based Primer
Necessary Painting Tools:
- Paint Stir Stick
- Roll of Painter’s Plastic
- Step-Ladder (or appropriate-sized ladder for reaching all parts of the space)
- Angled 2”-3” Nylon-Poly Paint Brush
- Roller Tray
- A Roller Cage
- 3/8” Nap Roller Covers
- Delicate Painter’s Tape
- 5-in-1 Painter’s Tool
- Empty 5 Gallon Bucket
Optional Painting Tools:
- Paint Cup or “Paint Pail”
- A Paint Extension Pole
- Corner Roller
How To Paint Drywall Step-by-Step
Step 1 : Preparation
Our Interior Painting Preparation page covers the step-by-step basics of preparation for how to paint drywall, from clearing the space and patching to taping and priming. Preparation is 2/3 of the battle, and though it can seem tedious it is essential to a successful project.
Ensure your room is clear of obstructions and that all surfaces that you do NOT want paint on are covered in painter’s plastic.
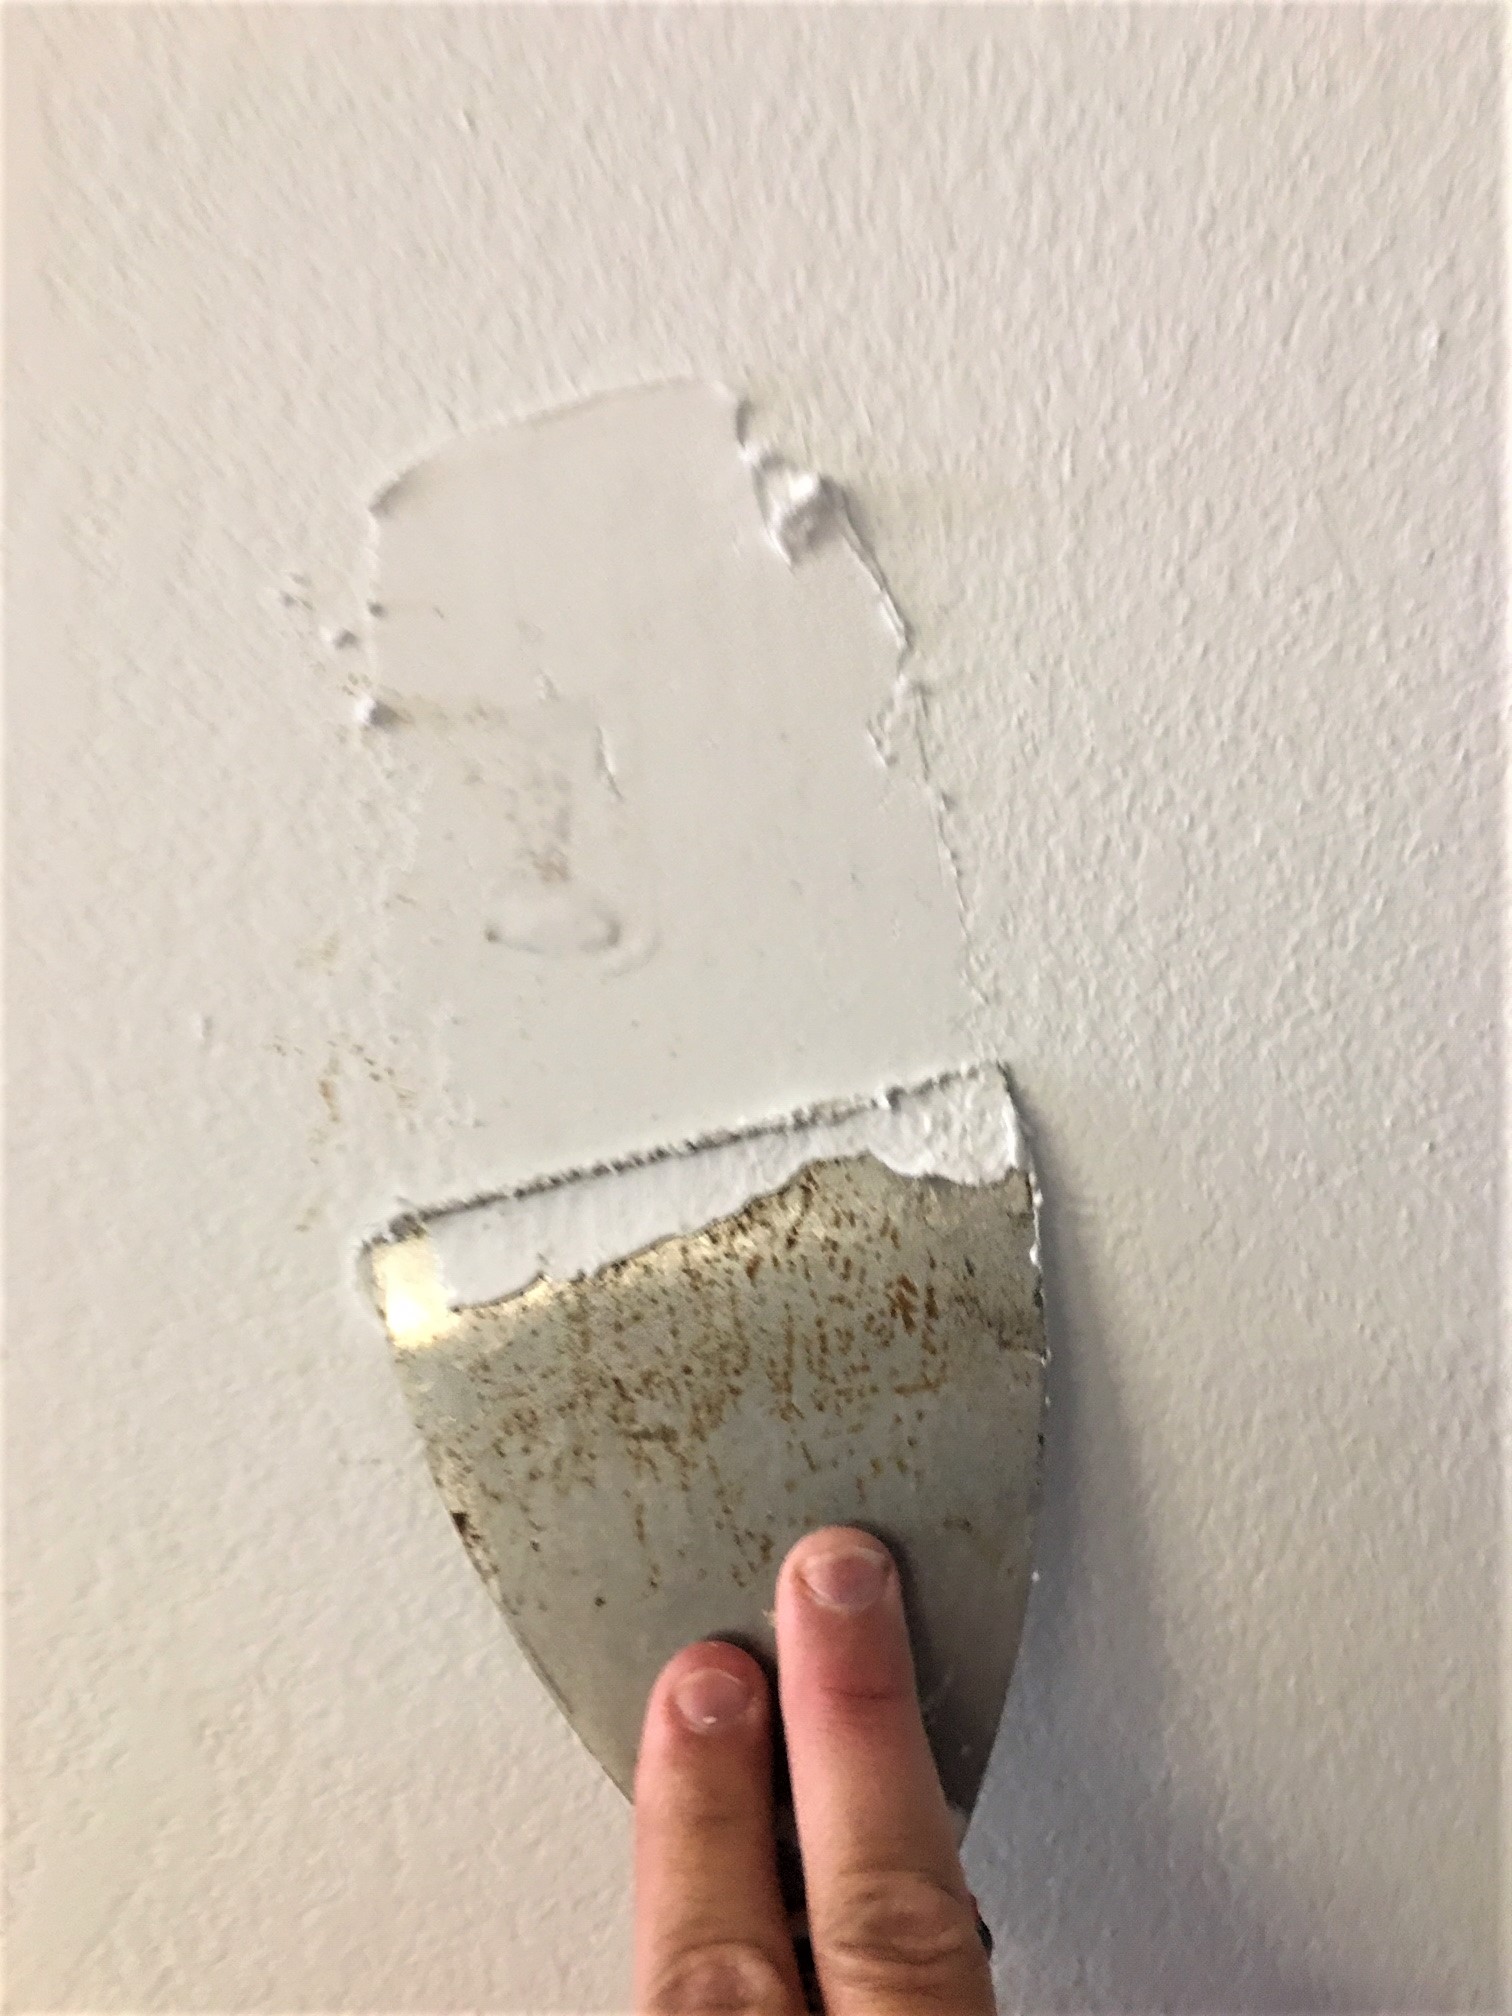
Ensure your walls are cleaned and patched and repair any nail holes or divots.
Tape off all adjoining surfaces, trim, electrical outlets, etc…
Priming your drywall is something your room may or may not need, dependent upon the condition of your drywall, previous paint or surface covering, and a few other factors. My suggestion with priming is, “if in doubt, prime”. That initial step may help avoid many complications down the road.
It is absolutely crucial that you select a quality paint! Along with preparation, this is one key that can help you avoid costly interior painting mistakes.
Quality name brand paints - such as Benjamin Moore & Sherwin Williams - are more expensive, but in terms of frustration, the quality of the finish, and your ability to get the room complete in two or less coats, they are worth every penny, and in the long run may be cheaper.
See my Selecting Interior Paints page for product comparisons and tips on how to select the right paint for you.
Step 2 : Boxing and Stirring Paint
Once you’ve purchased your paint and you are ready to begin painting, you should do something called “boxing” paint.
Boxing paint is the practice of mixing and combining all of your gallons of paint of a single color together to ensure consistency of color.
Paint store tinting machines are really good at making consistent colors, but they aren’t perfect. If you purchased more than one gallon of a single paint color for your project, I suggest you box them to ensure they are all the same consistent color.
There is nothing more frustrating than cracking the second gallon of paint and begin applying it only to realize it doesn’t quite match that first wall you painted.
You can box paint by pouring all of the purchased paint of one color into a five gallon bucket before you begin. Mix this paint well with a stir stick or, better yet, a paint stirring attachment for an electric drill. Then pour that paint back into its original containers.
Paint should be stirred or mixed every time before use. The liquid and the colors can sometimes separate, especially if paint has been sitting for a long period of time. Paint can be stirred using a wooden paint stick or a stir attachment for a drill.
Note: Paint only one wall at a time. That means work through steps three through five on each wall, then come back to step three for each successive wall.
Do not “cut in” all four walls of a room, then come back and roll on the paint. The key to a quality job is maintaining a wet working edge so that your paint blends seamlessly together and “levels”.
You don’t want to be able to see when you’re finished any difference between the areas you’ve “cut in” vs those you have rolled.
Step 3 : Cutting In
The third step in how to paint drywall involves “cutting in”. If you followed the preparation steps, all your adjoining surfaces – walls, light switches, trim, windows, etc… – should be taped off with painter’s tape, preventing paint from being accidentally applied to unwanted surfaces.
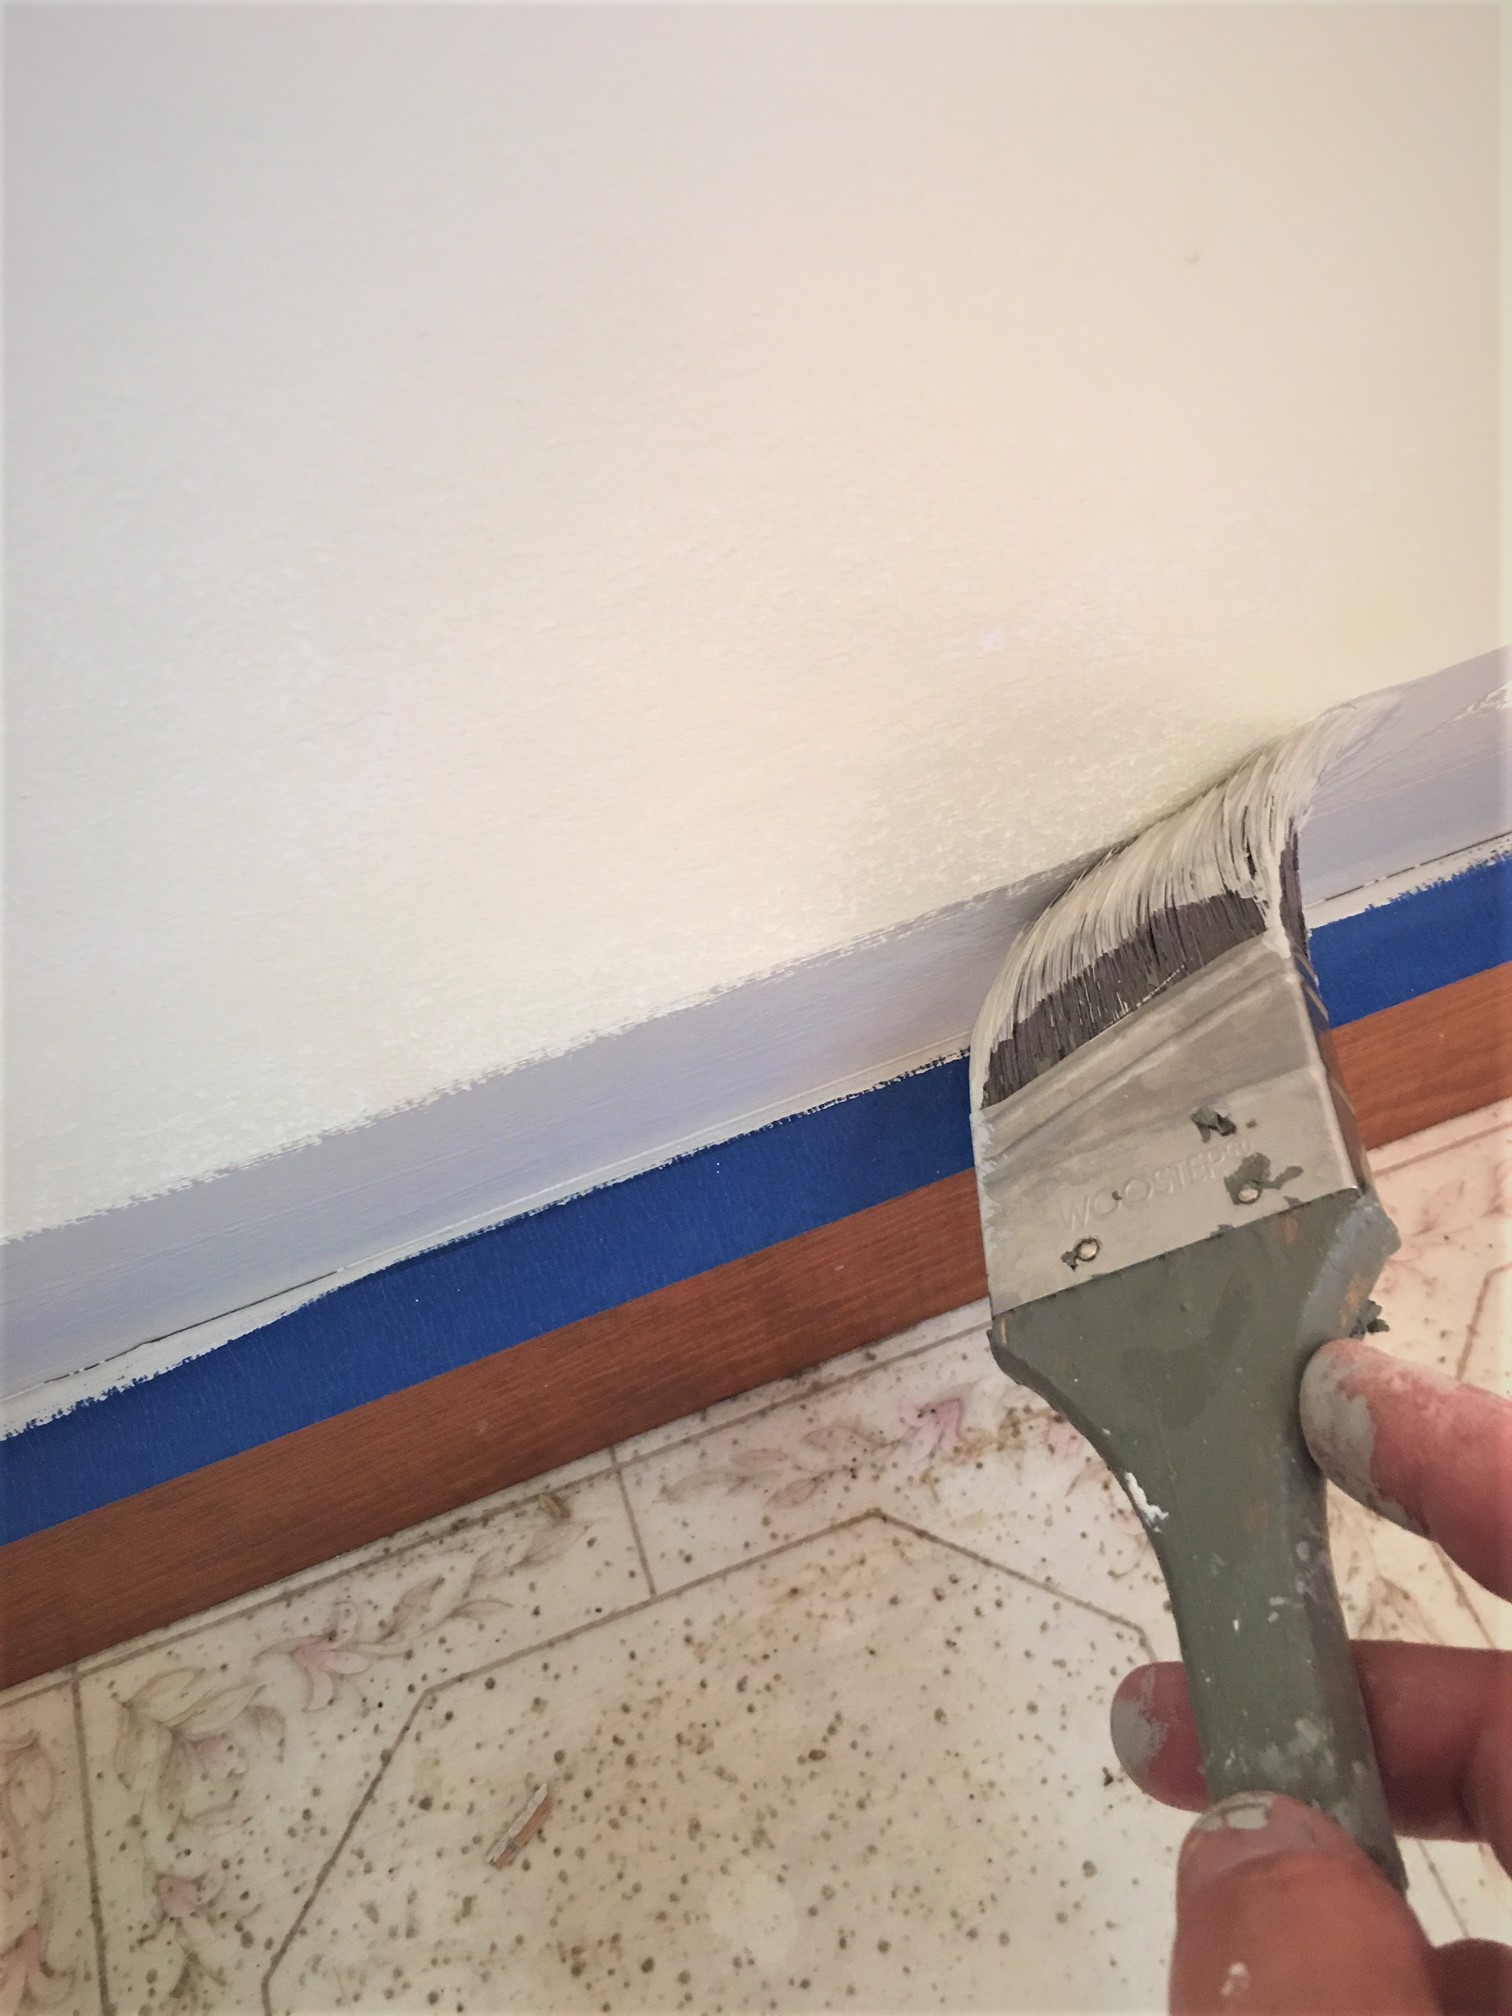
Cutting in involves getting into all the corners, gaps, and edges that the roller will not reach, and to do so in a controlled way so that paint doesn’t end up on surfaces where it doesn’t belong.
This is the step in learning how to paint drywall that requires the most practice to get the knack of. I suggest trying a few swipes on a practice board to get the feel of the proper grasp and pressure required to release the paint from the brush.
Cutting in can be done in a few different ways, but the most common way is using a paint brush. It is important that select the best paint brush for this step. My guide can help you choose a quality brush. Cheap, dollar-store paint brushes will leave you frustrated and bitter.
A good, quality paint brush can be had at reasonable cost. My suggestion is to purchase an Angled 2-3” Nylon-Poly brush. These are great all-purpose brushes, and the angled head is useful for cutting into corners and tighter areas.
Purdy and Wooster are two common manufacturers that offer quality paint brushes for under $20.
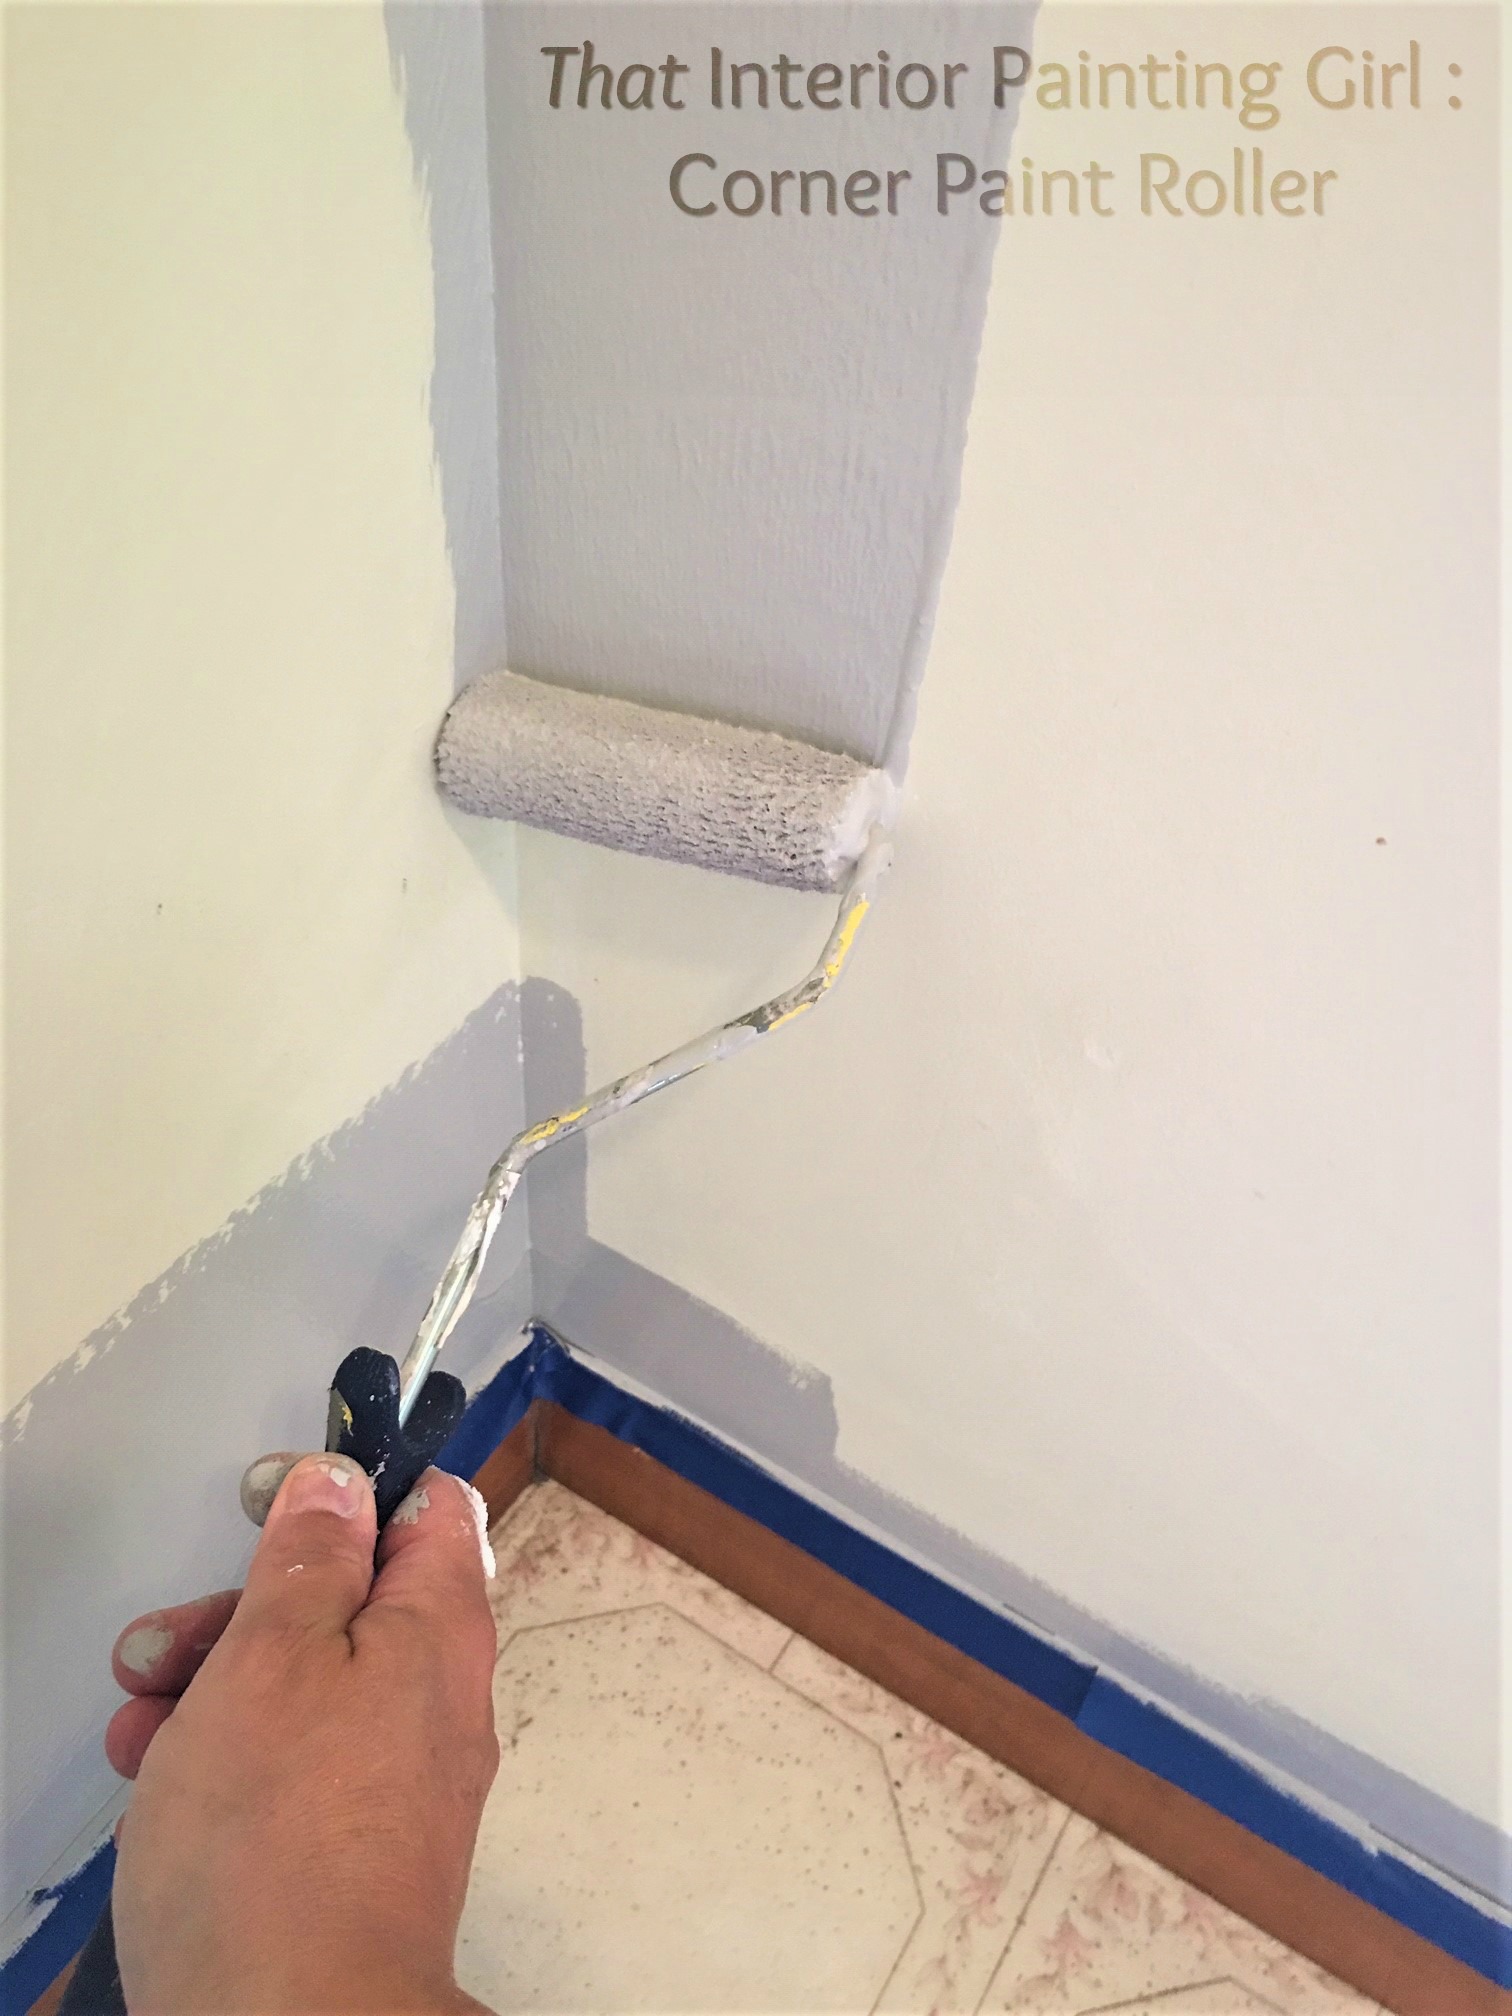
How to Paint Drywall Note: Another tool that can be used to cut in is a small corner roller. These are inexpensive and easy to use and can save time if you aren’t confident in your ability with a brush, but they also make it possible to leave roller marks or ridges if not used carefully.
You can use the paint can itself to dip your brush into if desired, but I suggest purchasing a paint cup or paint pail. There are a number of varieties of paint cups that work splendidly – these are no more than a plastic cup with a handle that you can fill with paint and carry with you around the room or up on a step ladder so you can refill your brush while you work without toting an entire gallon around with you.
Grasp the handle of the brush by making a circle with thumb and index finger, allowing the base of the handle to rest on the outside area of the hand in the space between those fingers.
Dip the bristles of the brush approximately 1/3 of their length into the paint cup. When you pull the brush free, tap it lightly against the side of the cup or can and gently swipe the sides to remove any running paint from the outside of the brush. This knocks excess paint free and sets the remainder deep into the bristles, where its release can be easily controlled.
When applying paint to the surface, press hard enough to “release” the paint from within the bristles without causing the paint to drip. This pressure will change depending upon how heavily loaded your bristles are.
Once you’ve started a stroke along an adjoining surface, don’t stop. Keep your brush moving in a continuous long stroke. If you press too hard or stop in any one place while you’re brushing in the paint, the paint may run.
You should get a 12-20” long strip of paint from each fully loaded brush, depending on the type of paint and the surface you are painting. Your strip should extend at least 2” from the adjoining surface.
Cut in along all adjoining surfaces, around light fixtures and outlets, along trim and windows.
Step 4 : Rolling Paint
The next step in how to paint drywall is the meat of the painting process : rolling paint onto the walls!
There are several important factors in rolling paint that can make this process go smoothly and successfully.
Like I mention with all paint tools, you get what you pay for. Steer away from the dollar bin of generic rollers and into a quality name like Wooster, Purdy, or True Blue.
For most standard drywall, I suggest a 3/8” nap – this is a moderate nap roller used for smooth surfaces such as drywall and finished plaster. Longer nap rollers are typically used for textured surfaces.
Begin by washing your new roller cover in warm water. To dry the excess water off, use the “rounded” end of your 5-in-1 tool, drawing it down the various edges of the roller to release the water. It is okay if you leave your roller slightly damp.
If you do not have a 5-in-1 tool a towel will be sufficient to remove moisture from your roller.
This pre-wash of a new roller cover will help eliminate a common problem with rollers – the release of “fuzz” or fibers into your wet paint. Even those rollers advertised as “lint free” rarely are, and a quick vigorous wash of the roller prior to use can eliminate 99% of this issue.
One highly suggested but not required tool for painting drywall is a paint extension pole. An extension pole is adjustable, attaches to your roller cage, and makes painting walls far simpler and less stressful on your body.
There will be less reaching, less climbing up and down ladders, and the ability to keep your body in a more ergonomic and comfortable posture. It allows you to stand back from the wall and reach all areas (up and down) with minimal reaching or bending.
Fill the well of your paint tray with about 2” of paint (paint should fill the well but not rise above any of the ribs on the tray). Optional plastic paint tray liners will make cleanup simpler at the end.
When you load your roller, press the roller into the paint well until the entire head is saturated, then remove excess paint by rolling it along the ribs.
Your roller should be saturated but not dripping. Ensure that the roller is evenly coated, not more heavily on one side than another.
Start on one end of your wall and work in one direction. Which direction you work in does not matter, but once you’ve started rolling your wall you must continue until the wall is complete to maintain a wet edge. This will help avoid roller marks, ridges, or minor color variations where you start and stop.

Start with your loaded roller in the middle of the wall, at about chest height. Using light pressure, your first swipe should be up and down a couple feet in each direction. If you press too hard the paint will run at the edges. This will lay down a heavy stripe of paint just in the middle of the wall.
Once that is done, begin working that heavy strip of paint up and down along the wall, evening it out as you go. You will be filling in about a 2’ wide strip from floor to ceiling. Overlap your cut in area along the wall with your roller. The edge of your rolled paint should end about 1” from the edge of your wall or surface.
The metal loop where the roller attaches to the cage should be facing in the direction you are painting, except when you may have to reverse it to get close around objects such as outlets or light switches.
Remember to keep going, reloading your roller as necessary, and blending each new section of paint with the previous section, maintaining a wet edge.
Don’t allow your roller to become too dry or “dry roll”.
If you feel the paint is drying too fast, or you need to step away for a few minutes, you can lightly mist the paint with a spray bottle of water to keep it workable longer.
Once you have completed each section of the wall, finish it by doing a single continual ceiling to floor sweep with the roller down the length of the wall to even out any roller marks. The better quality your paint, the less necessary this step is. High quality paints are more “self-leveling” and have less tendency to leave roller marks.
Rolling Paint - Demonstration Video
Step 5 : Second Coat
Eight times out of ten when painting drywall, a second coat will be needed. It depends on the quality of the paint, the color used, the original surface quality and color, whether or not the surface was primed, and many other factors.
My suggestion when teaching how to paint drywall is always to plan for a second coat to provide a quality, consistent finished look.
Allow your first coat a minimum of three hours to dry. I suggest allowing air to circulate through the room with a fan, but be careful not to create or stir up dust that may stick in your wet paint.
Before you begin your second coat, inspect your wall under good lighting. Look for any damaged or uneven areas that weren’t noticeable before the paint was applied. Also look for any roller fibers that may have caught in the paint. Lightly sand any areas where this appears.
Now return to Step 2 and repeat the actions followed in Steps 2 & 3.
Once the second coat is complete, allow to dry. Once it has dried, inspect it again under good lighting. Some colors – most particularly deep reds – may require more than two coats, but two coats should be sufficient for most paint colors.
Step 6 : Remove the Tape
When you are finished painting, remove the tape along the adjoining walls and trim work by gently running a utility knife or a razor blade along the top edge where the tape and paint meet to separate the paint and tape, then pull the tape off very slowly.
If you do not separate the paint and the tape, removing the tape may pull your paint off the wall!
Learning how to paint drywall can be time-consuming and at times frustrating, but there is also no more efficient and cost-effective way to revitalize your space, give character to a room, or redecorate! And it won’t cost you tens of thousands of dollars to complete!

"I did not know how to paint or even what to paint, but I knew I had to begin." Margaret Atwood, Cat's Eye
Join my monthly email newsletter, "Dip & Swipe", for professional tips, how-to articles, color and decorating ideas, projects, and much more!
Recent Articles
-
Repurpose Old Windows
Dec 10, 21 06:32 PM
 Learn how to repurpose old windows by upcycling them into shabby chic decor.
 -
Upcycling a Toolbox
Dec 08, 21 10:22 PM
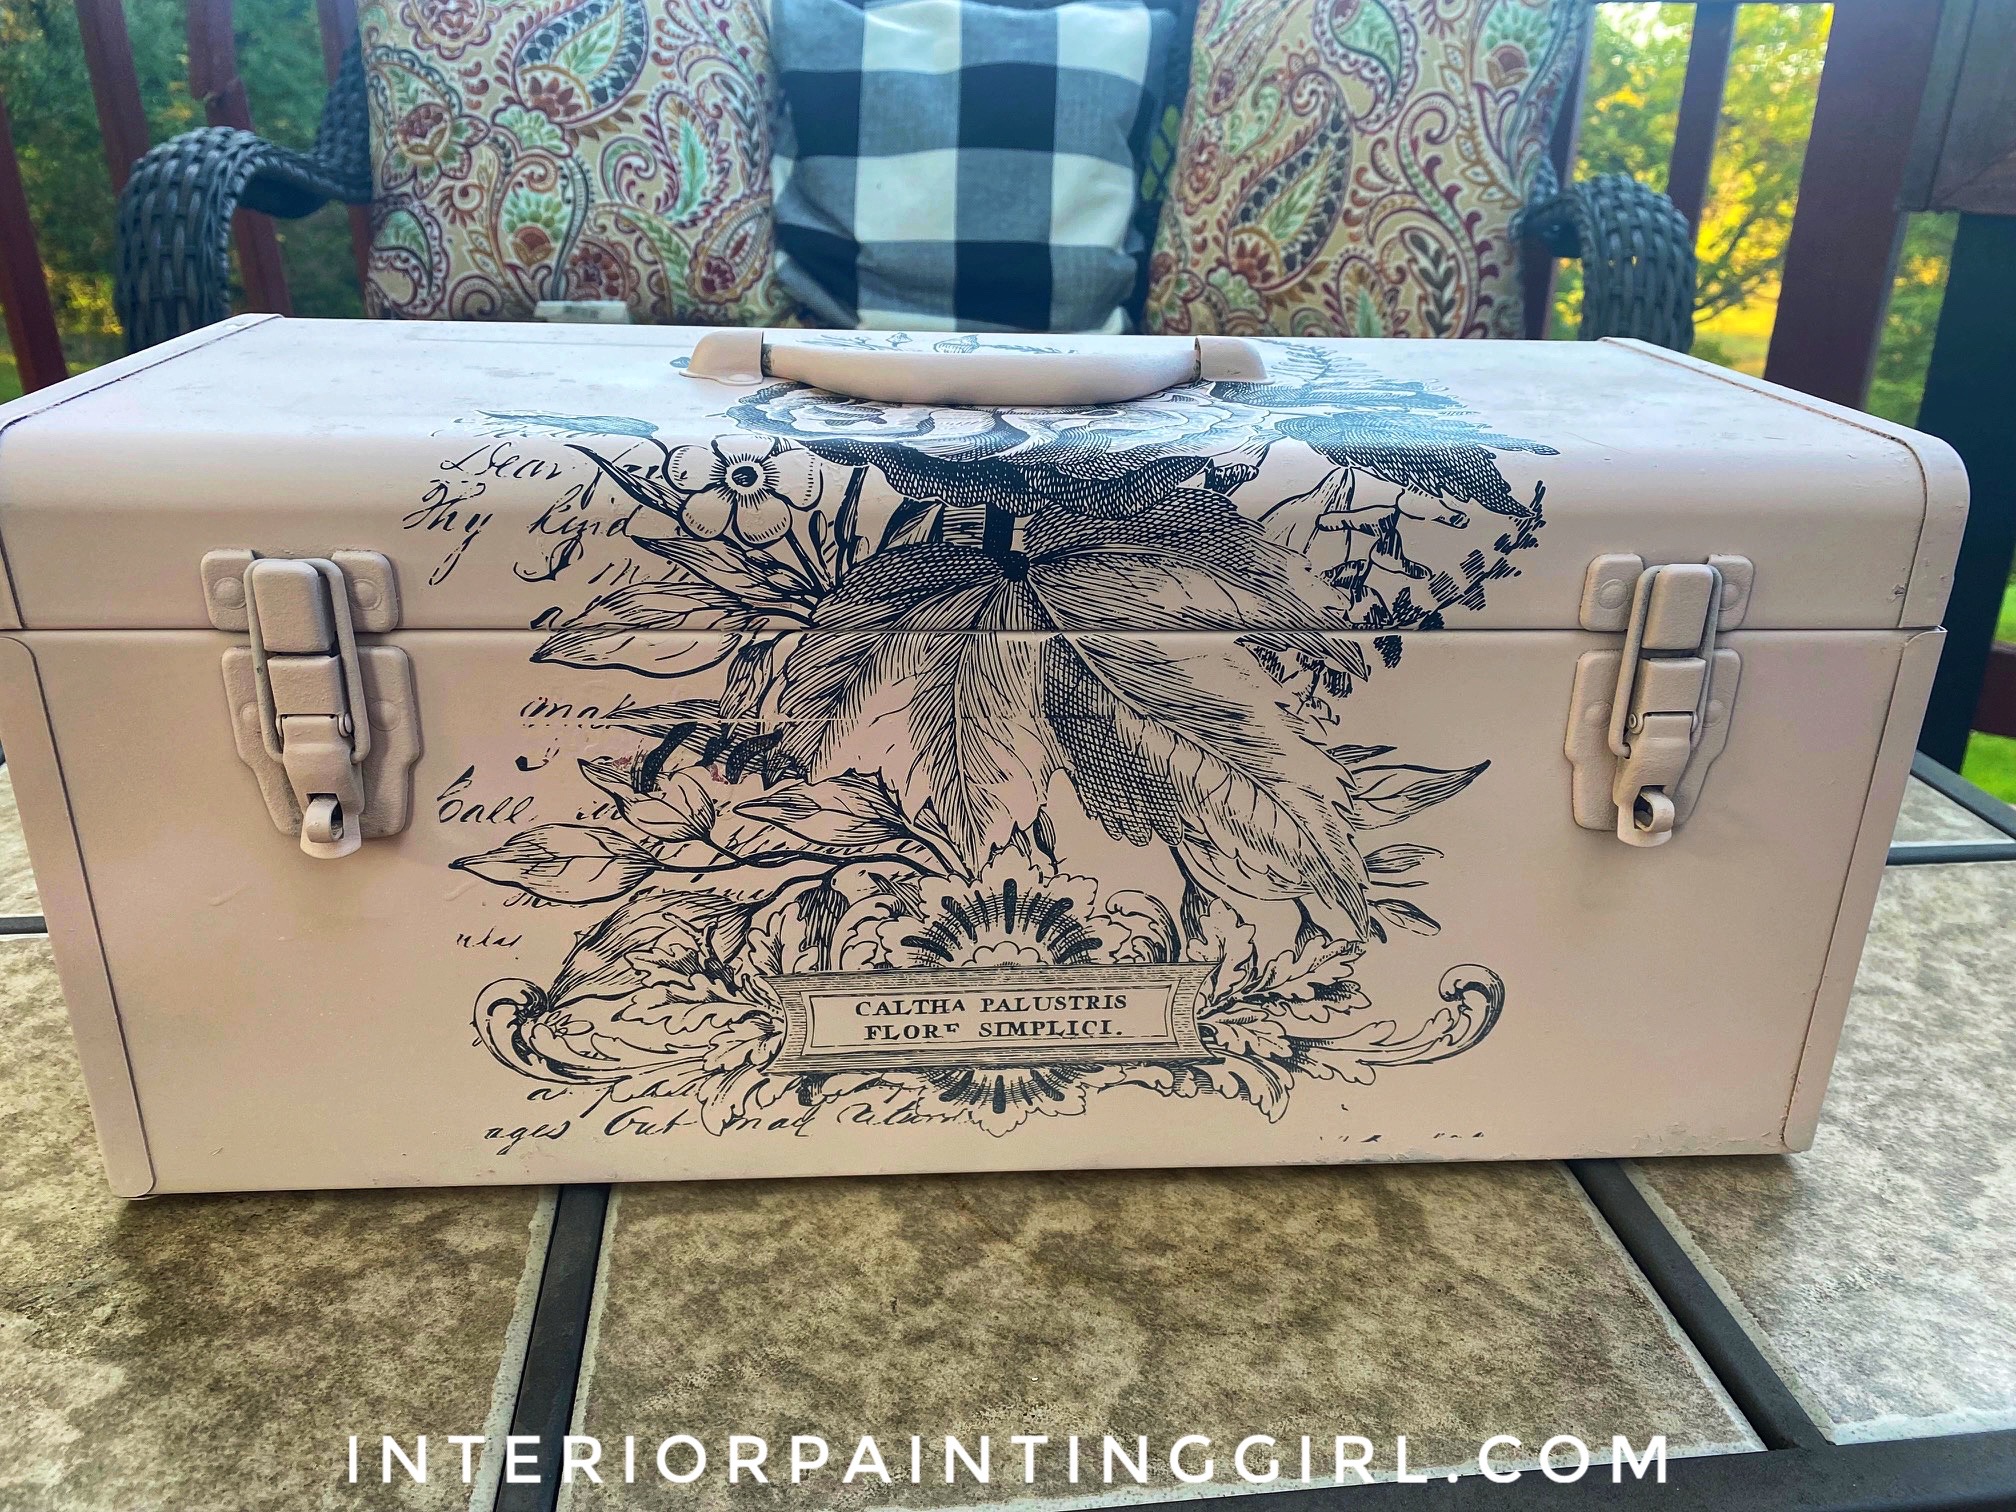 In this craft painting project, I upcycle an old toolbox with fresh paint and an appliqué.
 -
Craft Painting Projects
Dec 08, 21 08:13 PM
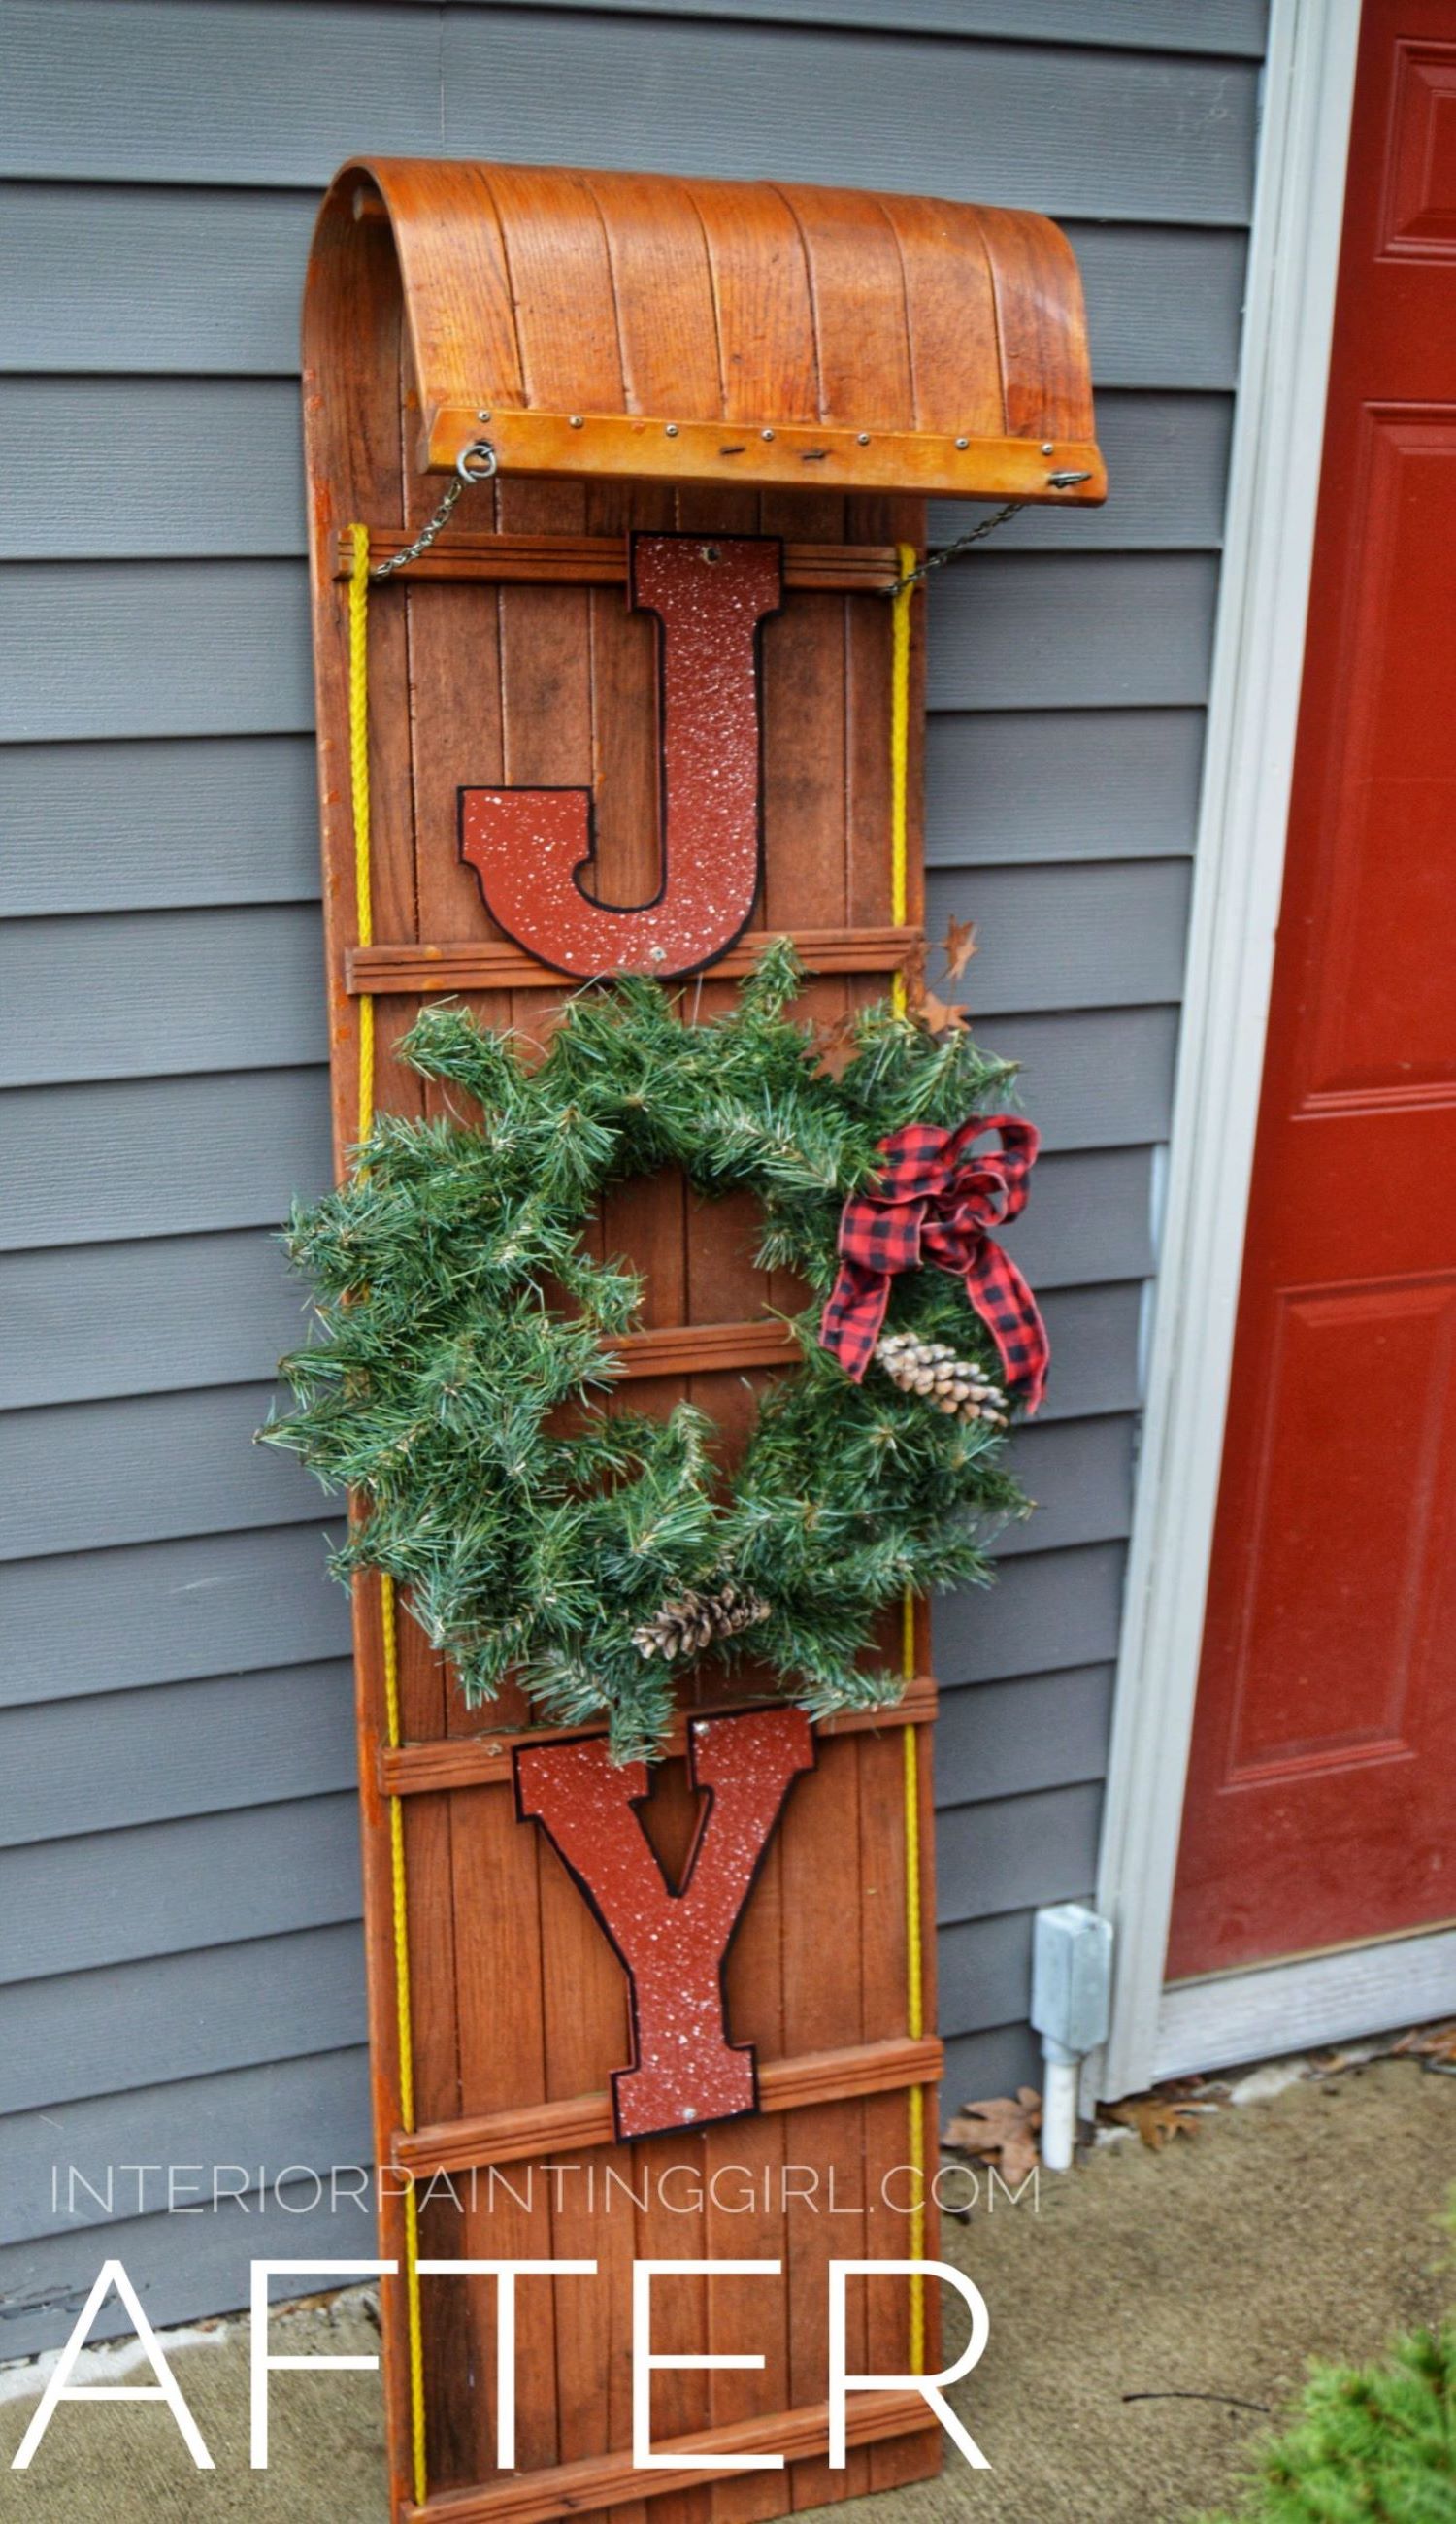 A place for all of my smaller craft painting projects and DIY projects that don't fit elsewhere.
Follow me on Pinterest @