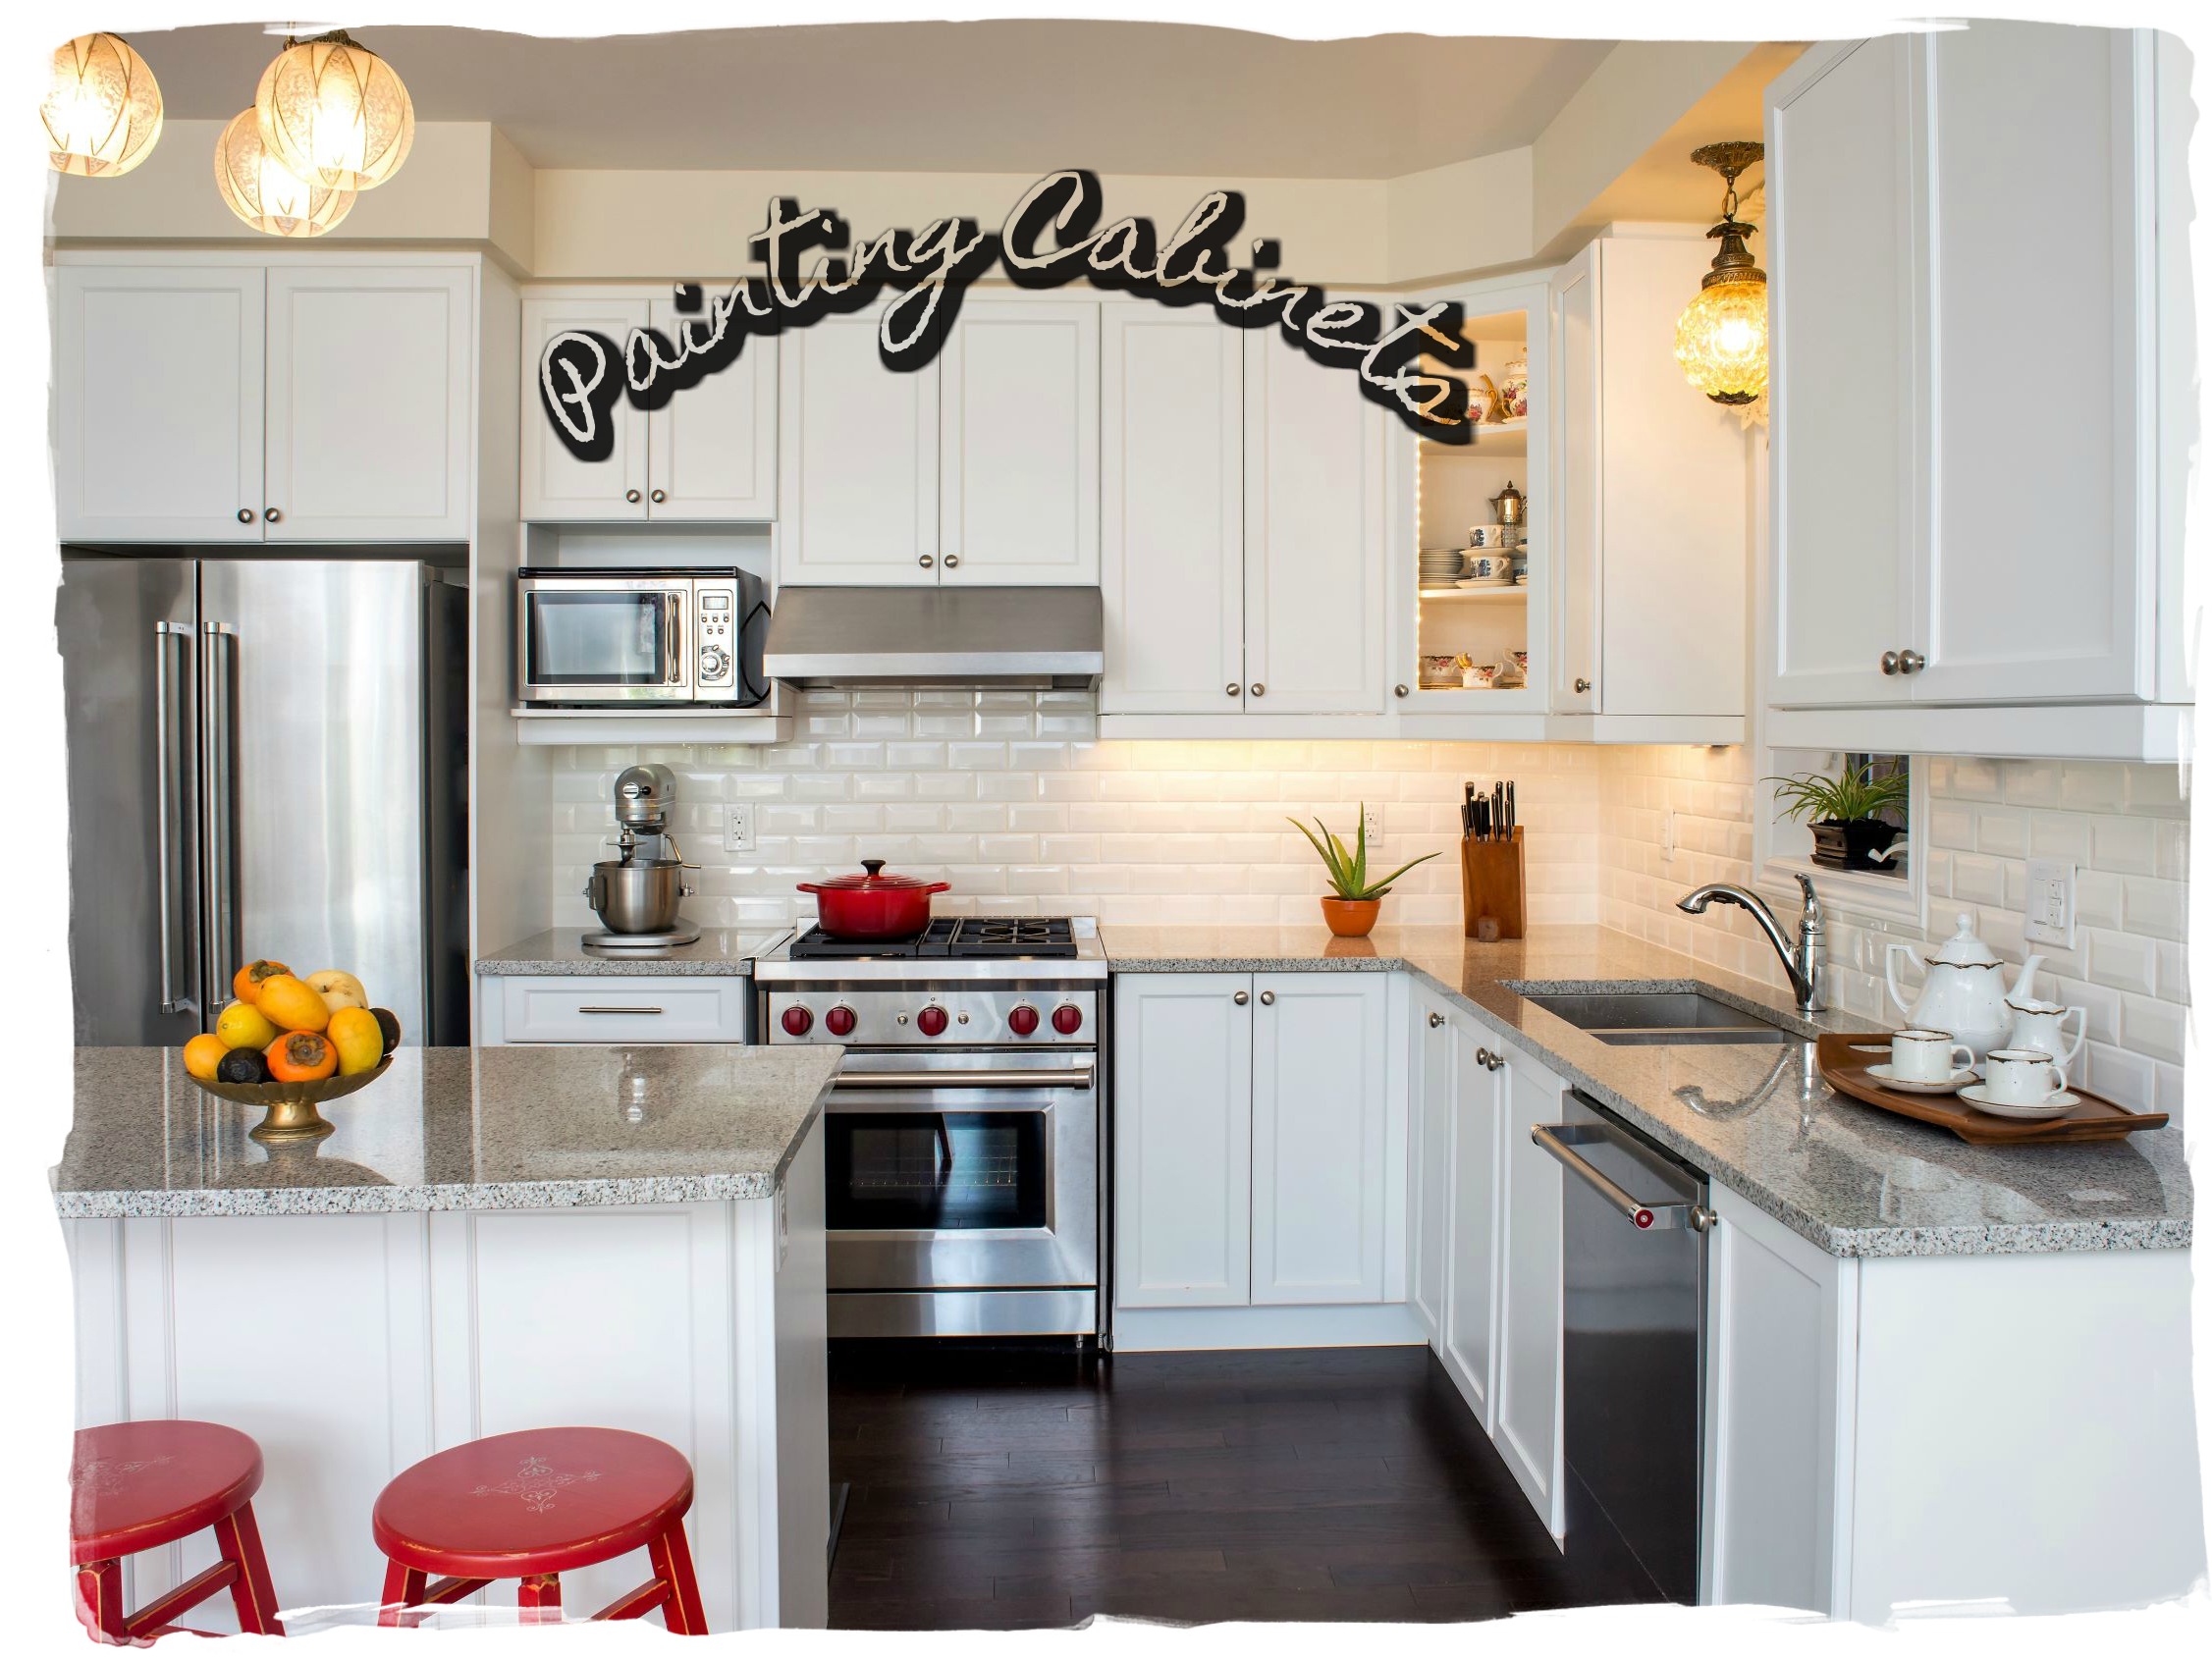
Painting Cabinets
Painting cabinets is a high impact, cost-effective way to revitalize your kitchen or bathroom for thousands of dollars less than replacing them.
Anyone who has shopped for cabinetry knows how incredibly expensive new cabinets are. And we often replace it for cosmetic purposes that can be remedied with a simple coat of paint.
Cabinetry in the home is often in excellent internal condition. Kitchen and bath cabinetry exteriors takes a beating, and can look soiled or outdated just from day-to-day use.
Painting cabinets can be done for just a fraction of the cost of new cabinetry. It can update the look of your cabinets, give them a new lease on life, and allow you to change the style or feel of your space.
Painting cabinets isn’t difficult, but it does require patience and good quality products to ensure success and durability. Cabinets, especially kitchen cabinets, collect moisture, greases and oils from cooking, smoke stains, etc…
That means there is special prep work and priming / painting products needed for cabinets that would not be required for painting drywall or plaster.
The amount of prep work required for your cabinets is dependent on their condition and their current finish. Wood cabinets may require slightly different preparation than prefinished or painted cabinets, but in most cases the steps remain the same.
Note: This guide applies to solid wood, wood laminate, or painted wood cabinetry. If you have plastic laminate or PVC cabinets, I do not suggest painting these types of cabinets, as it may be very difficult to get paint or primer to fully adhere to that surface.
Painting Cabinets Supply List:
Required Painting and Prep Products:
- Oil-Based Primer (such as Zinsser BIN or Sherwin Williams ProBlock)
- High Quality Satin (or Semi-Gloss) Interior Paint
- TSP (Tri-Sodium Phosphate) or Residue-Free Degreaser
Required Tools and Supplies:
- Foam Brush
- Scrubbing Pad
- 5-in-1 Paint Tool
- Painter’s Plastic
- Painter’s Tape
- 1.5” Nylon / Poly Paint Brush (for applying water-based paint)
- 3” Mini-Roller
- Roller Tray
- All Purpose Sanding sponge
- 150 Grit Sandpaper
- Tools for removing cabinet hardware
- Lint-Free Rags
Optional Painting Supplies:
- Rotary Sander
- Mineral Spirits
Painting Cabinets Quick Start Guide:
- Inspect your cabinets before you begin
- Remove doors and hardware
- Separate and label your hardware by door
- Degrease and clean your cabinets extremely well
- Prime with an oil-based primer
- Sand between coats
- Choose a high quality satin paint for the finish
Step 1 : Inspect and Disassemble Cabinets
The first thing to do prior to painting cabinets is to inspect them for warping, splitting, or any other major damage that reduces their integrity. Ensure the cabinets are in good condition and worth painting or your efforts will be largely wasted.
Assuming your cabinets are structurally sound, the next step is to disassemble the doors and hardware. A standard screwdriver or screw gun is usually sufficient for this task, dependent upon the type and style of your cabinetry.
It is crucial that you separate the hardware into individual baggies, which you can label to ensure the hardware finds its way back to the same door and cabinet it was removed from.
This will save a lot of confusion and aggravation at the end of your project. Minor differences from one piece of hardware or hinge to another means putting everything back in its original spot is the easiest way.
Numbering or marking somewhere inconspicuous on the inside of the cabinet door or drawer will also help to ensure you can match location and hardware to that piece.
Find a space where you can lay out the cabinet doors with plastic protecting the surface beneath them. This will give space to clean around all the edges and crevices in Step 2.
Step 2 : Clean the Cabinets
The key to painting cabinets, like the key to all successful paint jobs, is in the preparation. Cabinets, especially kitchen cabinets, exist in a dirty atmosphere. The kitchen is full of moisture, steam, smoke, greases and oils, food, dirty fingers…you name it, it ends up on your cabinets.
It collects in the crevices and details of the doors. It gathers around the handles and anywhere that is frequently touched or handled. This buildup isn’t always visible, but outside of brand new unfinished cabinets, it’s always there.
No paints or primers will successfully bond and last if this grime and buildup are not fully removed.
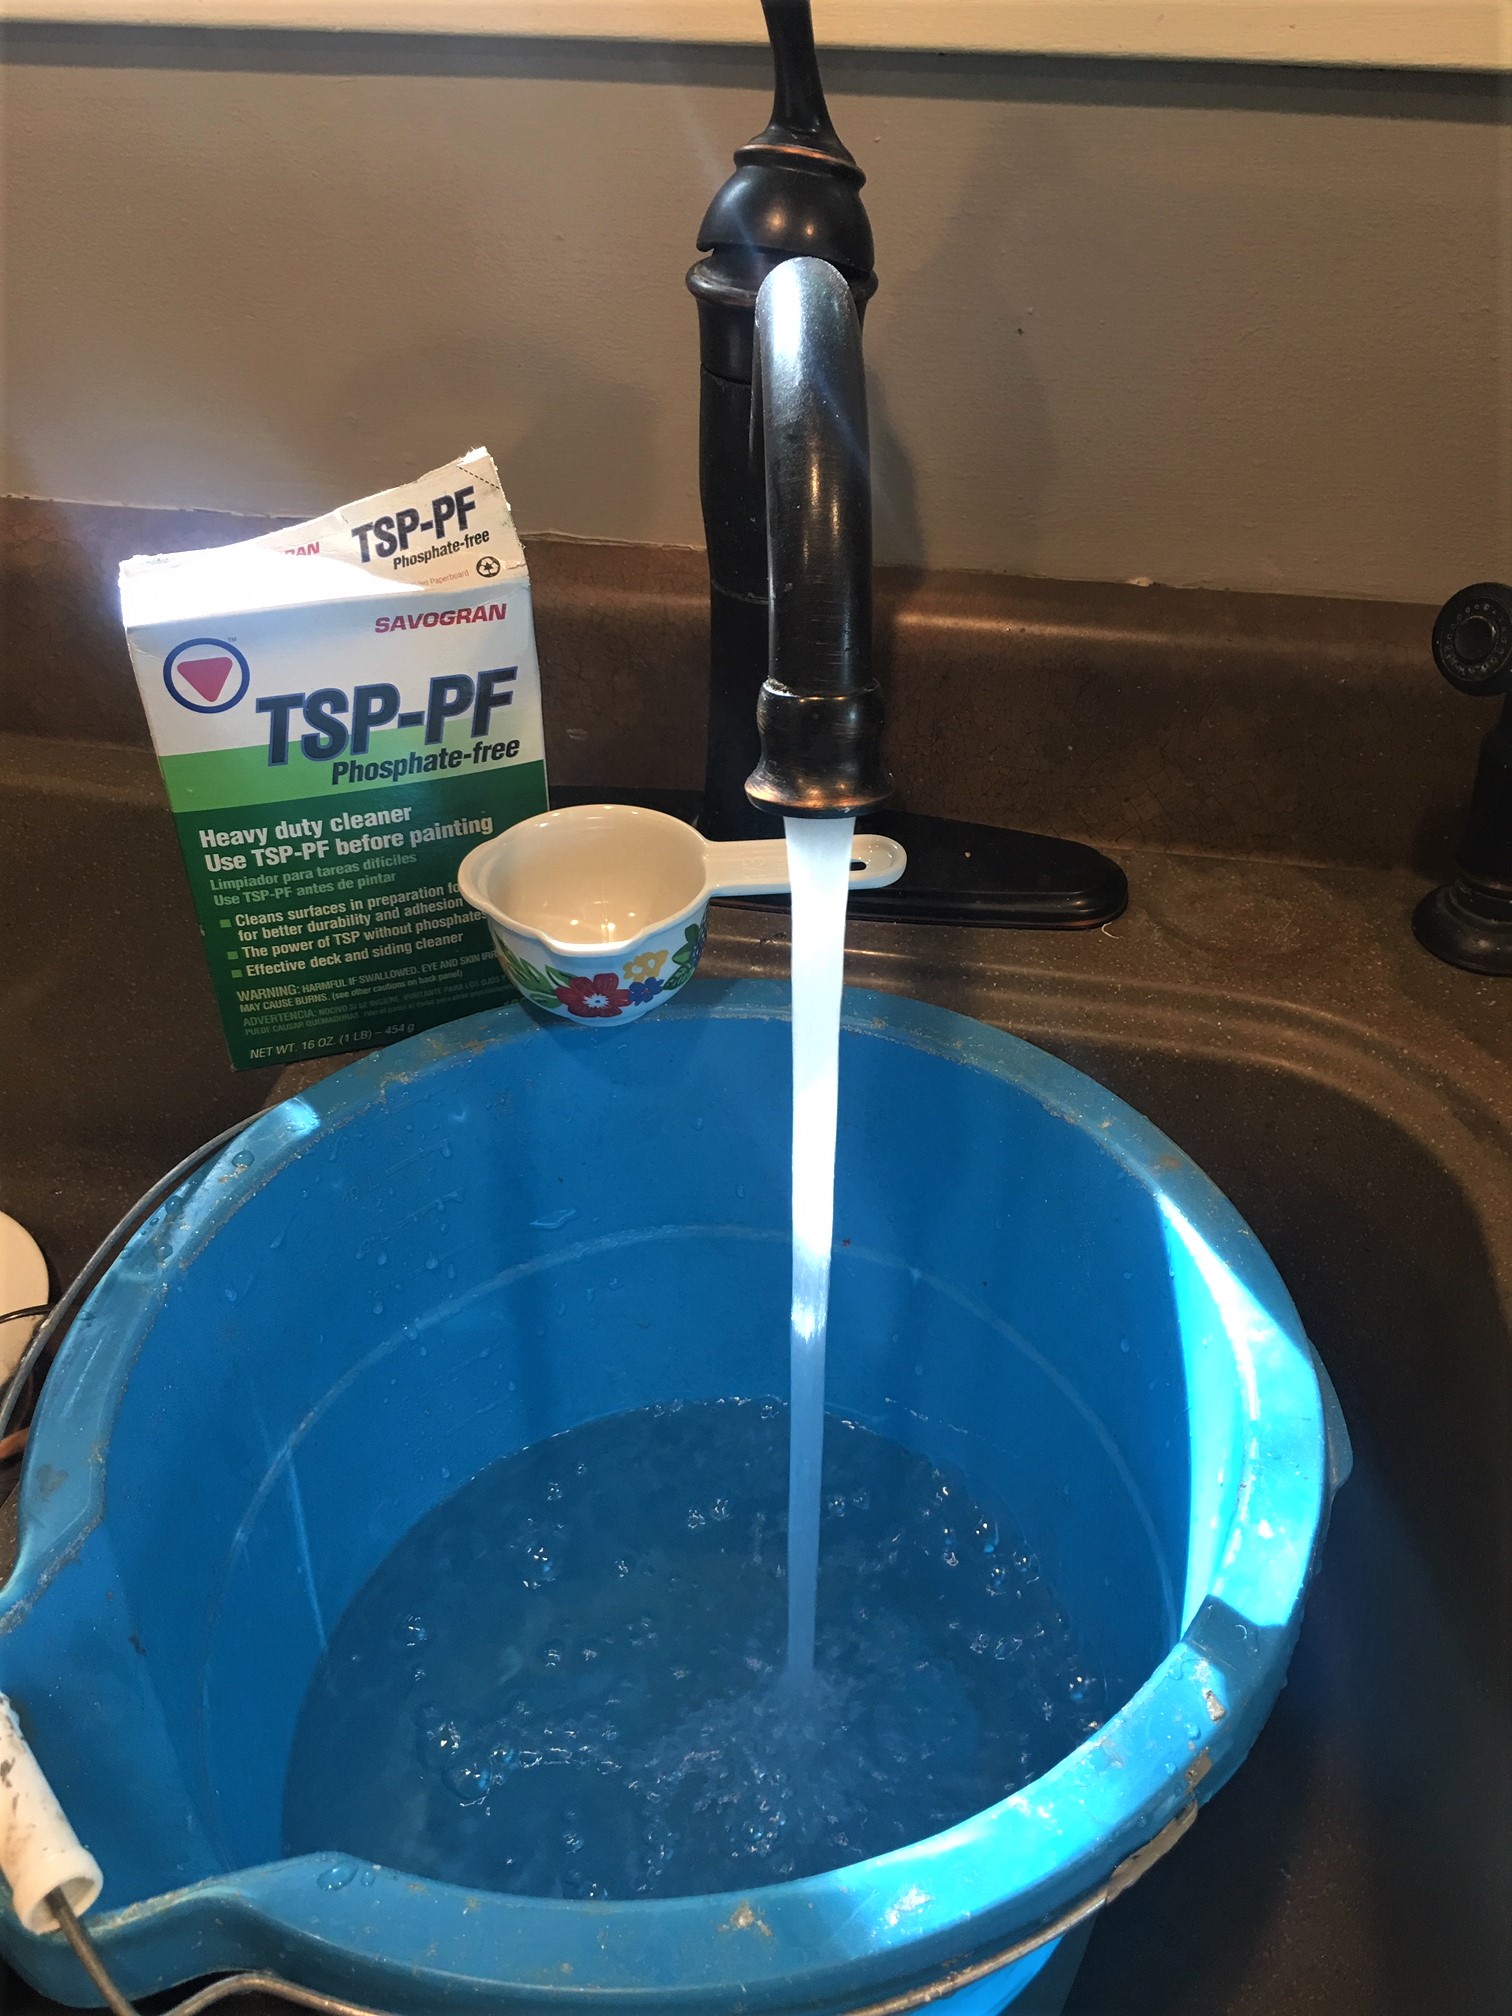
TSP (Tri-Sodium Phosphate) is a commonly available cleaner that works really well to remove this buildup. It’s often available in concentrate form, either solid or liquid, that can be mixed with water per instructions to make a cleaner. This can also be purchased in pre-mixed spray bottles.
There are many other cleaners / degreasers available on the market that work well also. Krud Kutter is a non-toxic degreaser that I have successfully used.
The key is to find a degreaser that doesn’t leave a residue on the surface. Leave nothing but the original wood or clean painted surface remaining.
Be sure to cover other surfaces – such as countertops – that you may not want to splash with your cleaner. Some cleaners can discolor or de-gloss things they come in contact with.
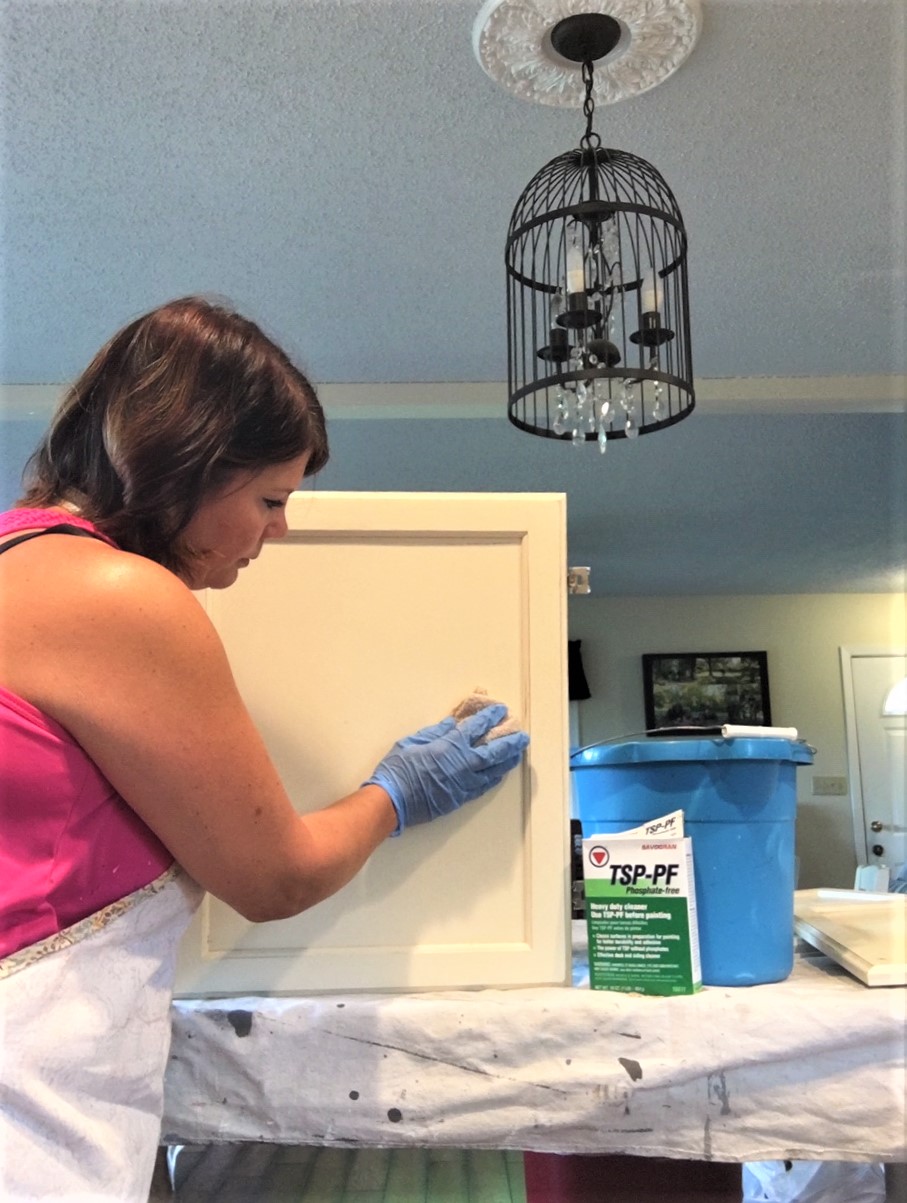
Be sure to follow the manufacturer’s suggestions for protective equipment when using any cleaner. Wear gloves, safety glasses, and any other suggested safety equipment to avoid damaging skin or eyes.
Spray or damp down your cabinetry – doors and bases – and allow the cleaner to sit for several minutes to begin breaking down the oils and greases.
Using a scrubbing pad, work all along the edges of your cabinets and cabinet doors, working the pad into all the edges and crevices and details. Use the flat and pointed edge of your 5-in-1 Paint Tool to get into the edges and corners where the cloths or pad won’t fit.
Note: In extreme cases, TSP or standard degreaser will not be enough to clear all the accumulated grime from your cabinets. In this scenario, mineral spirts are a last option.
It will break down oils and greases better than other solvents. The downside is that it has a strong solvent odor and needs to be wiped clean with water afterwards, so be sure to ventilate your workspace and wipe all surfaces down with a damp rag after cleaning.
Rinse your scrubbing pads and rags frequently to remove accumulated dirt.
Wipe down all cleaned surfaces with a lint-free rag to remove any residues and identify any dirty or sticky areas remaining.
Allow all surfaces to dry.
Step 3 : Priming Cabinets
The third step in the process of painting cabinets involves priming.
Do cabinets really need to be primed? Absolutely. Sometimes you can get away without priming drywall or plaster if the walls are in good condition. Cabinets are a different story.
Primer has several purposes. Primers and sealers adhere to the surface of your cabinets and create a foundation for the paint.
The right sealer will also lock the tannins and resins in the wood beneath so that they do not bleed into your paint and cause discoloration.
If you are painting over previously painted cabinets, a quality water-based primer should be sufficient to seal and provide a great base for your top paint layers.
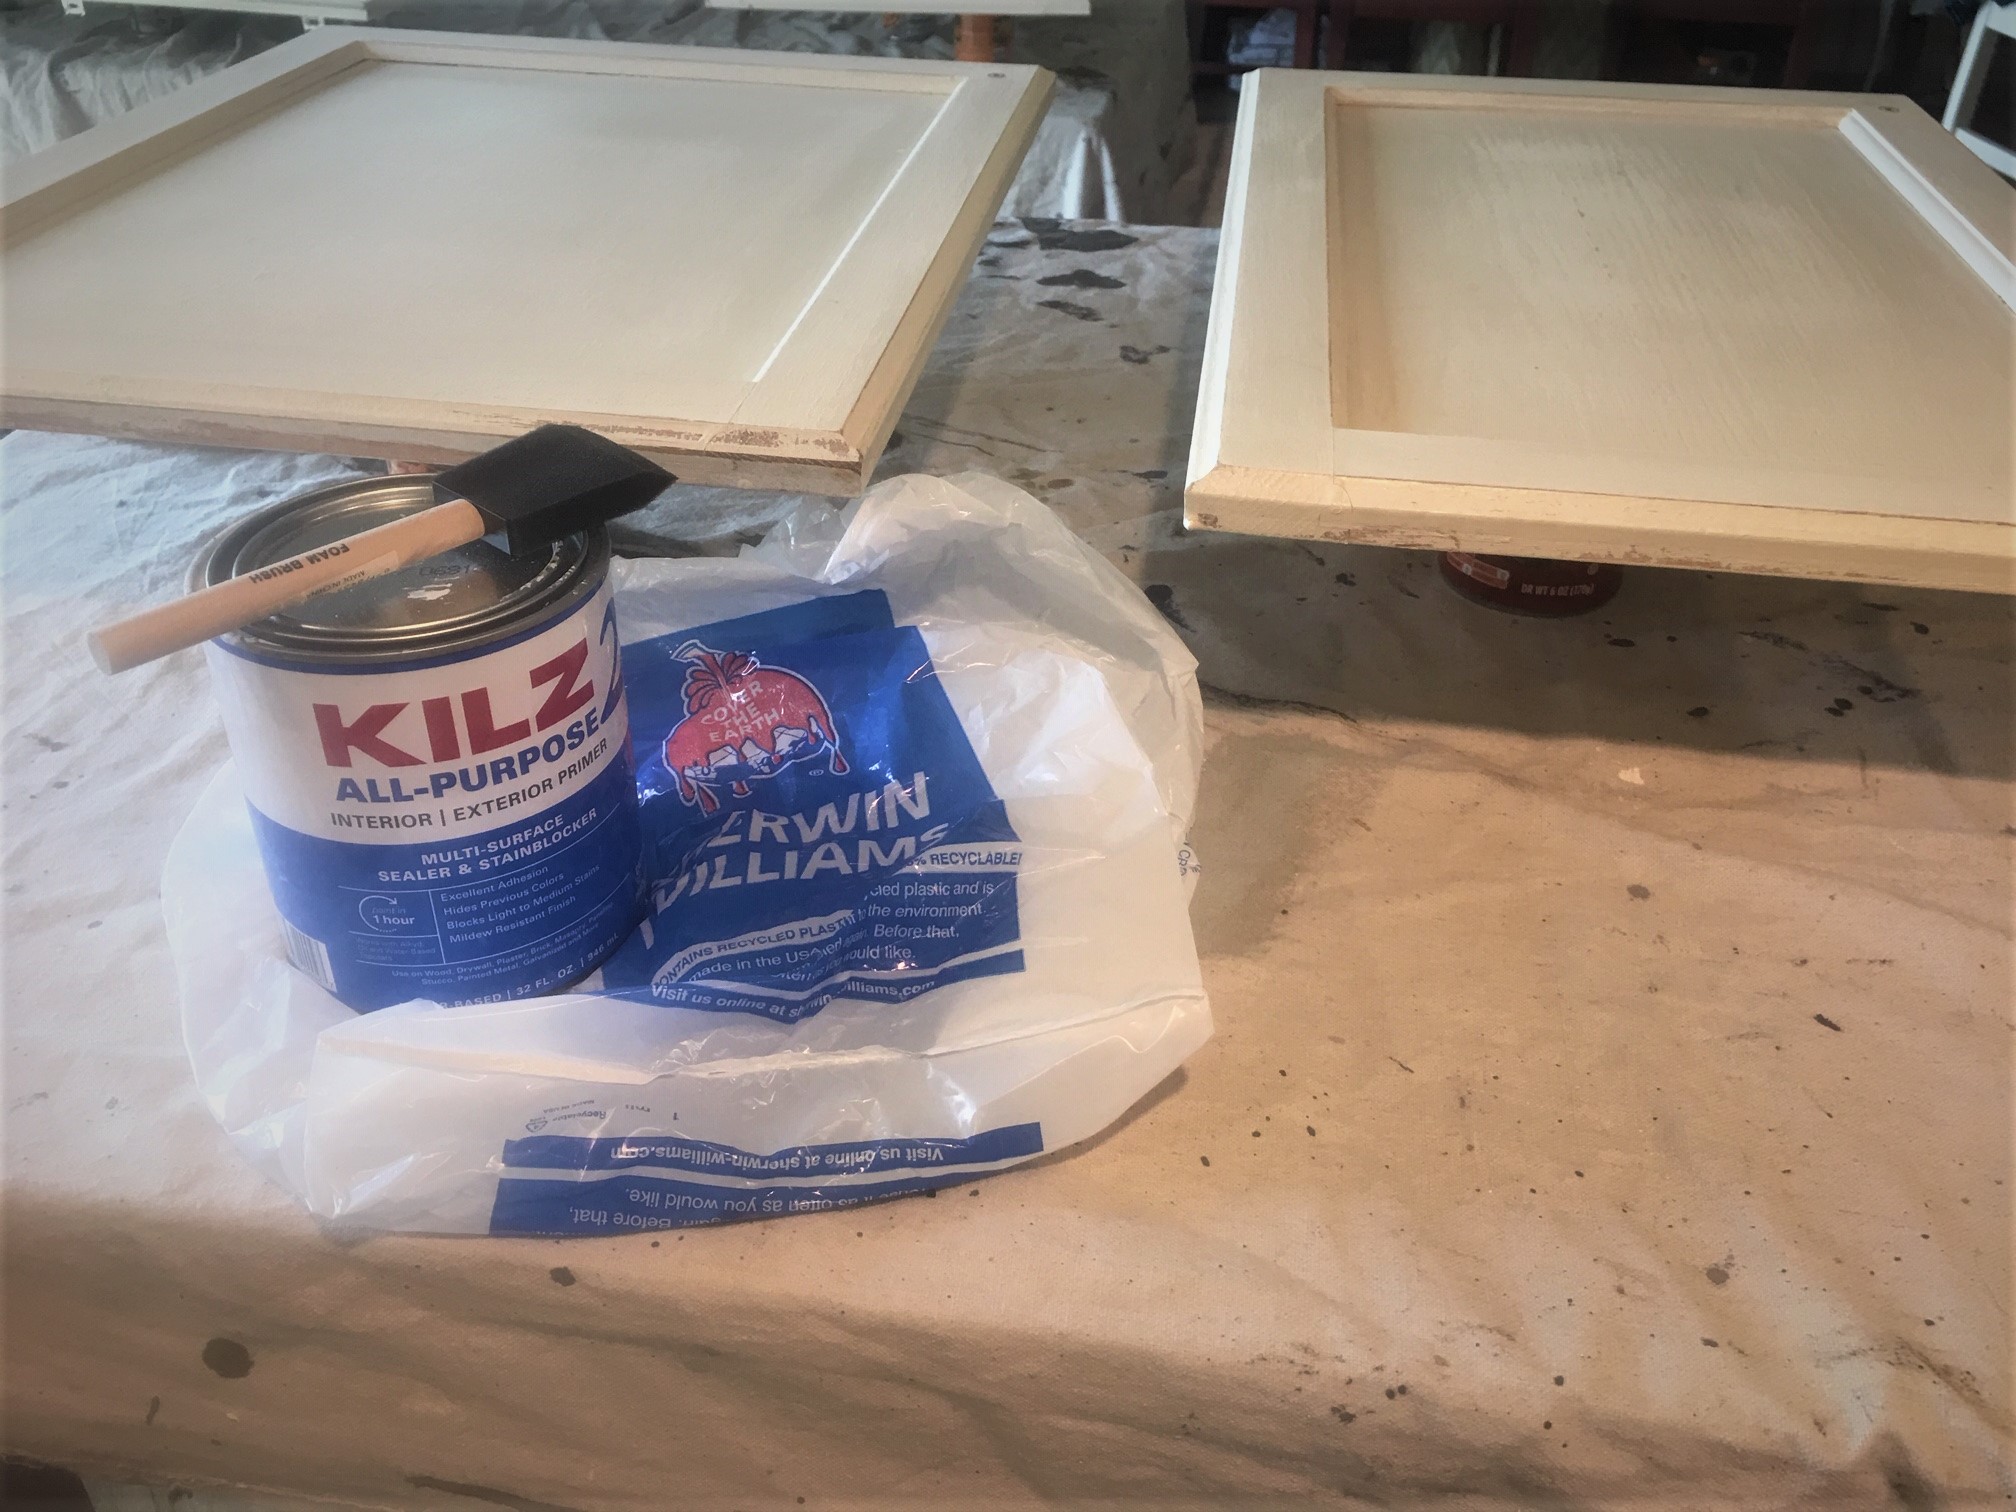
If you are painting raw wood cabinets, I strongly advise the use of an oil-based primer/sealer such as Zinsser BIN or Sherwin Williams ProBlock. Oil-based sealers’ primary drawback is the odor. You should open windows, set-up ventilation fans, and if possible work on the cabinet doors in an outside space or garage.
Use of an oil-based primer is necessary due to the nature of wood and wood grain. Woods bleed tannins and resins into paints and primers. A good oil-based primer will help lock these tannins down beneath the primer so they do not discolor your final paint.
A water-based primer – even those that claim to block stains or tannins – simply do not work on raw wood in my experience.
Note: You can request to have your primer tinted at the paint store to very near the final color paint you are going to use. This is not critical, but especially if you have chosen a bright or dark color paint for your cabinetry it can help considerably with coverage.
On the cabinet bases, tape off any adjacent surfaces that you do not want to prime or paint with painter’s tape. Use only painter’s tape, which is made to cleanly release from paint and woodwork. Other types of paint may leave sticky residue or pull the finish off paint or wood.
Set up your cabinet doors on a flat surface so they are easily reached. Cover anything beneath in painter’s plastic to avoid dripping.
To make the process easier, prop your doors up on something that will hold them up off the surfaces an inch or so. This will make is simpler to prime and paint the edges of the doors. A cookie sheet or any slightly raised surface smaller than your door will suffice, but make sure you protect it from the primer!
If your cabinets have been previously painted, or have a glossy finish, they must be fully sanded before you begin priming.
Sanding will give the primer and the new paint a surface to adhere to. This step is much simpler with a rotary sander – 150 grit sandpaper – and an all-purpose sanding sponge to get into the crevices and corners to remove the glossy surface.
Note: When painting cabinets it is very important that you fully protect the surfaces you do not intend to paint, especially during the priming stage. Oil-based primer is made to seal and to stick. If you get some of this on your countertop or stovetop or flooring, it’s likely there to stay!
Use the foam brush to apply primer to all of the corners, edges, and detail work of your cabinet bases and doors. Primer goes on fairly thin, so do not be concerned if it looks uneven or does not cover completely, especially on the first coat.
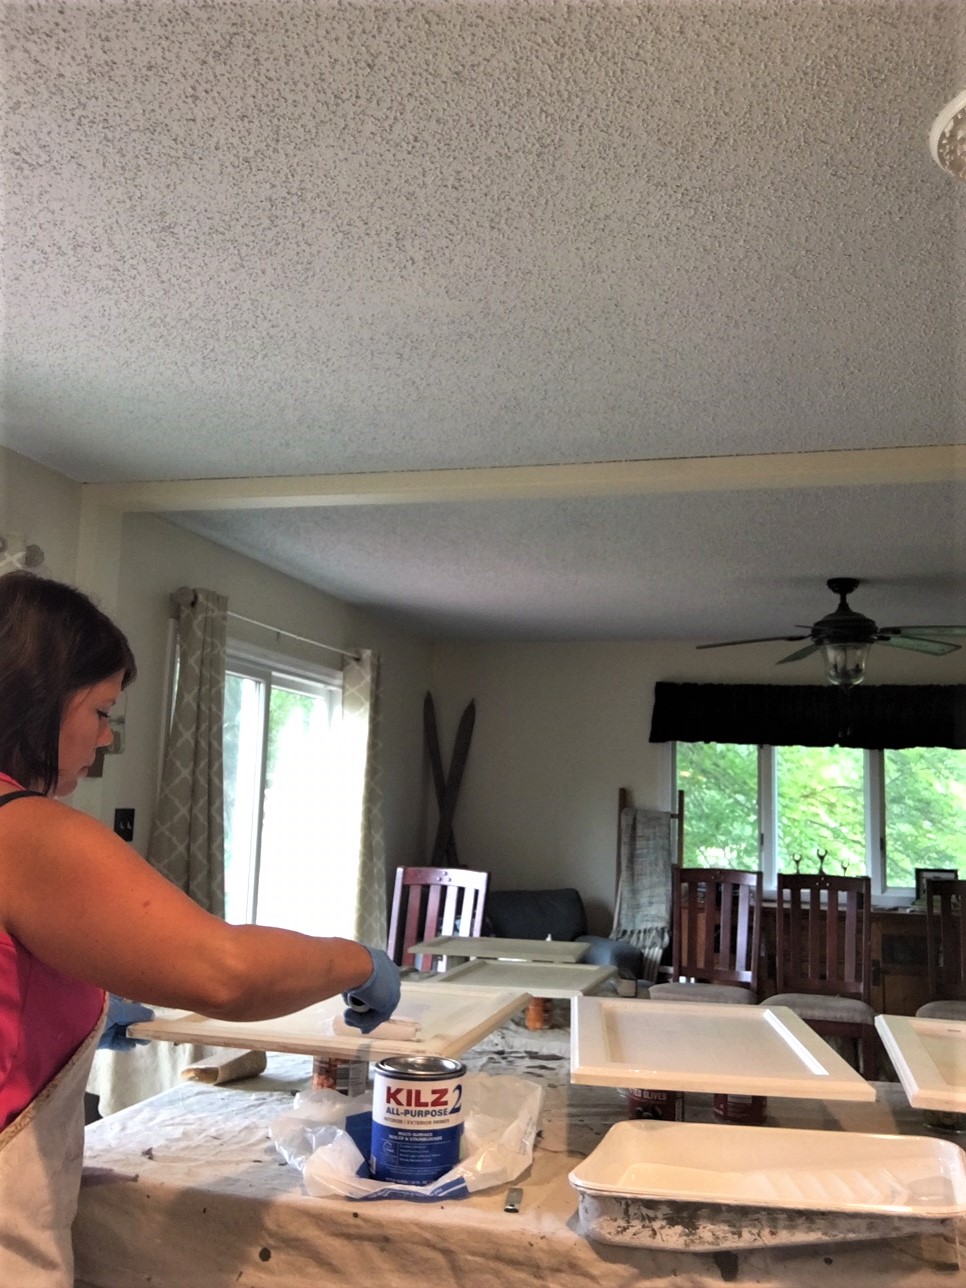
Once you’ve brushed primer into all the hard to reach areas, use your mini-roller to apply primer to all the flat surfaces. Continue until all the areas to be painted have been given a coat of primer.
If you are painting cabinets that are solid wood, you will need to allow this primer at least two hours to dry and apply a second coat. If you are painting composite wood or painted cabinets, you should allow the primer at least four hours to dry and move onto the next step.
Step 4 : Sanding
Before you begin actually painting cabinets, you must sand the surface of the primer to level the surface (the primer can sometimes ridge) and also give the paint a good surface to adhere to.
Using a rotary sander can cut down the time and effort this requires. Be sure to wear a dust mask or respirator while sanding as this step can create fine dust.
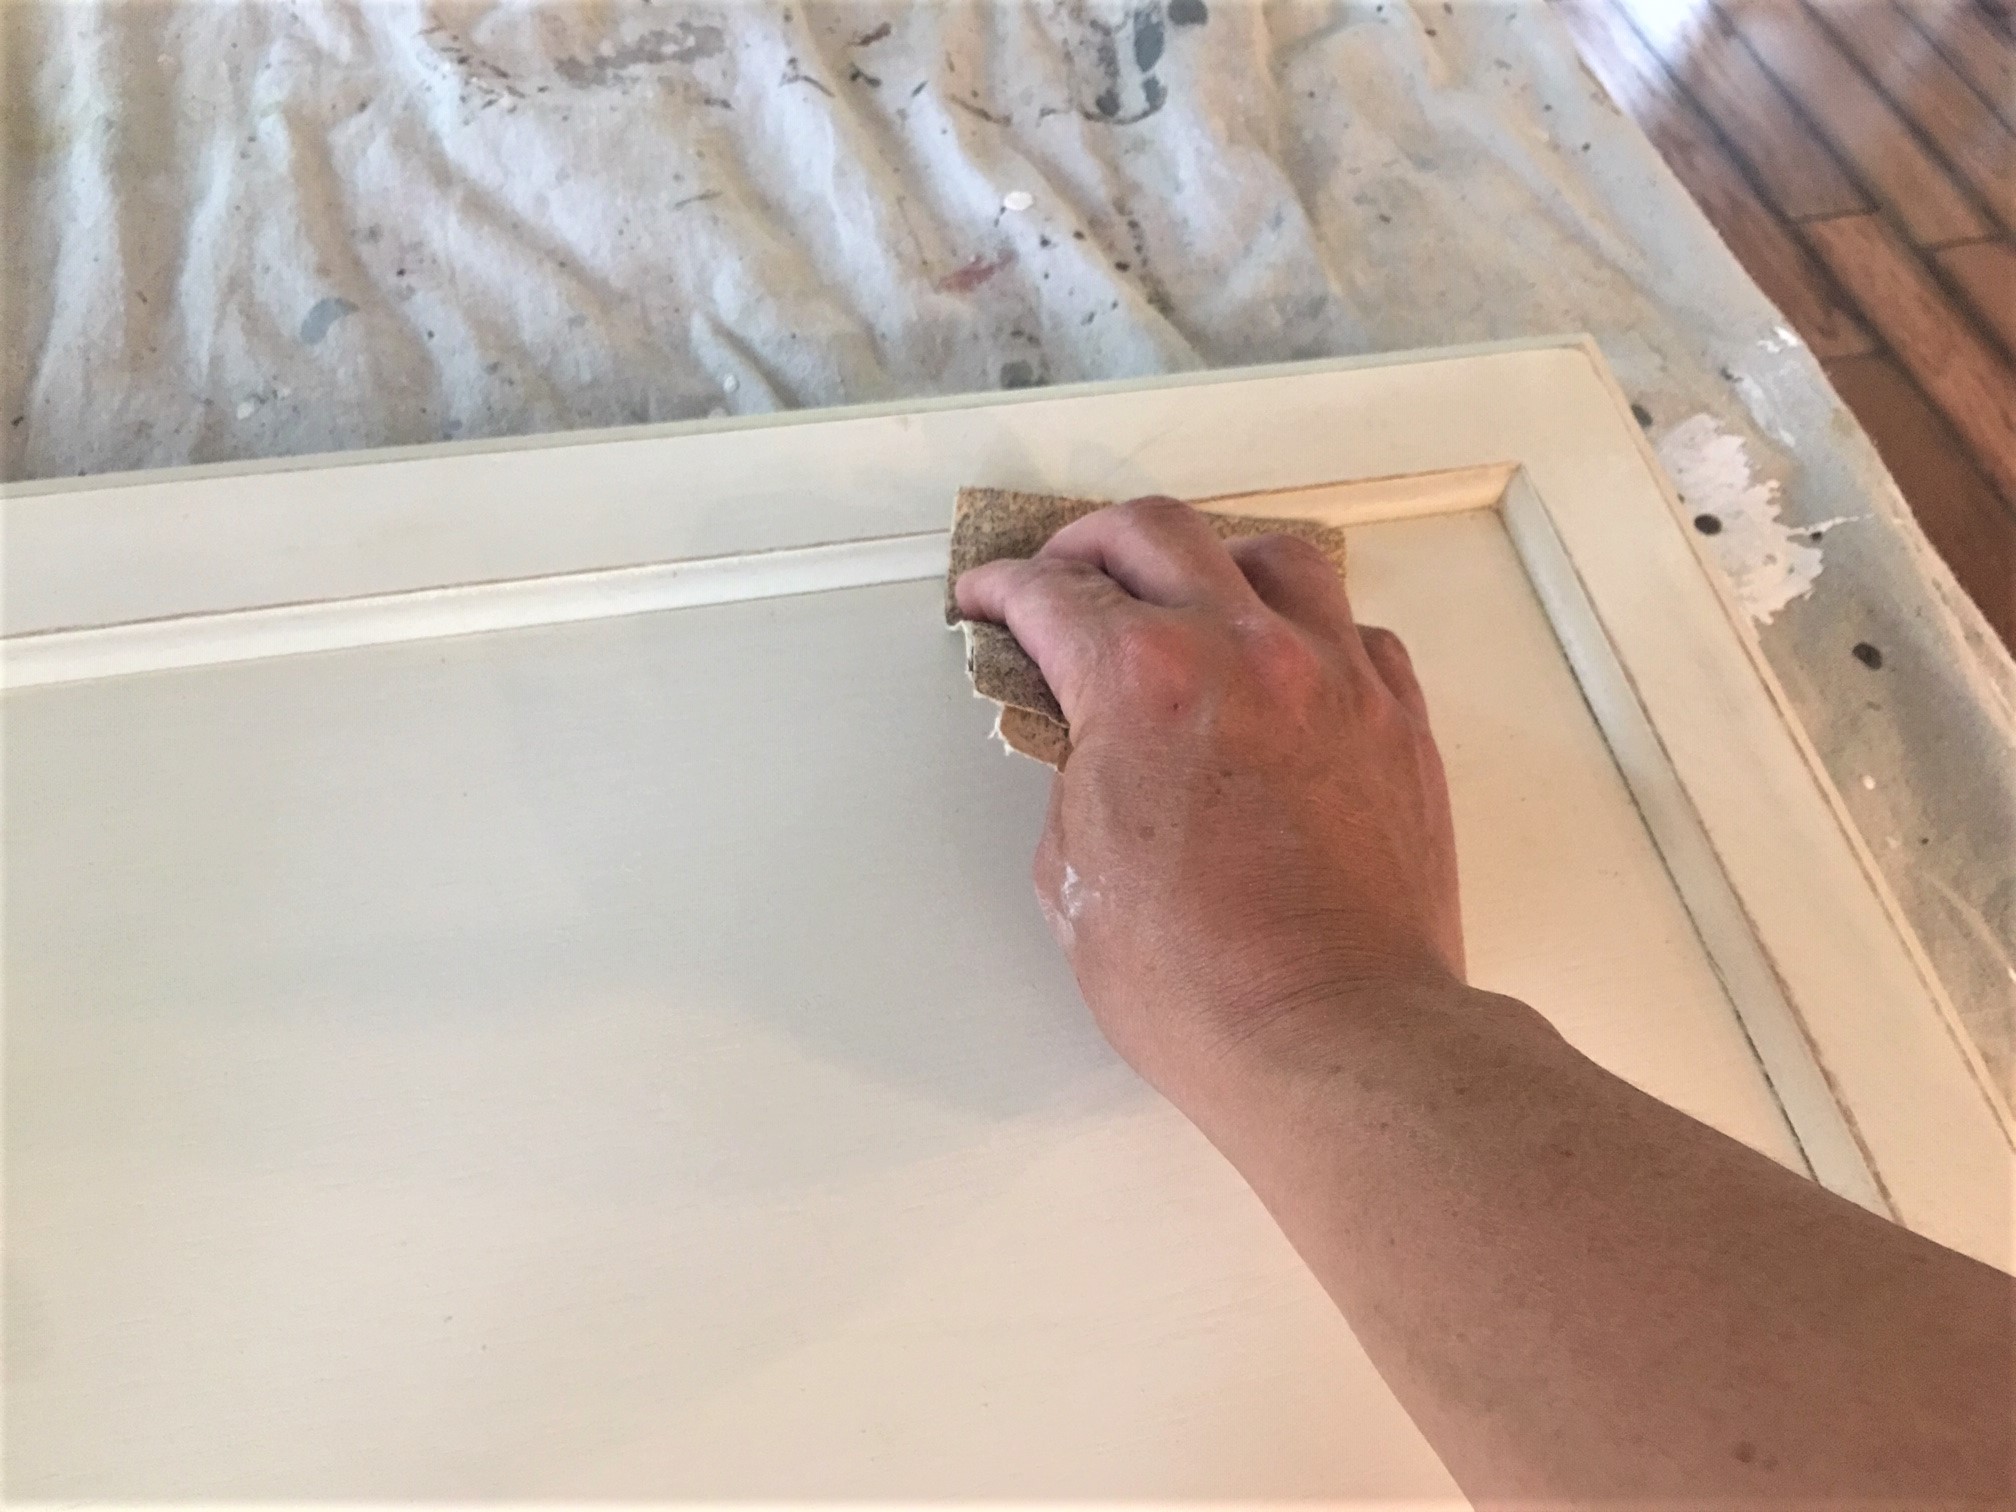
Standard 150 grit sandpaper is the best choice for this step. Don’t sand through the primed surface all the way to the wood – just a light sanding to level out any ridges and roughen the surface a bit is all that’s required.

An all-purpose sanding sponge is perfect for getting into the cracks and crevices of the doors and bases to get those areas the rotary sander won’t reach.
Wipe all the surfaces down with a damp cloth after sanding to remove residue.
Step 5 : Painting Cabinets
Those first but critical preparation steps to painting cabinets can feel like a lot of effort for little gain, but they’ve laid the groundwork for a successful and long-lasting finish. Given the work that goes into re-painting cabinets, you don’t want to have to redo it every couple of years.
Your cabinets are going to need a minimum of two coats of high-quality paint, with a sanding between coats. Cabinets take a beating and you’ll want a durable, long-lasting finish to stand up to all the food, oils, handling, and abuse that we throw at them.
A satin or semi-gloss finish paint is critical for cabinets. These finishes are not only more durable, they are also wipeable and better able to withstand moisture.
Satin is my preferred choice, as it has the best of both worlds – a matte appearance that hides minor imperfections and enough surface sheen to be durable and wipeable.
Like the previous priming steps, ensure that all your adjoining surfaces are protected to avoid splattering or drips.
Paint one door at a time, using a brush to work paint around all ridges and details and then using your mini-roller to finish.
Don’t brush in the edges and details on all your doors and then go back and fill in with the roller. Finishing each door separately will allow you to maintain a wet paint edge as you work.
Apply your first coat by cutting in around all the edges and detailing with your nylon/poly brush. Use long strokes to minimize the brush marks in your finish.
Utilize your mini-roller as much as possible, allowing it to get as close to the detailing as possible to even out brush strokes. The mini-roller will give you that nice even finish.
Don’t press too hard as you’re rolling on the paint or you may create uneven ridges with your roller. Just lay down a nice even coat.
Note: You can lightly mist your paint with water and cover your paint trays and wrap your paint brushes and rollers in tin foil or plastic (ziplock bags work well) for overnight storage. The key is to keep your paint from drying out and “pilling” during storage, so you must keep the air from contacting the paint. Garbage bags and tin foil work well to save your paints for the next day.
Step 6 : Sanding (Again)
After painting cabinets, allow your first coat to dry for a minimum of four hours (longer in humid conditions).
Between paint coats you’ll need to give your cabinets a final quick and simple sanding. This will help even out the finish and give your (hopefully) final coat the surface it needs to set up for a long time!
Step 7 : Final Paint Coat
Apply your final paint coat, being cautious to ensure even coverage. Good lighting will help you ensure your paint looks smooth and even as it dries. A high-quality paint – such as Sherwin Williams or Benjamin Moore – will be self-leveling, meaning that though there may be brush-strokes visible as your apply the paint with a brush, it will level itself as it spreads and dries.
Allow this final paint coat to dry overnight.
Note: A coat of polycrylic can be applied after painting cabinets. This is a hard, clear-coat similar to polyeurethane. They are available in multiple sheens, but I suggest satin. They aren’t necessary but DO provide additional protection and wash-ability.
Step 8 : Remove Tape
A top interior painting tip: Run a utility knife gently between the edge of your painted surfaces and the painter’s tape that needs to be removed to break the bond between the paint and the tape.
Once the bond is broken, slowly peel away the tape.
Step 9 : Reinstall Hardware
Once the paint has fully dried, you can begin reinstalling the hardware. Be sure that you’ve allowed the paint at least 24 hours to cure before beginning this step.
Even though latex paint may feel dry on the outer layer, it cures from the outside in. Installing the hardware before the paint has fully cured all the way through may cause chipping or unexpected damage.
Painting cabinets – especially if you have a lot of them! – can be tedious. All that prep work and sanding between coats can even feel unnecessary. If you’re looking for a short-term fix and don’t plan on keeping the cabinets for a long time, feel free to pick and choose what you feel is necessary.
But trust me, if you want a long-lasting and durable paint finish you’ll need to follow each of these steps, and you’ll be able to enjoy your practically new painted cabinets for years and years!

"I did not know how to paint or even what to paint, but I knew I had to begin." Margaret Atwood, Cat's Eye
Join my monthly email newsletter, "Dip & Swipe", for professional tips, how-to articles, color and decorating ideas, projects, and much more!
Recent Articles
-
Repurpose Old Windows
Dec 10, 21 06:32 PM
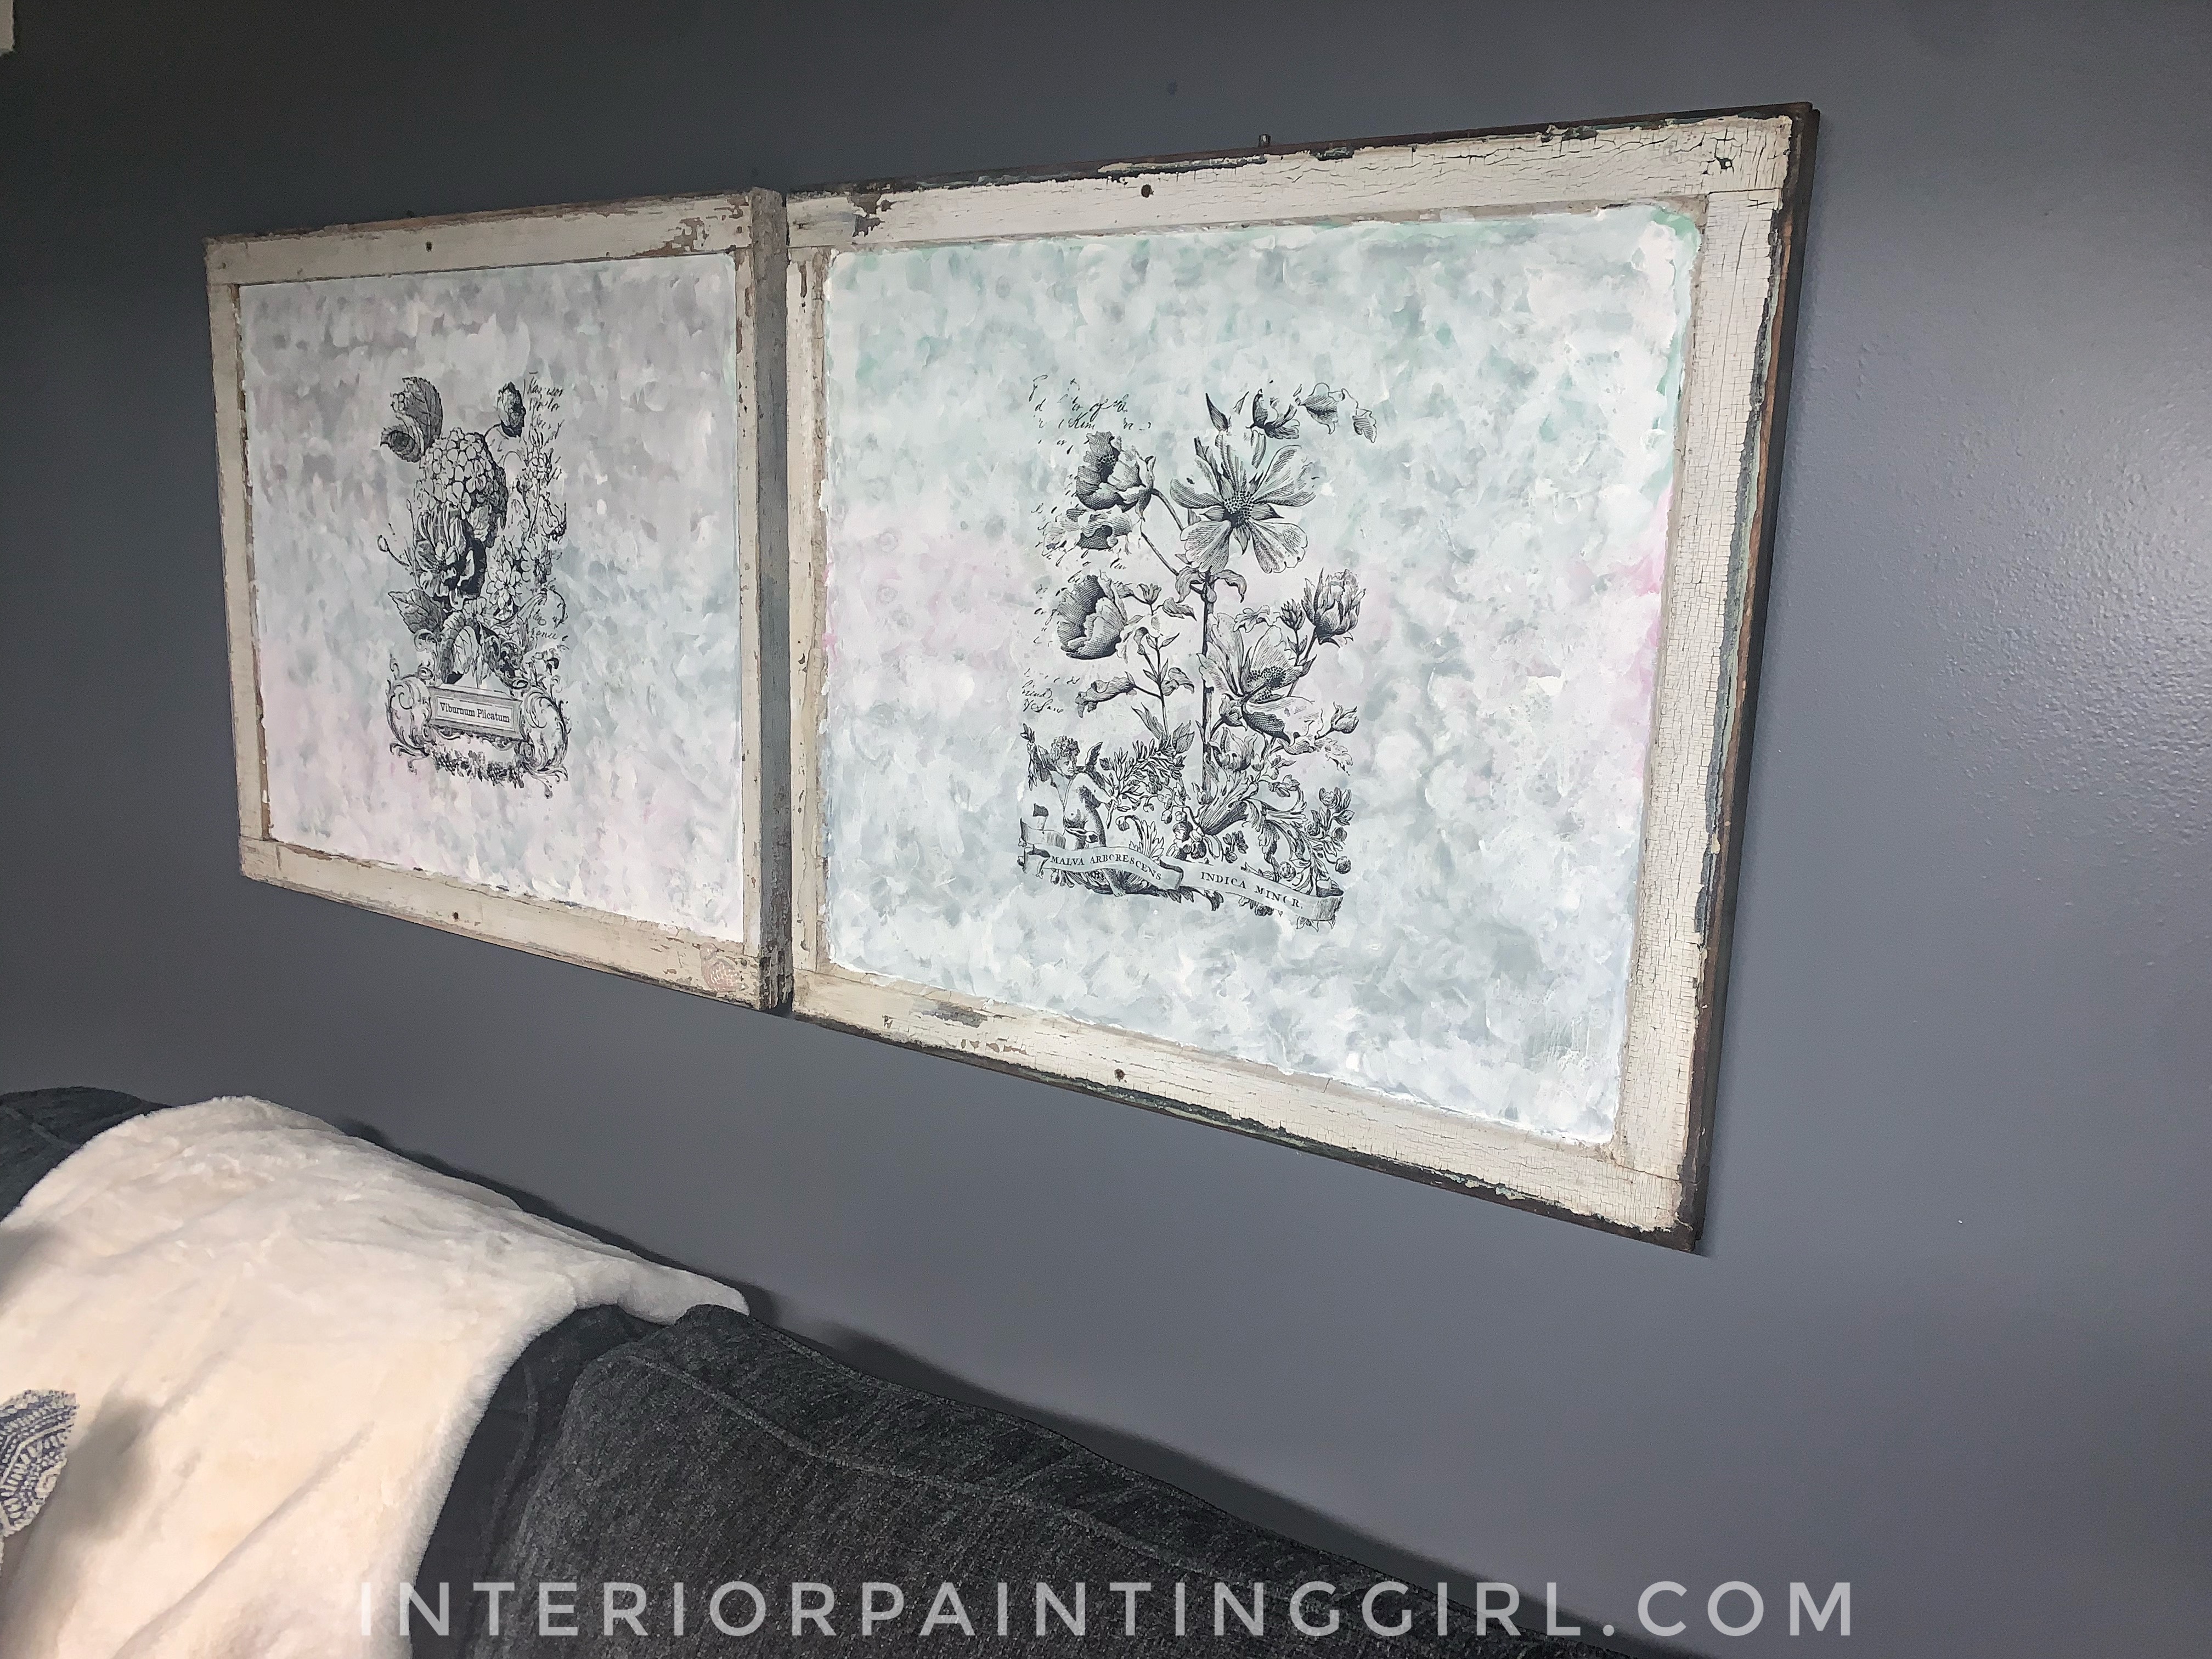 Learn how to repurpose old windows by upcycling them into shabby chic decor.
 -
Upcycling a Toolbox
Dec 08, 21 10:22 PM
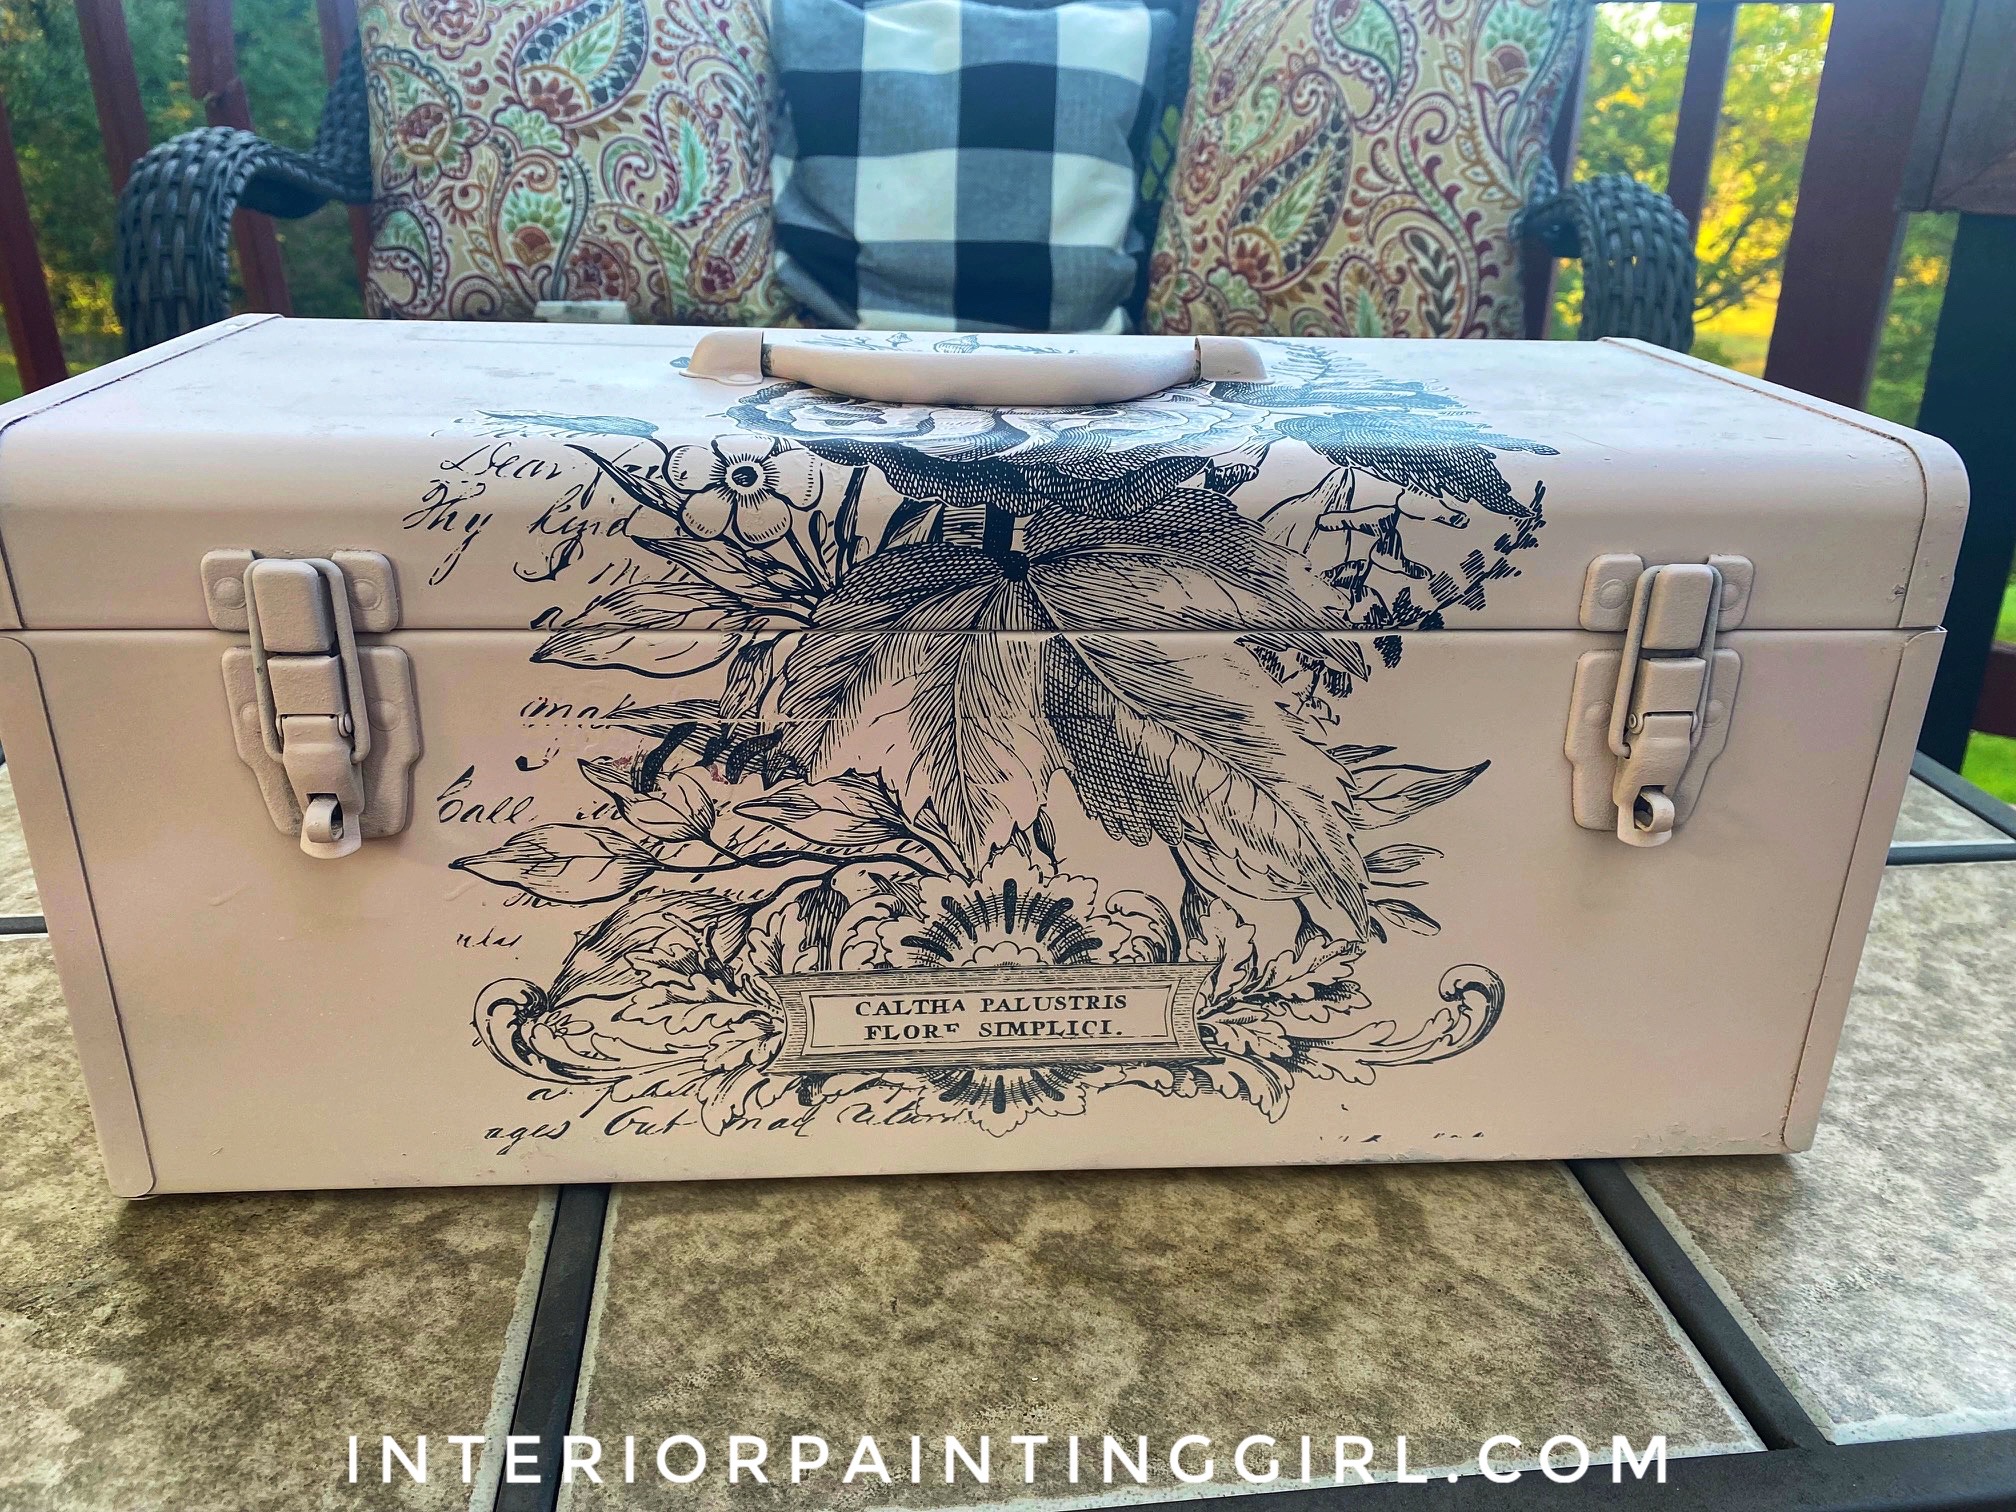 In this craft painting project, I upcycle an old toolbox with fresh paint and an appliqué.
 -
Craft Painting Projects
Dec 08, 21 08:13 PM
 A place for all of my smaller craft painting projects and DIY projects that don't fit elsewhere.
Follow me on Pinterest @