How To Paint Countertops
Can you REALLY paint a countertop? With modern paint products you can absolutely learn how to paint countertops, and it's much simpler than you might expect!

With all the scientific advances in the paint world, there’s almost no surface that cannot be revived with a coat of paint! Due to the bonding properties of some of the modern paint formulas available, things like plastic, metal, vinyl, glass, and even laminate can be revived.
I’m not a scientist, and though I can’t explain in detail how it’s possible, I only know that it is! And I’m excited to share my experiences with you!
Just like most painting projects, your success in learning how to paint countertops lies largely in attention to detail, especially during the preparation steps.
For the purposes of these instructions on how to paint countertops, I recommend and strongly suggest using an oil-based enamel product specifically formulated for countertops. My step-by-step instructions below are based on this assumption. While countertops CAN be primed and painted with standard satin or semi-gloss paint, I’ve found those finishes to be easily scuffed, damaged, and unable to handle the daily abuse a countertop takes.
Quick Start Tips for How To Paint Countertops
- Preparation steps are key
- Clean surface with TSP
- Sand countertop initially to etch surface and create “tooth”
- Apply a minimum of two coats of countertop paint, per manufacturer's instructions
- Sand in between coats
- Score painters’ tape with utility knife before removing
- Wait 3 days for light use and a full cure after 30 days
- Treat it kindly for longevity and success
How To Paint Countertops Supply List
- Specifically-Formulated “Countertop Paint” (such as RUST-OLEUM®’s Countertop Coating) in your choice of color
- Painters’ tape
- Small corner roller and frame - 3/8’ nap
- Small foam corner roller cover
- Quality Natural China Bristle Paint Brush
- Small paint tray
- TSP (concentrate or pre-mixed)
- Sanding sponges in varying coarseness
- Tack Cloth or clean cotton Painter’s Rags
How To Paint Countertops Step-by-Step

Step 1: Preparation
You’ll first need to remove all obstacles, plumbing fixtures, and sinks, if possible. Sinks are usually caulked into place so the caulk will need to be removed as well. Be sure to remove any caulk along the edges of the countertop where it meets walls or adjacent surfaces. The pointed or hooked end of a 5-in-1 paint tool works great for removing caulk.
After your countertop is clear, proceed by washing your surface thoroughly with a solution of TSP & water to remove any oils, greases, or grime.
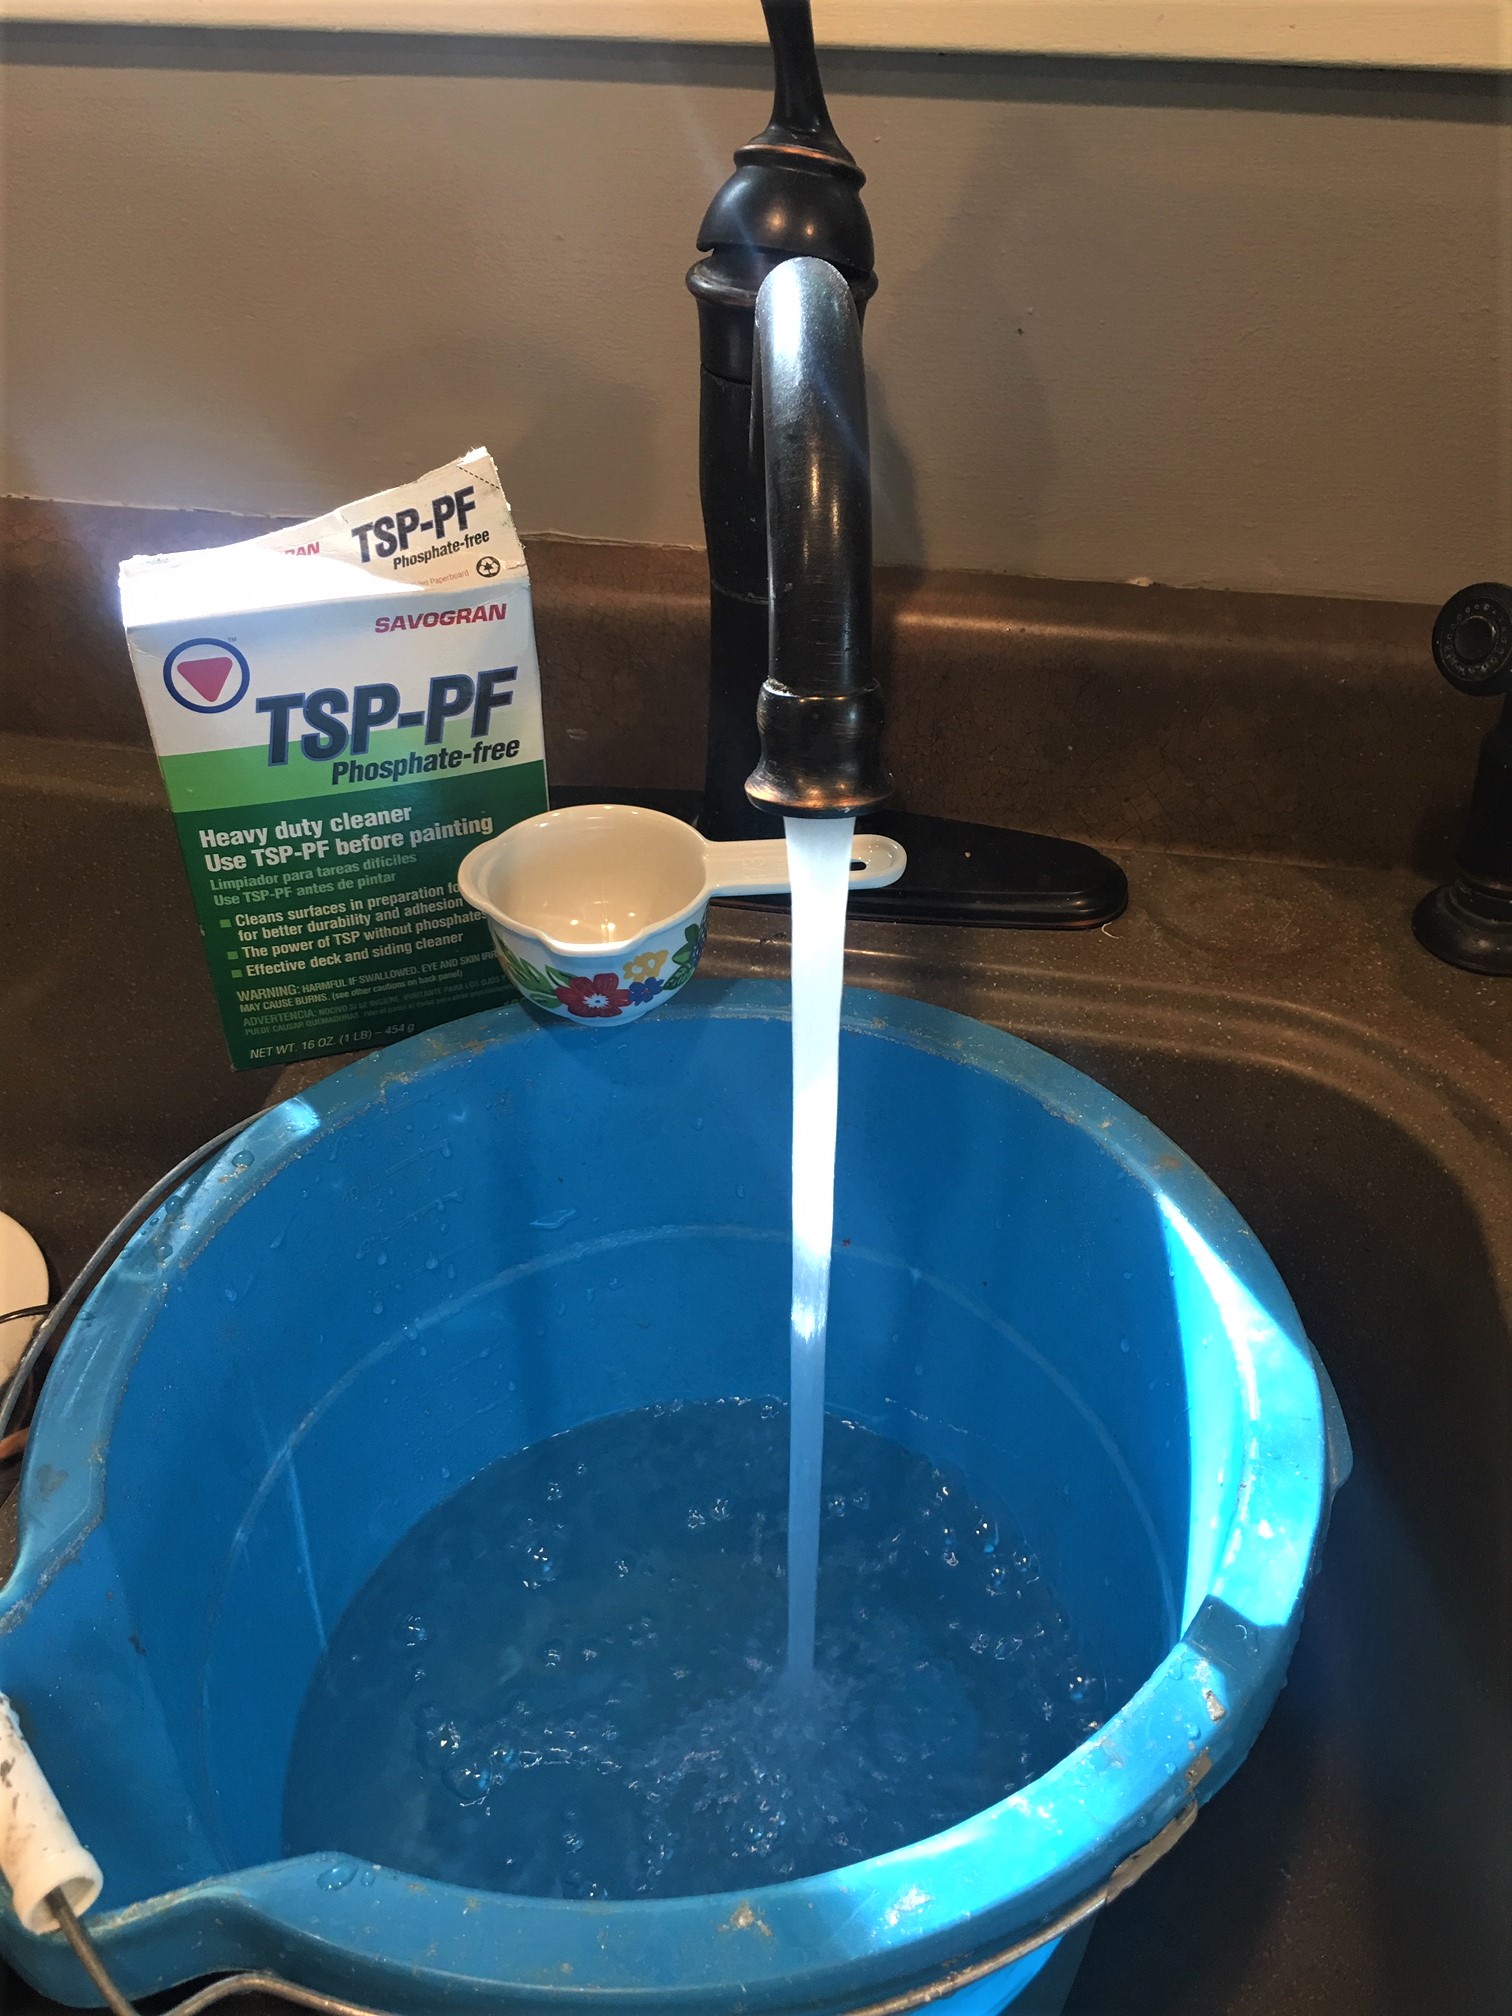
TSP (Tri-Sodium Phosphate) is a commonly available cleaner that works great for removing oily buildup and general dirt. It’s often available in concentrate form, either solid or liquid, that can be mixed with water per instructions to make a cleaner. This can also be purchased in pre-mixed spray bottles.
Use painter’s tape (and, if necessary, dropcloths) to protect any adjacent surfaces you don’t want countertop paint on such as floors, backsplashes, drywall, or mirrors.
Next, you’ll want to sand the entire countertop with a 60-80 grit sanding sponge. This is a very coarse sponge but it will create a good amount of ”tooth” or etch the surface so the countertop paint will have something to adhere to. You may use an electric sander or sanding block as well but be mindful of creating unwanted divots and scratches with the edges of the sander.
Use a clean, lint-free painter’s rag to remove any dust created in the sanding process. Your surface is now ready to accept a countertop paint or coating.

Step 2 : First Coat
One key safety point on how to paint countertops: nearly all countertop paints are oil-based enamels and will need an adequate amount of ventilation. Pop open a window or door if weather permits and use exhaust fans where available.
This product does produce a heavy odor not typically found in today’s water-based interior paints so beware if you are sensitive to such products and around children and the elderly or anyone with respiratory ailments. Respirators with organic vapor filters can be used if needed.
Also, cleanup involves the use of paint thinner or mineral spirits and is not soap and water friendly.
With the prep-work complete and a new countertop color chosen, you’re ready to start applying the countertop paint. For this tutorial, I chose a deep grey. It’s wonderful how it mimics a trendy concrete finish.
Note: Countertop paint is thick and has great self-leveling properties. Minor nicks and scratches fill in wonderfully thanks to this characteristic. Traditional laminate and vinyl countertops will not need a prime coat per manufacturer’s instructions. Metal, wood, and other surfaces will! Zinnser 1-2-3 is a great prime coat for any surface.
Start by cutting in with a quality paint brush along your taped seams and all edges. Make sure all fans are off during the application process so you can maintain a wet edge. It is critical that once you begin the first coat, you continue until the entire coat is complete. Stopping partway through means uneven drying and likely lines or ridges in your final finish.
Proceed by applying paint over the larger portions of your surface with a small corner roller with a 3/8” nap fiber roller. Roll paint on evenly and refrain from “dry rolling” by making sure your roller has an adequate amount of paint on it.

Corner rollers are ideal since they are small and easy to maneuver, and the rounded part of the roller fits nicely into the rounded edges and areas of your countertop that curve into the backsplash. The 3/8” nap on the corner rollers creates a mild texture and helps to hide any imperfections evident in your countertop surface.
Once you’ve successfully applied the first coat of countertop paint, you can cover your paint tray and brushes with plastic wrap, foil, or a garbage bag to keep air off it and keep it from drying out.
Unlike other tips I’ve passed along on this website, you CANNOT mist this paint with water to keep it from dying out. This product is oil-based and therefore incompatible with water.
You may also circulate the air now by running a fan and aiding in drying process. You may want to step outside and get a few lungs full of fresh air yourself.
Note: The second coat can be applied within one hour or after 24 hours. If your paint hasn’t dried thoroughly within that first hour or if you cannot work quickly enough, you’ll need to wait a full 24 hours before second application. Please follow this rule so you avoid any paint crackling or peeling. This instruction applies to the Rust-oleum Countertop Covering I used for this demonstration. Other brands or manufacturers may have slightly different guidelines. Be sure to follow the manufacturer’s instructions for time and coats!
Step 3 : Final Coat
Congratulations! The third step in how to paint countertops involves your second (and likely final) coat.
By this time, you can already see a huge difference and all your prep-work is done, so the second coat should be a breeze.
The first step that needs to be taken before you begin applying your second coat is a thorough sanding of your first coat. It is critical to sand between coats here to smooth the surface or air bubbles and remove any fibers that were shed by your roller. Roller fibers are normal because this paint is thicker and heavier than standard paints.
Take note! You’ll only need a medium to fine sanding sponge here, 150-200 grit, not the coarse grade I recommended earlier.
For the second coat of countertop paint, I recommend switching to a foam roller. This will create a nice, smooth topcoat and also eliminate roller fuzz. Remember in the first coat, I recommended using the 3/8’ nap corner roller to create a little texture (that’s called stipple). But now that we’ve created that stipple, you can switch to the foam roller for that smooth, glasslike appearance countertops are known for.

Once you’ve applied your second coat, allow it to air dry thoroughly (about 4-6 hours) before removing any painter’s tape you may have applied. Remember to score the edge of your painters’ tape with a utility knife before removing. This is particularly important because countertop paint is thick and self-leveling and will surely have bonded to the tape.
Your countertop refinishing should now be complete! The manufacturers typically recommend waiting at least 3 days before light use and a full cure within 30 days or so. The longer you wait, the longer the countertop paint has to adhere and create a chemical bond. This results in a greater paint longevity and failure reduction.
How To Paint Countertops: Care
Be kind to your new countertop paint!! It is important to know that no matter how durable and effective paint products are, they are not as durable or tough as the original laminate or vinyl.
Use hot pads or placemats when necessary and resist setting curling irons or hot dishes directly onto countertops. Also, avoid cutting on your new countertop coating. Use a cutting board and mild detergents to clean it.
I hope you now have the confidence and information on how to paint countertops! These products and tips can save time, money, and headaches by revitalizing the things you already own. Good luck to you on your painting and decorating endeavors!

"I did not know how to paint or even what to paint, but I knew I had to begin." Margaret Atwood, Cat's Eye
Join my monthly email newsletter, "Dip & Swipe", for professional tips, how-to articles, color and decorating ideas, projects, and much more!
Recent Articles
-
Repurpose Old Windows
Dec 10, 21 06:32 PM
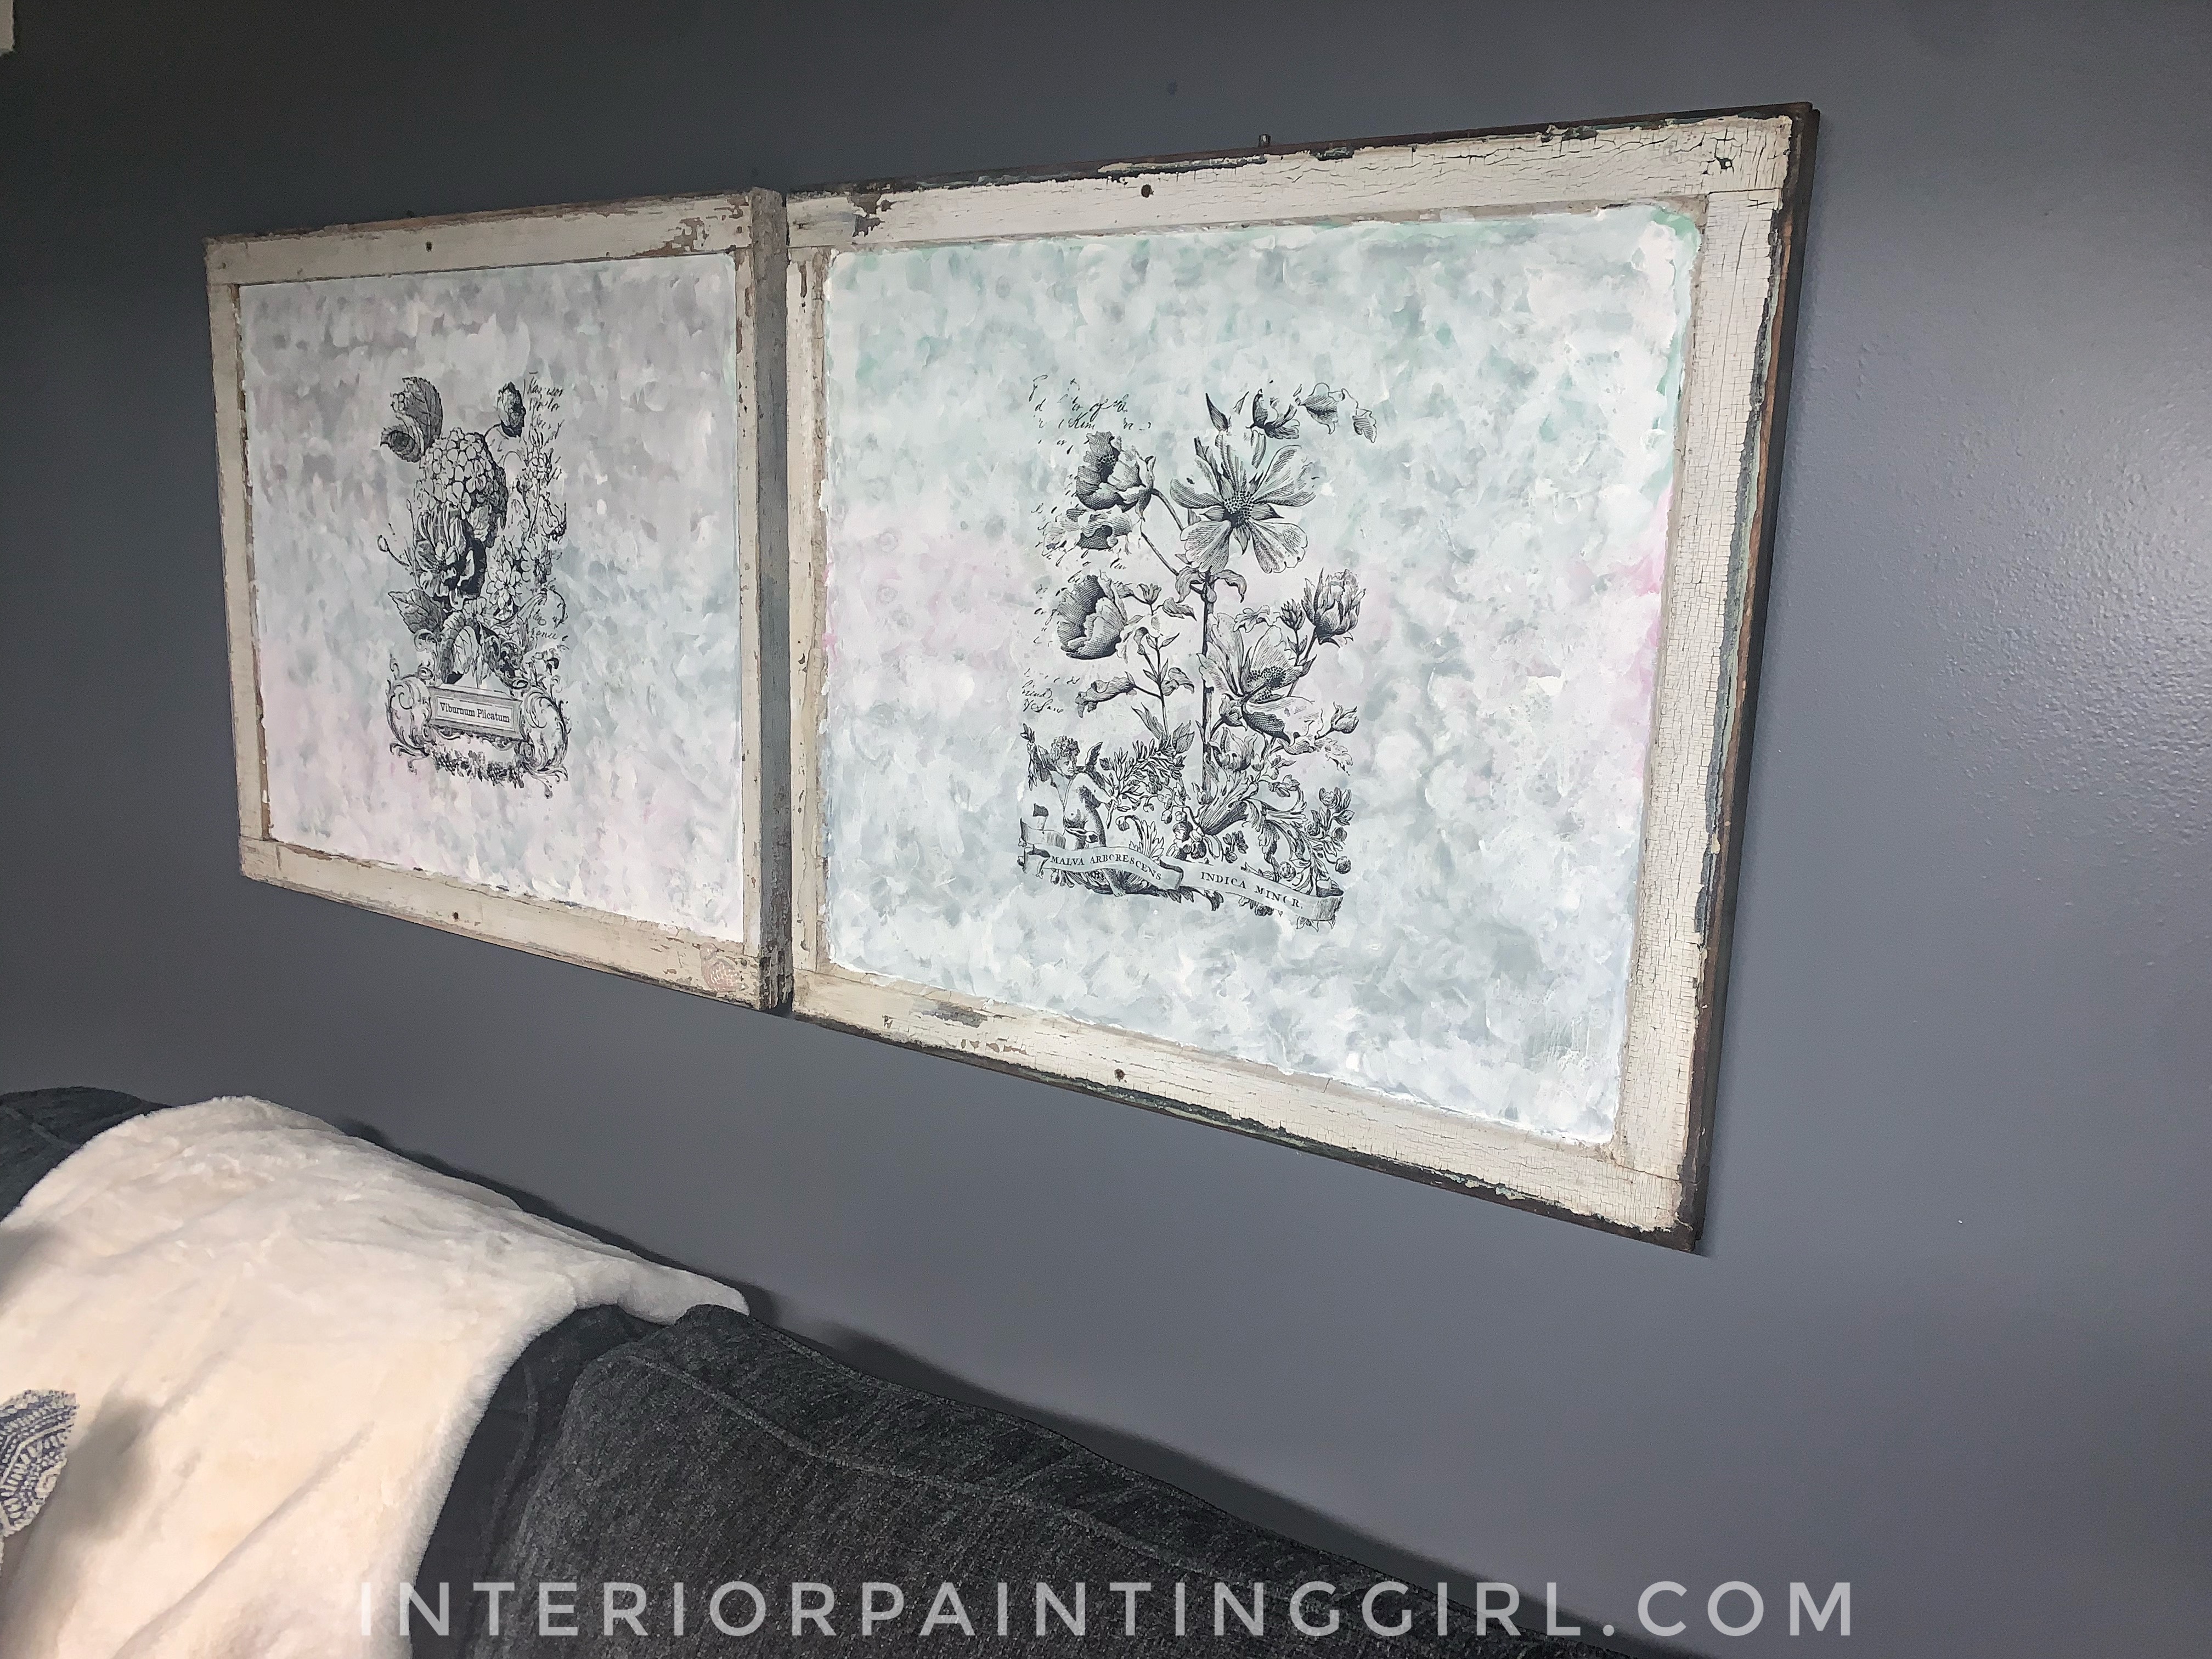 Learn how to repurpose old windows by upcycling them into shabby chic decor.
 -
Upcycling a Toolbox
Dec 08, 21 10:22 PM
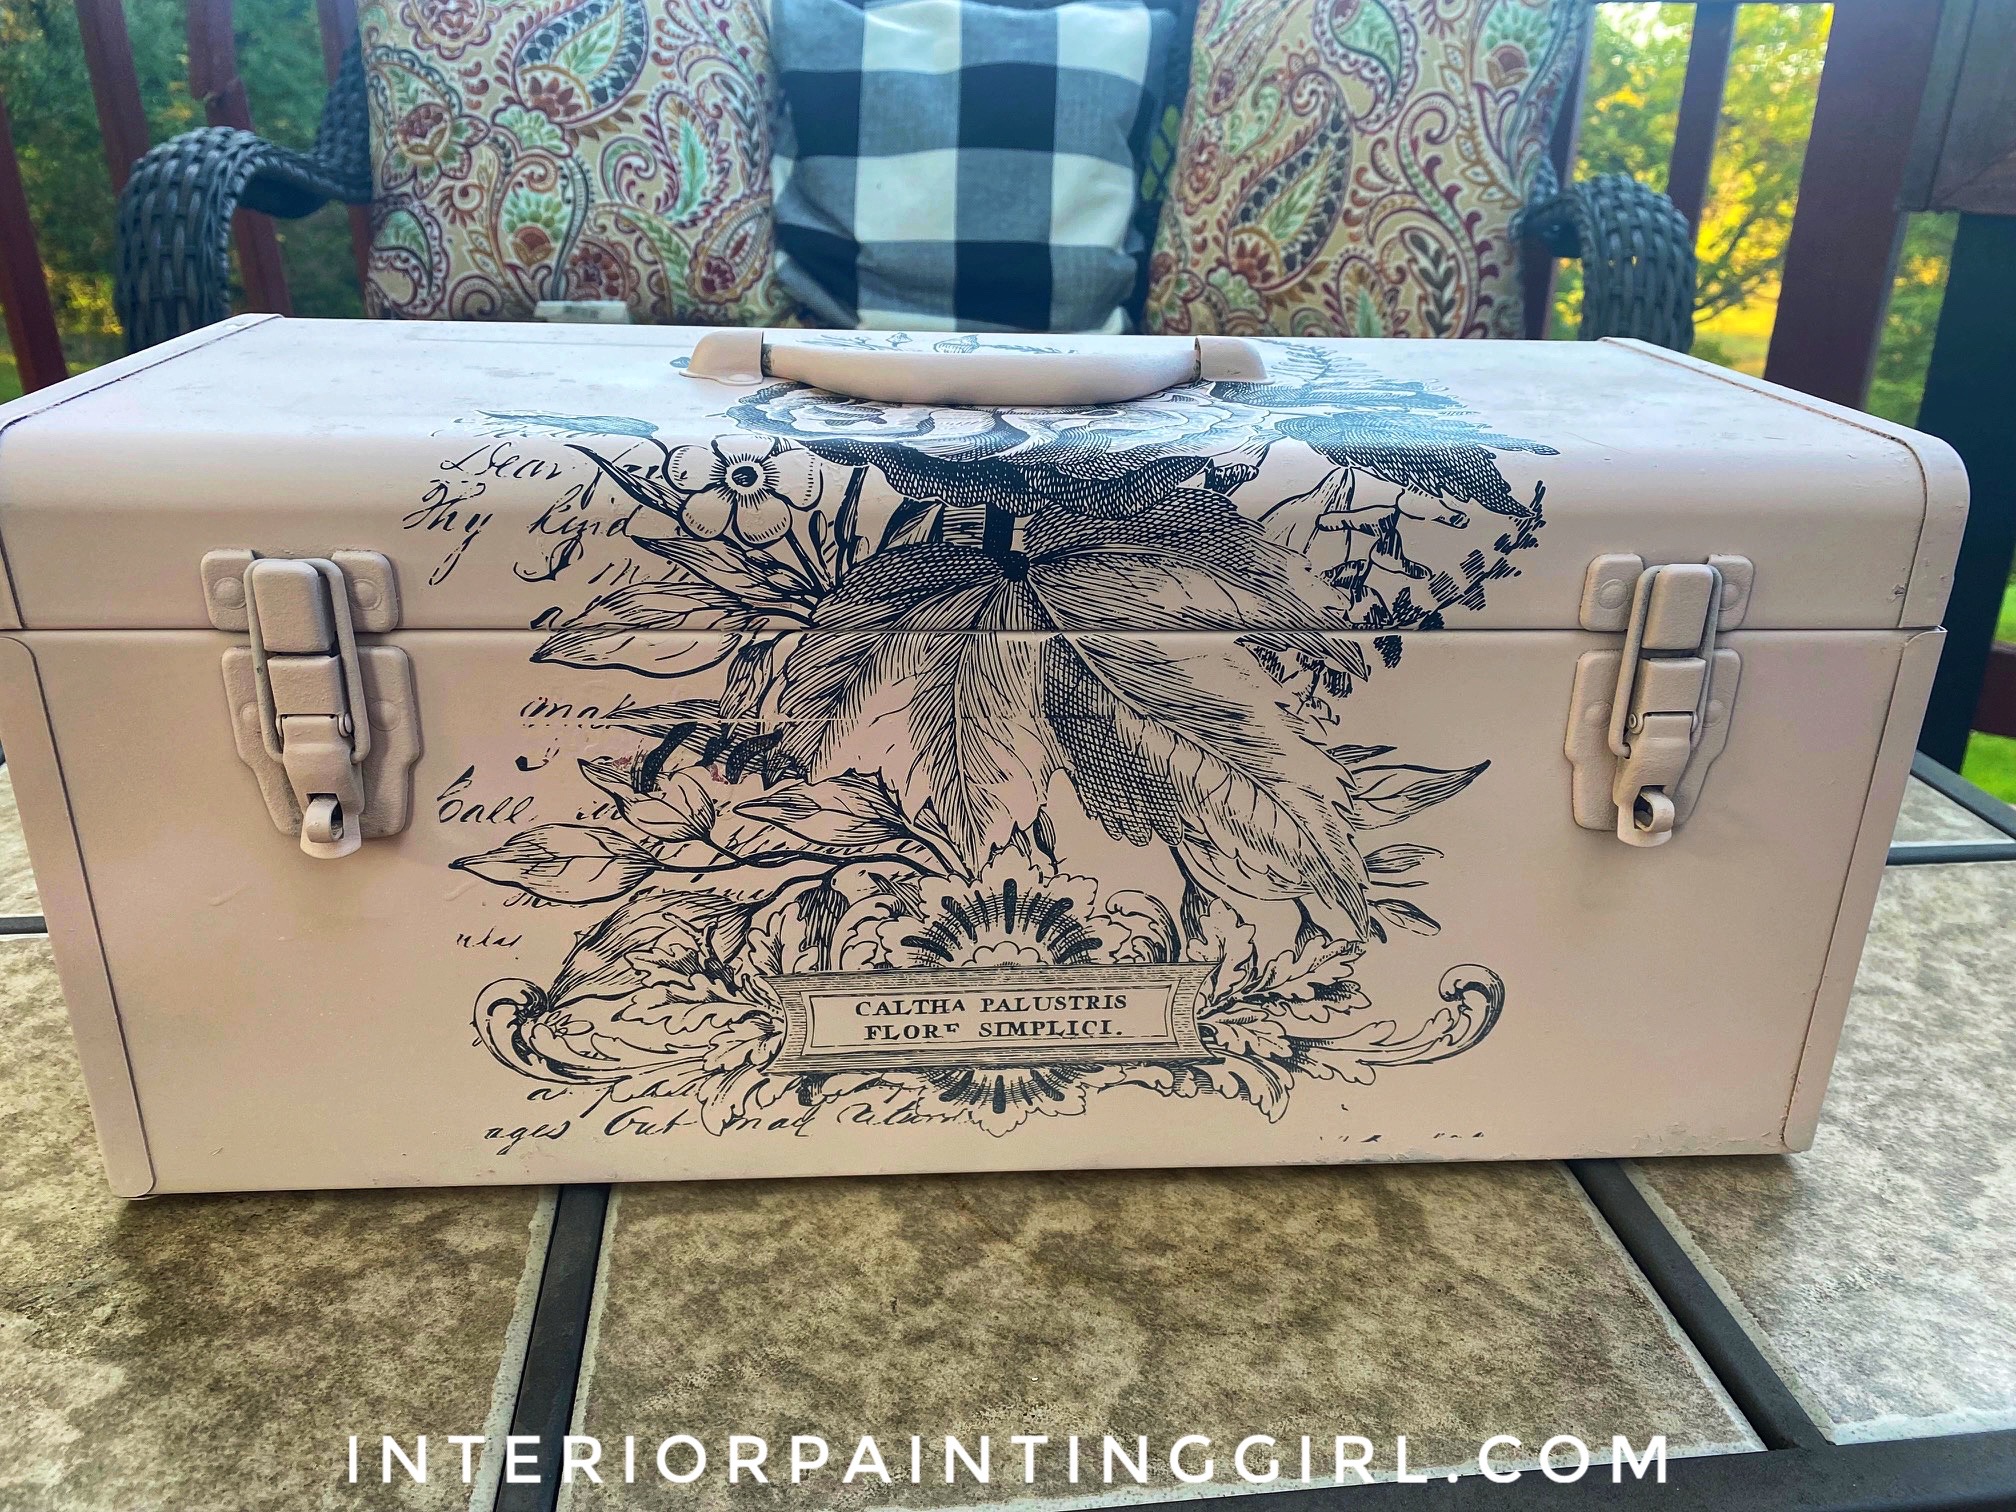 In this craft painting project, I upcycle an old toolbox with fresh paint and an appliqué.
 -
Craft Painting Projects
Dec 08, 21 08:13 PM
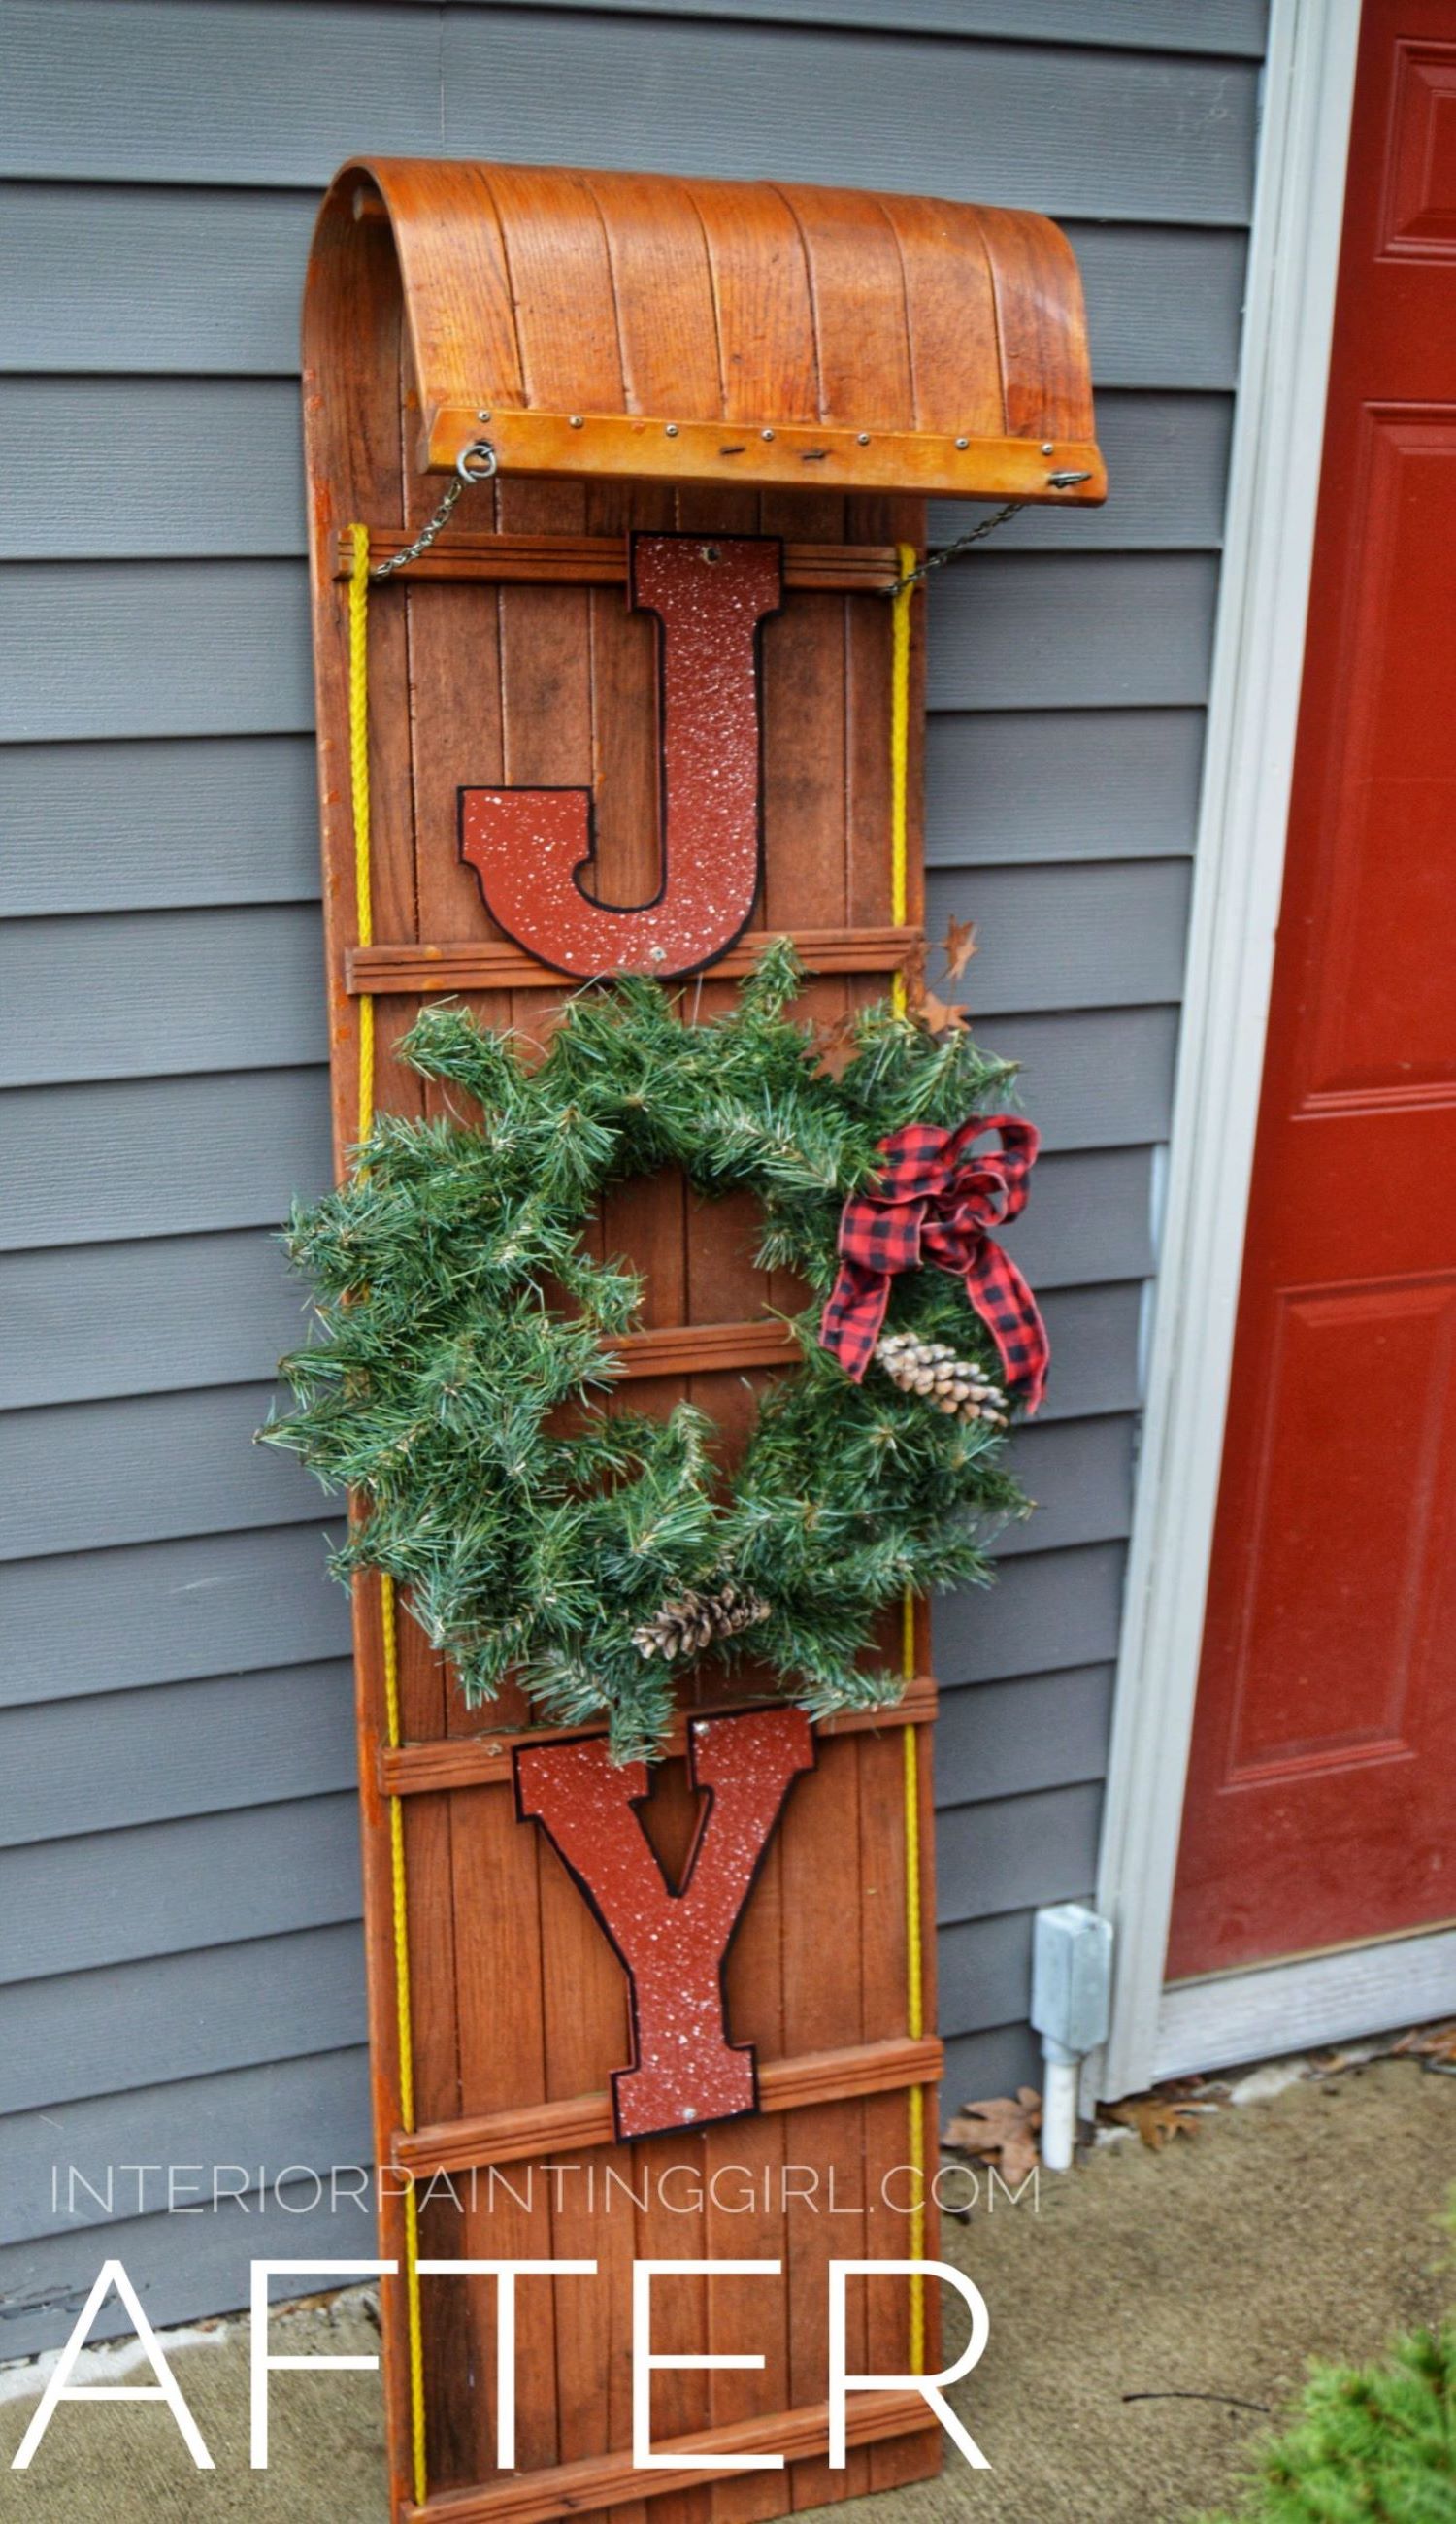 A place for all of my smaller craft painting projects and DIY projects that don't fit elsewhere.
Follow me on Pinterest @